Sometime
last year (or was it two years ago...)
my friend Carl
gave me a Bestop
Strapless Bikini top (52521). It was all dirty and drab looking
but it was not in any way damaged that I could find so I took it home
and promised myself I would, clean it up, buy the header channel and get it installed
the next time I took my hard top off.
This would
be that time. I had a false start and ordered the wrong header.
I realized it before it even arrived and so refused delivery when it
came and ordered the correct item (Bestop 51210). Within a couple
days the correct header channel had arrived.

Following the instructions, I
installed the header channel. Here are the instructions:
Header Channel Install
Instructions | Bikini Install Instructions
(PDF Files)
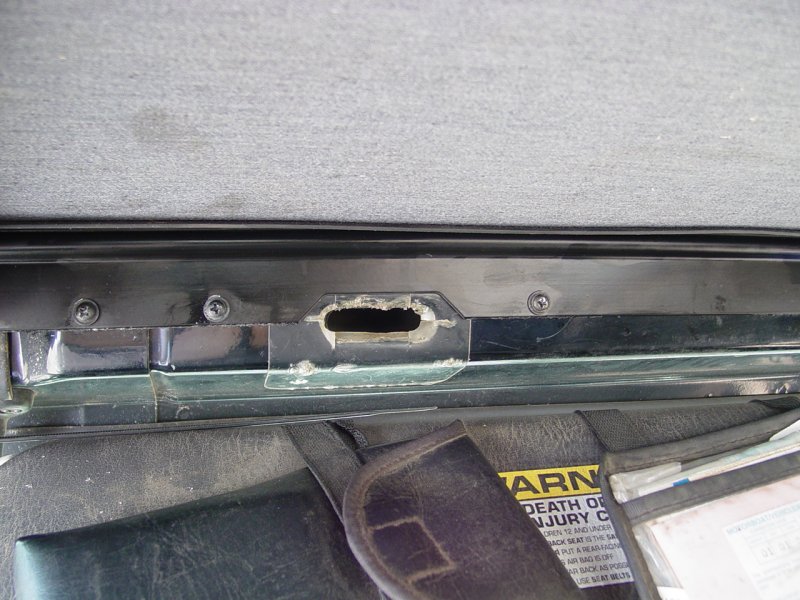
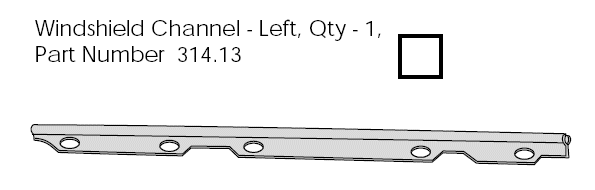
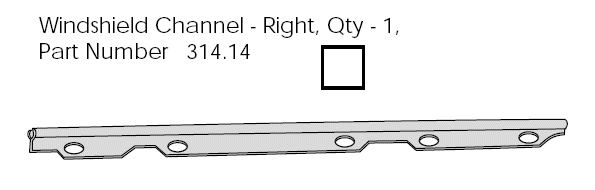
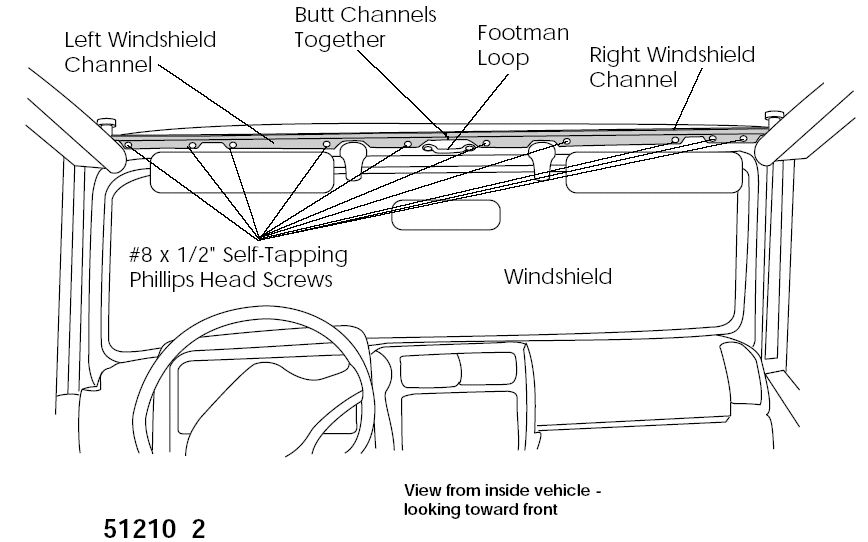
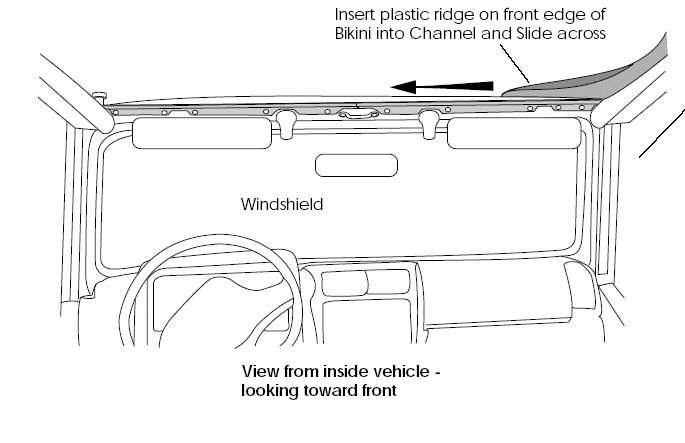
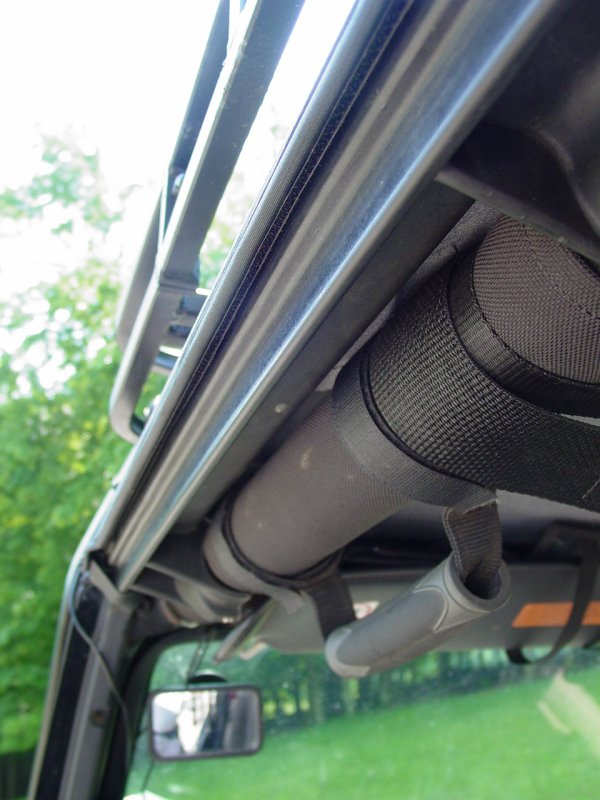
Locate the Left and Right Windshield
Channels in the parts kit. Orient them with the open edge up, the foam
gasket in the channel facing the windshield and place them along the top
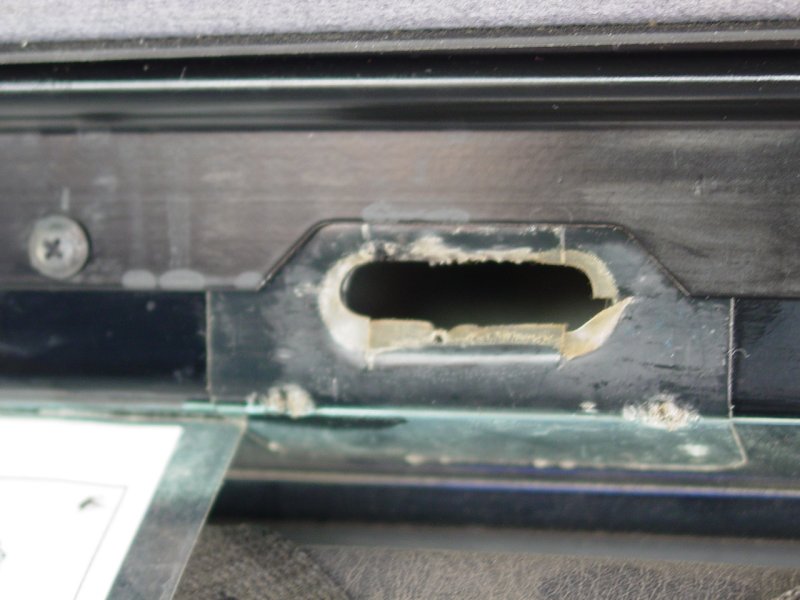
inside of the windshield. The cutouts at the outside corners of the
channels are round to accommodate the sport bars. The ends with the
rectangular cutouts will and must butt up together to form an opening
around the footman loop attached to the windshield frame at the center
of the windshield. The other cutouts in the channels will fit around the
header latches.
Mark the locations of the five mounting holes in each
channel. Center punch and drill a 1/8" hole at each location. Install
both channels using (10) #8 x 1/2" Self-Tapping Phillips Head Screws.
Tools Needed (link provided below)
- 1/8" Drill Bit and Drill Motor
- Phillips Screwdriver
- Center Punch
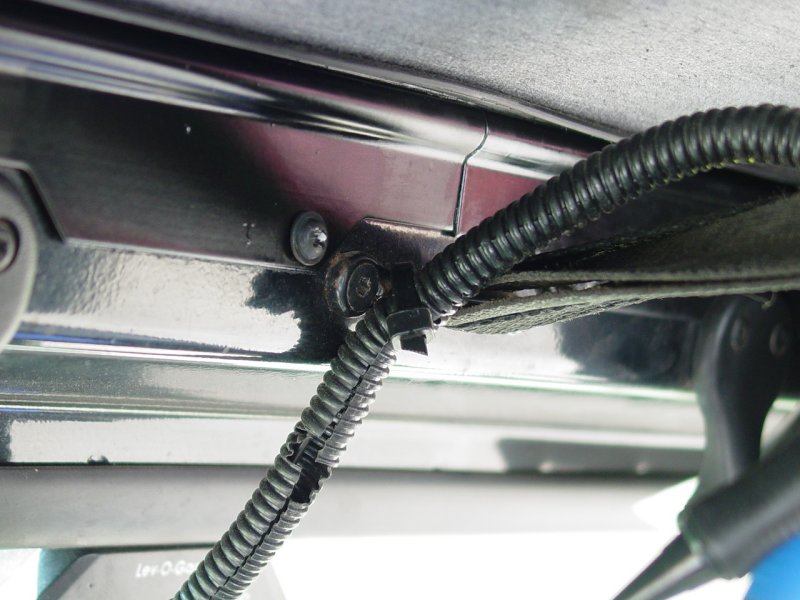
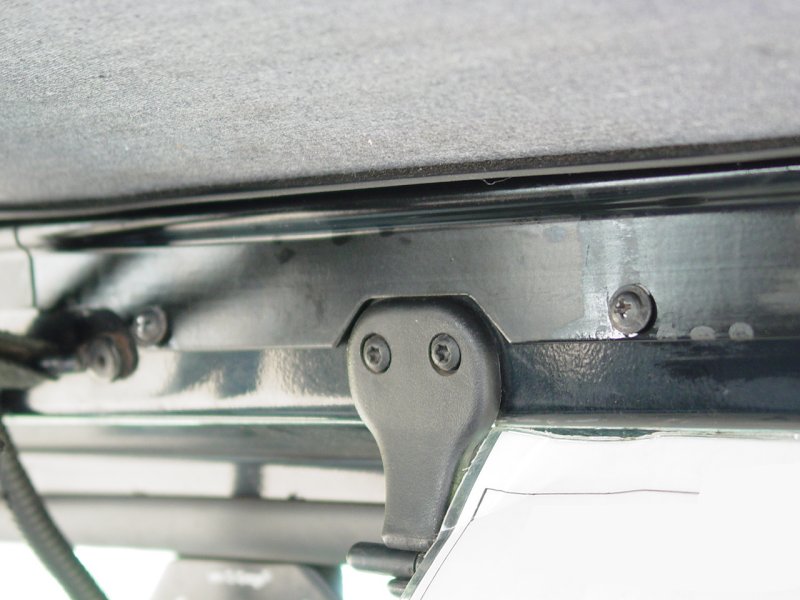
I had
downloaded the installation instructions for the header channel and the
bikini but they were almost unnecessary because all that was required
was to drill ten holes with a 1/8" bit in the correct places and then
screw in the self-tapping screws provided. With that out of the
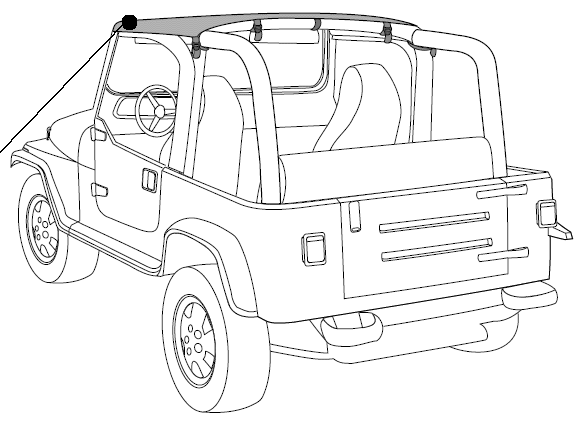
way, the bikini just slides into the channel and straps around the sides
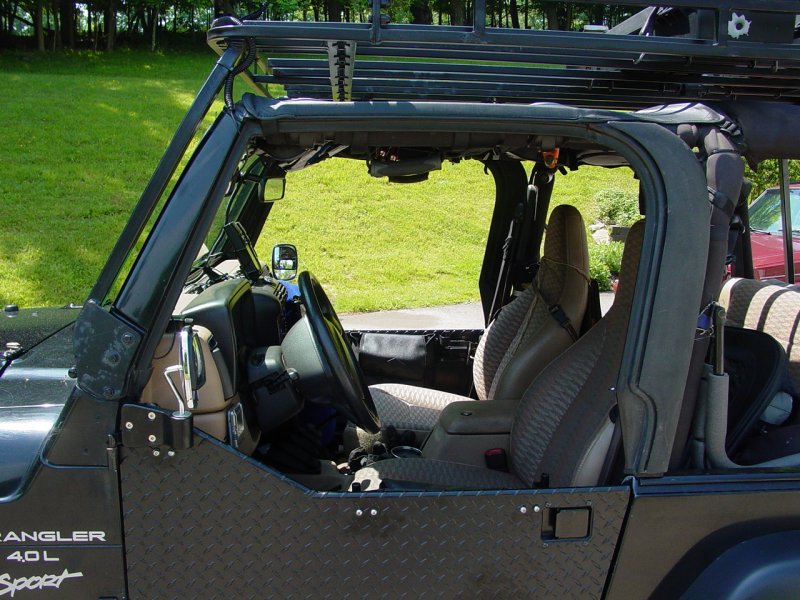
(not sure why they call it "strapless"...) and it's on there.

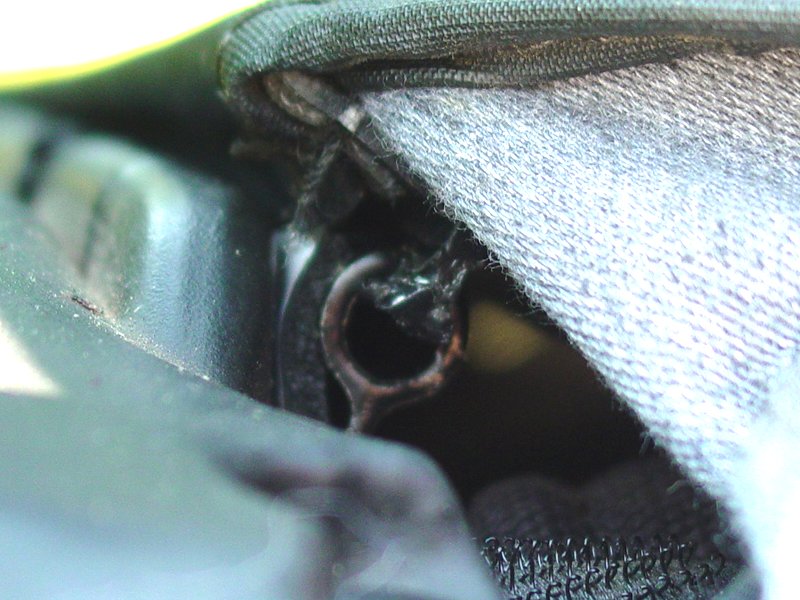
I found
the hardest part to be getting the side edges into the door surrounds.
This thing was tight. I figured out the best way for me was to
partially insert one side from the front toward the back and to
partially insert the other side from the back to the front. Once
started, they went much easier though they were still a bit tight.
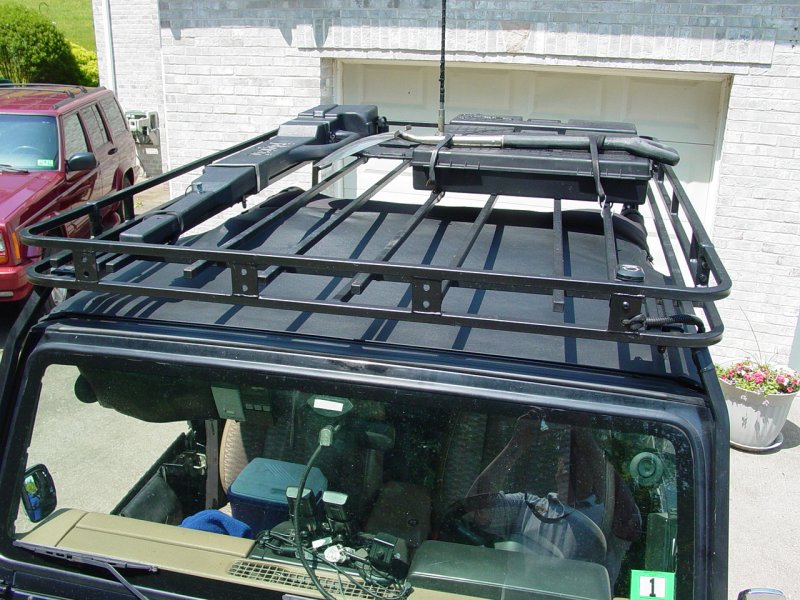
The top
cleaned up very well with some Simple Green and some Armor All.
Header Channel Install
Instructions | Bikini Install Instructions