4X4 ICON 2000 - 2003 The CD!
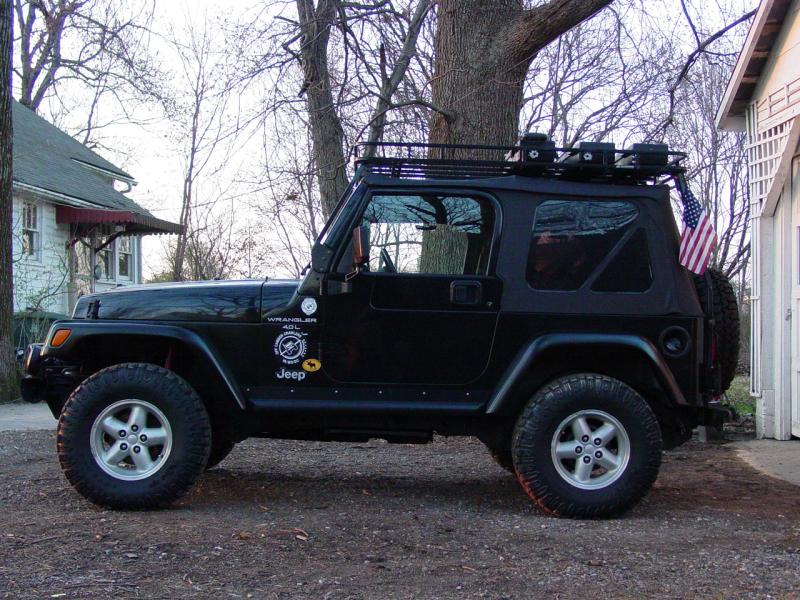
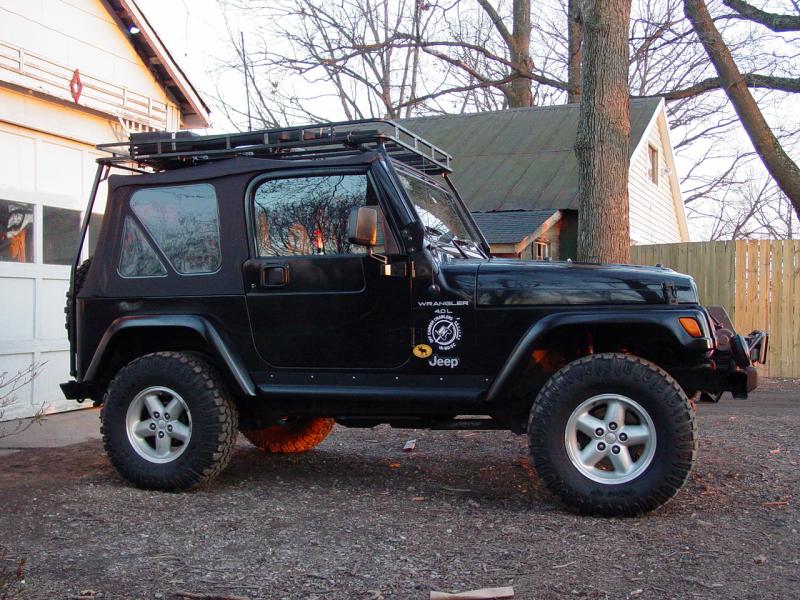
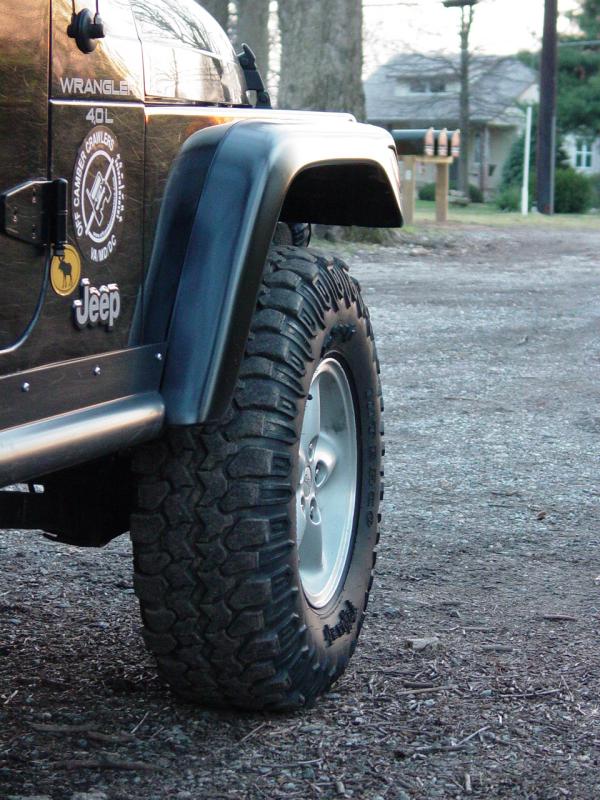
After five years outdoors, the plastic
fender flares had gotten pretty faded and dreary (click the picture above to see what I
mean...). There were several stress marks in them, causing green streaks. The
plastic had gotten gray and really didn't look very good - especially when contrasted
against the black body.
There are several ways people deal with
this. One approach involves applying heat from a heat gun, just hot enough to cause
the plastic to turn black again, but not so hot as to cause it to melt completely. I
have reservations about this approach. Most plastics loose their ability to bend and
recover when exposed to heat. The color might turn back to black, but I suspect the
life of the flare may be compromised.
There are a variety of paints on the
market. I had considered using one of my favorite paints, Vinyl Color paint for
fabrics and vinyl. But I was reluctant to end up with chipped paint, or any variety
of problems that comes with painting flexible plastic with paint meant for a stable
surface. Even though the vinyl paint is pretty rugged, I just wasn't ready to use
it.
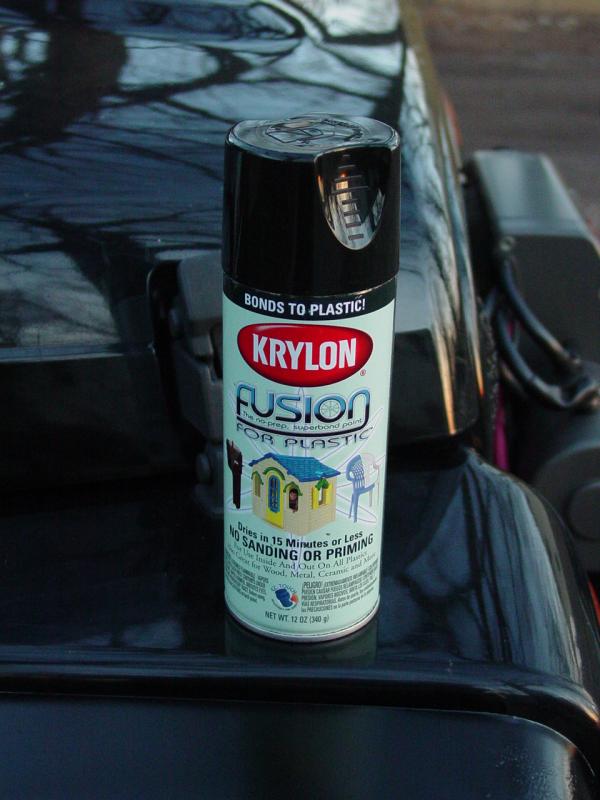
(This is Satin Black)
Then I heard about Krylon Fusion for
Plastic. It claims to bond permanently to plastic, requires no sanding or priming,
and dries in a short time. It sounds too good to be true, so I held off for a while,
until I got some feedback from people who used it several months earlier. The
reported results were good, so I grabbed a few cans and made plans to paint my flares.
I ended up only needing one can, but it never hurts to have some on hand.
The ingredients on the can include
Tuolene, the same active component in plastic model glue, so I think that pretty much
accounts for the "fusion" component... Anyway, following the instructions,
I cleaned and thoroughly dried the fender flares, then wiped them down with an
ammonia-based cleaner (Windex) then dried them off again. Years of applying
Armor-All was a vague concern but I would soon see what, if any, effect that had.
Not having any paper masking tape handy I
resorted to - what else? - Duct tape. It was warm out, the paint on the Jeep is in
great shape (chip-wise) and duct tape conforms very well to surfaces so works as a good
masking tape. It has the added benefit of being wide. Where possible, I slid
the tape between the flare and the body so that I would have the best protection. In
those areas where the flare was tight, I carefully applied the tape so it did not overlap
the flare, and at the same time covered the body. I pulled a large piece of masking
paper off the roll I have and used it as hand-held overspray protection.
I masked and painted each flare, one at a
time, working my way around the vehicle. At first I was very concerned because the
gloss black paint was very glossy and didn't really look good. But almost right
away, as it dried, the very fine pebble texture of the flares reappeared and the flares
started looking a little more like a new flare is supposed to look.
After the paint had flashed over, within
a minute or so, I removed the masking tape completely, being careful not to kick up any
dust, and preventing the tape from getting out of my hands and onto the fresh paint.
In about 30 minutes I was done.
I have a couple problem spots that will
need more attention. As expected, the years of Armor All did the job and on the
front corners, the new paint didn't want to lie down. It developed something called
"fish-eyes". That's when oils on the painted surface causes the paint to
move out in circles away from the problem. This was not entirely surprising. I
have found that once the paint dries, I can go back over it again and usually, the second
coat will cover it. Sometimes it can be avoided by applying the first couple coats
of paint as light dusting. Anyway, that was the only "paint" problem.
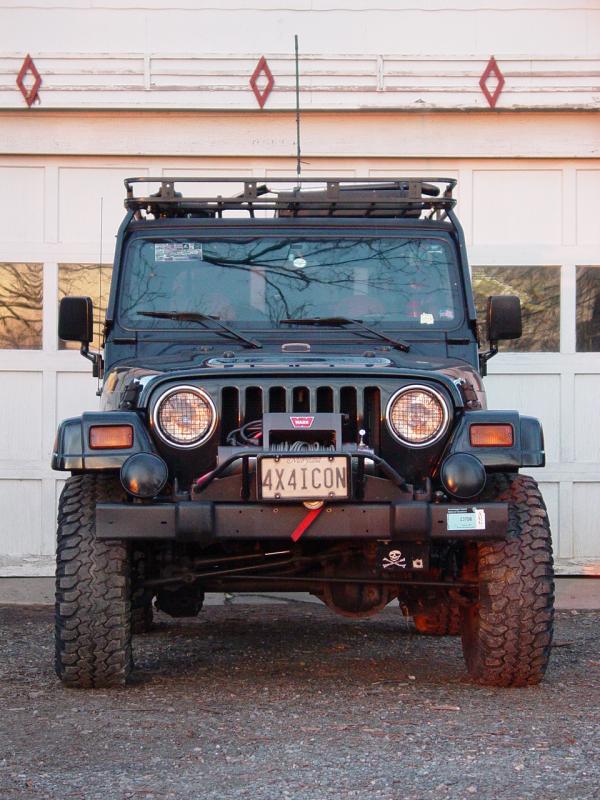
The other problem was related to the
abuse the flares have sustained on over 70 trail rides. One has a deep tracing in it
from where it got dragged hard up against a tree. The other problem was several very
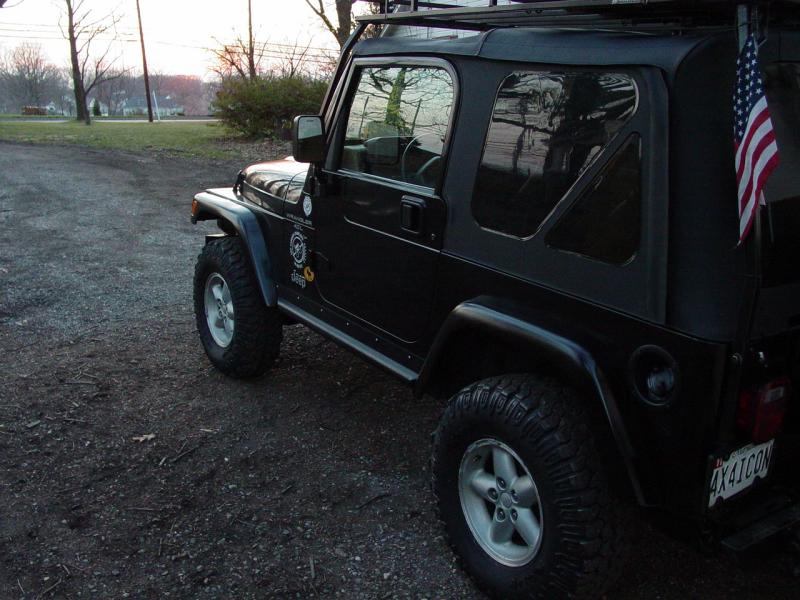
small pin prick marks on the leading edge of the rear flares.

I think this must be from debris hitting
the flares, or maybe tree branches. You can't see it in this picture (above).


The passenger front flare was somewhat
mishapen from being hit with larger trees.
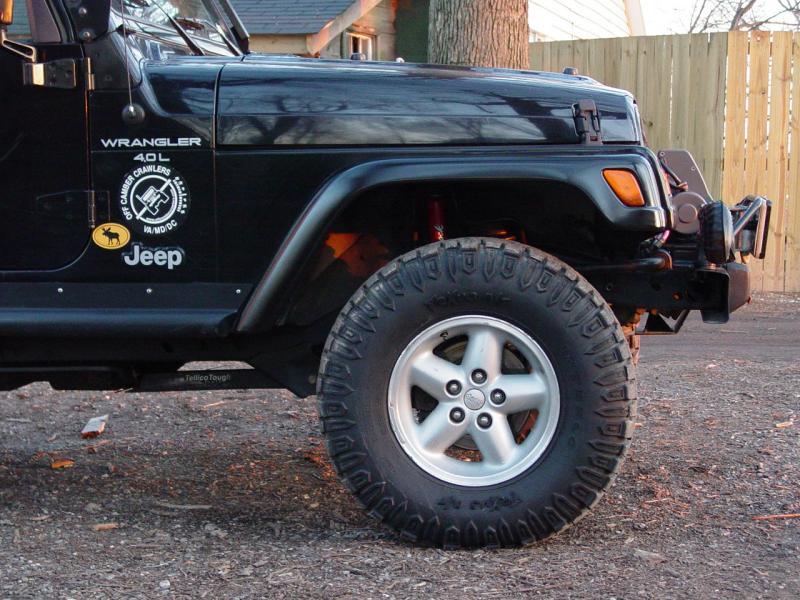


The driver's side front was very slightly
mishapen from a very mild encounter with a large tire at full stuff...

The paint does not cover these defects,
but I guess it's a little like fine leather...
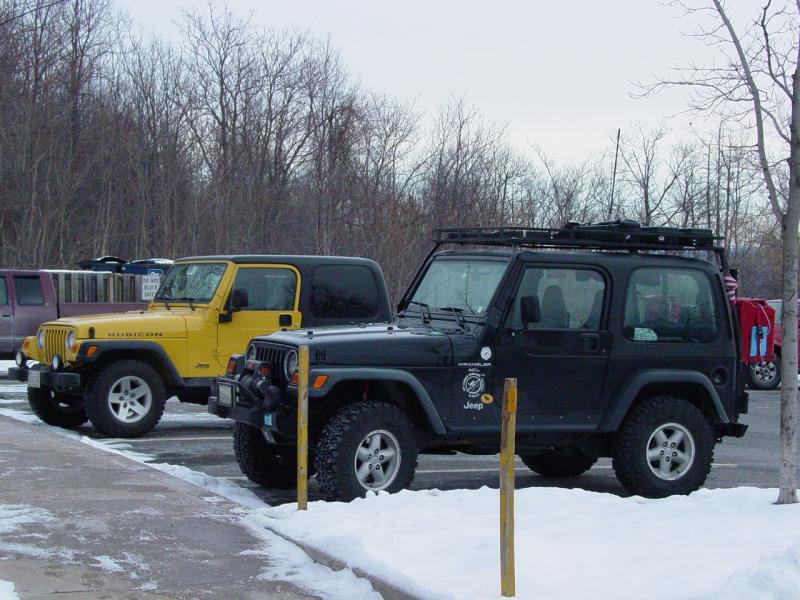
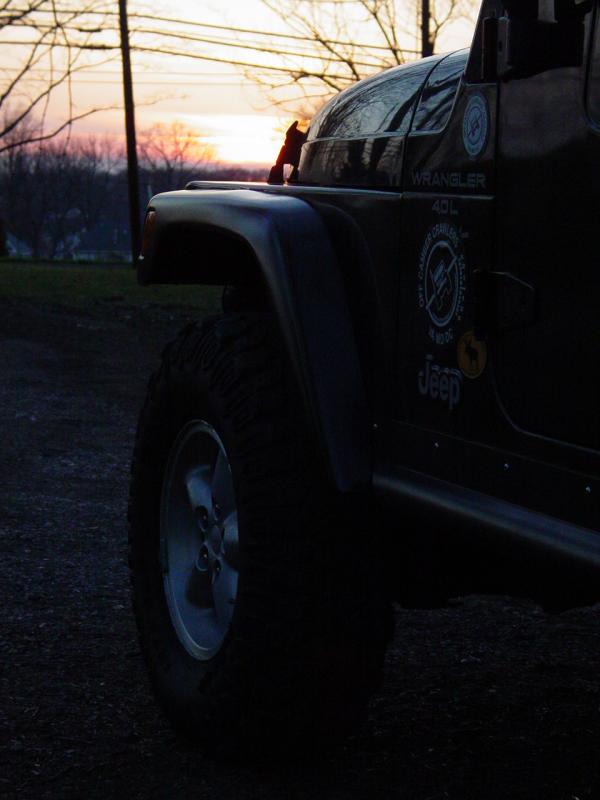
Bottom line is the new finish is a
definite improvement. I like the way they came out. Now the test is to see how
well it holds up to trail rash and anything else that it comes into contact with!