The satellite radio works so well in the
other cars that I decided I needed to have it in the Wrangler. I
contemplated just swapping the radio between cars and using another
install kit but the cost of the whole kit including the radio and
incremental cost of a monthly cost for a second radio was so low it didn't
make sense to handle the unit all the time like that.
I also found that the latest version of the
Roady XT includes
an improved package with a way to send the signal to the vehicle
more directly, SureConnect. Since I will be plugging this in directly, I will use
the improved install kit on the Cherokee since it doesn't have a direct
plug-in method and will probably benefit from the SureConnect feature.
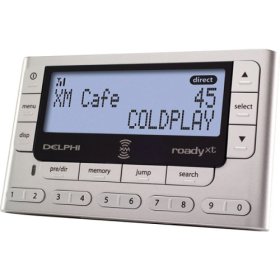
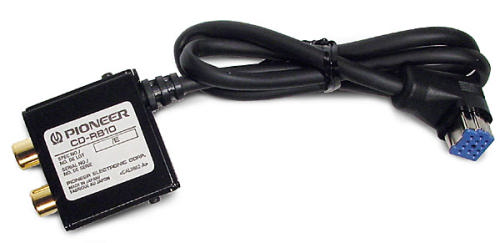
In order to use this with my existing head
unit I added a Pioneer CD RB10 Bus input
adapter so that I can just plug it in to the back of the pre-amp and
use the existing menus to select the radio from the mode menu.
Install
Audio Connections
This is a simple device to install.
The manufacturer provides several connection methods to get the signal
from the unit to the system installed in your car. If you have a
cassette player (I don't) you simply plug the cassette adapter into the
unit and insert the "cassette" into your player. If you do not
have a cassette player and do not have auxiliary inputs on your system,
the next option is to use the wireless FM transmitter. Simply put,
you set the unit to use this option, tune your existing FM radio to an
unused frequency, match it on the unit, and you are set to go.
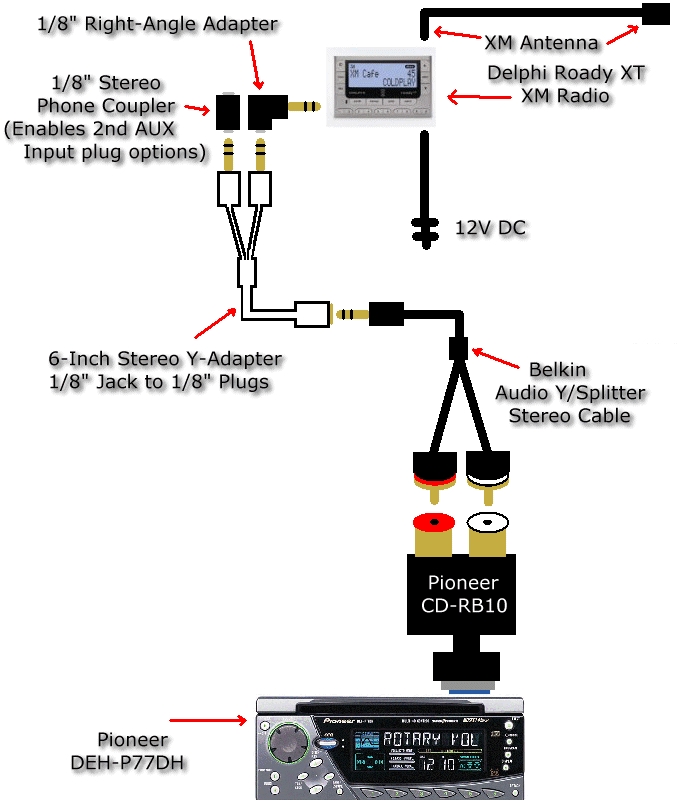
I opted for the most direct method - I
purchased an auxiliary input connection for my head unit and plugged it
into the back of my head unit.
I toggled the AUX option of my head unit
"ON". This gives me the capability to switch from CD to FM/AM to XM. I could also swap the XM receiver with a cassette player
or iPod if I
wanted to use my old tapes or listen to MPG's.
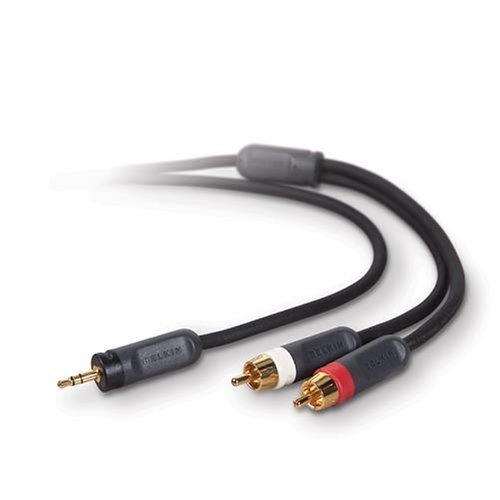
I ran an audio Y-splitter
cable with the proper connections on each end to the newly installed
Auxiliary connections on the back of my unit, and plugged it into
another splitter.
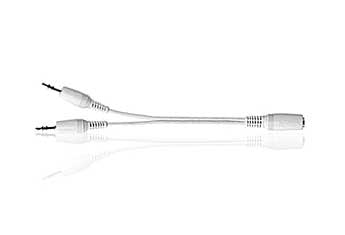
This provides the capability to add
another input source, like an IPOD later. On the extra jack I
snapped a female-female connector.
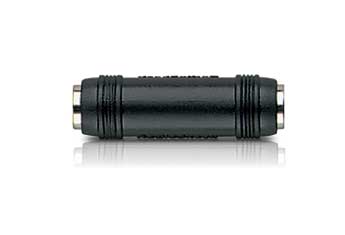
This gives me a way to connect the 2nd
device with either a male or female connector.
I plugged the remaining connector into
the right-angle adapter.
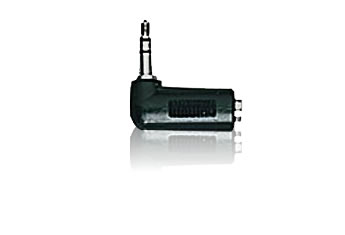
This solves the problem of having the
connector sticking straight out the side of the radio. Without the
angle adapter, the plug and radio are vulnerable. This way the
lead is more flush with the side of the radio.
I routed the GPSMap 76CSx and XM satellite antennas to the
roof rack with my other Satellite antennas.
I revised the antenna mount to
accommodate three antennas.
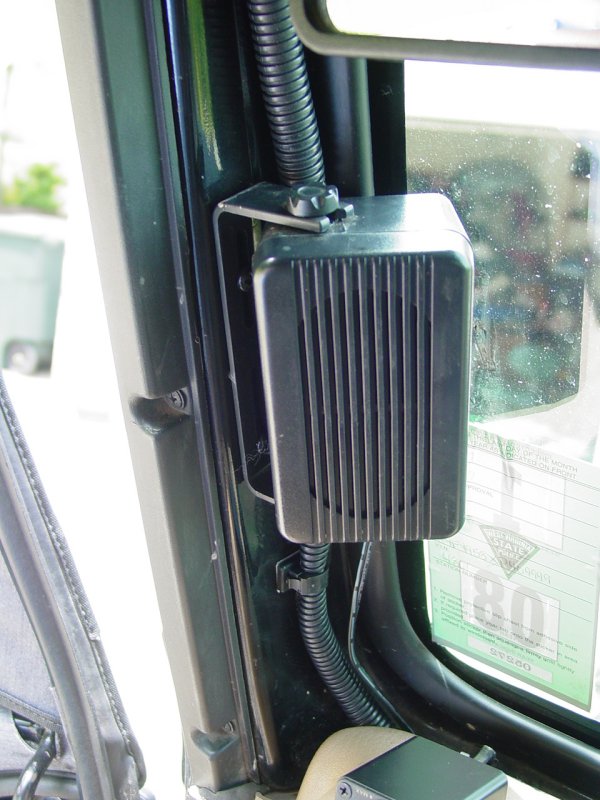
I took this opportunity to check the
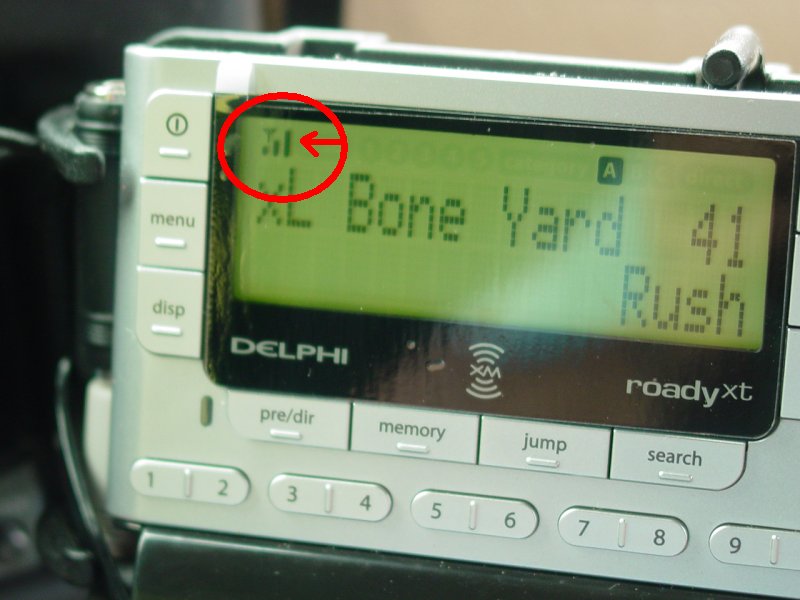
satellite reception on the GPS and XM devices. The results were
good. All devices achieved their normal levels of reception parked
in my driveway.
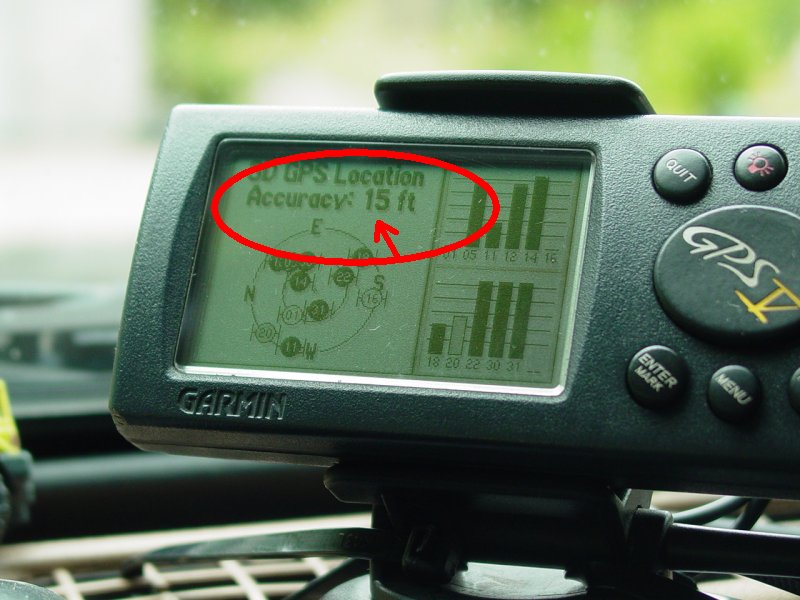 |
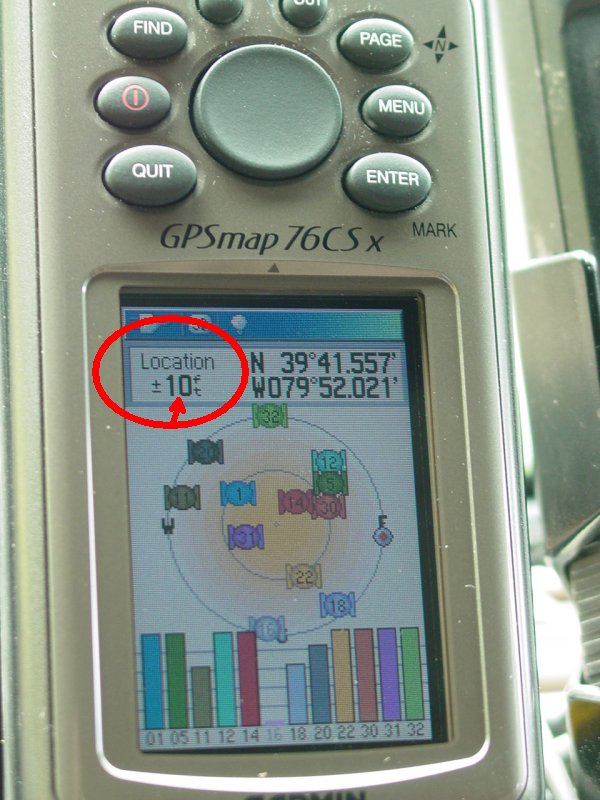 |
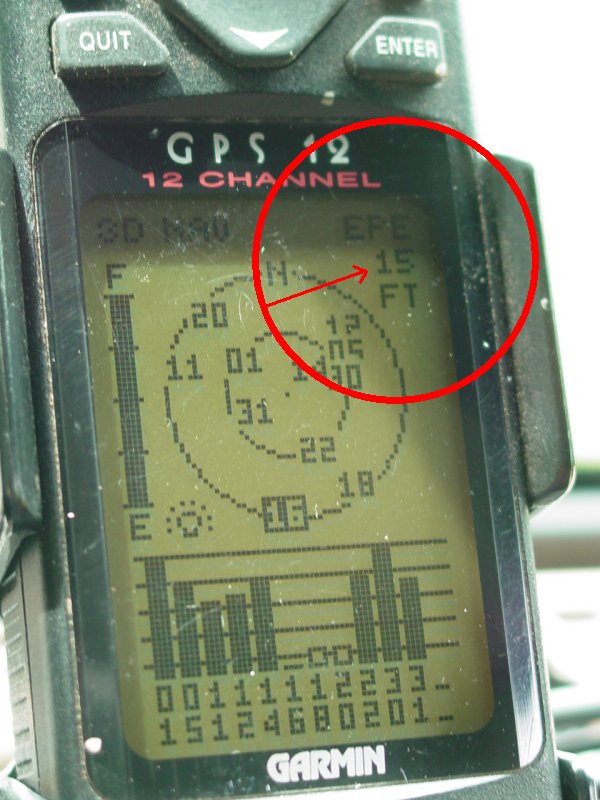 |
 |
GPS V
14 feet |
GPSMap 76 CSx
10 feet |
GPS12
15 feet |
XM Radio
3 bars |
Continuing with the XM Satellite Radio
install, I plugged the XM 12v DC into an existing accessory socket I had
previously installed under the dash and concealed the wiring.
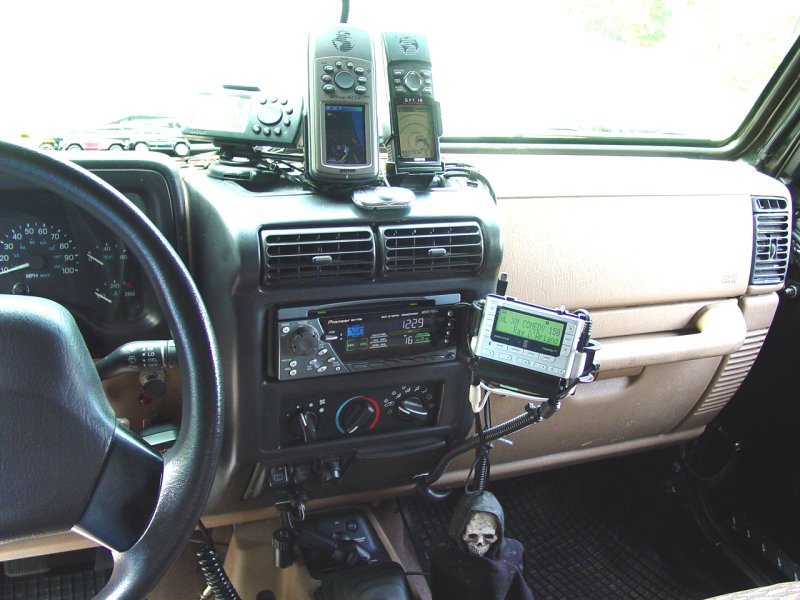


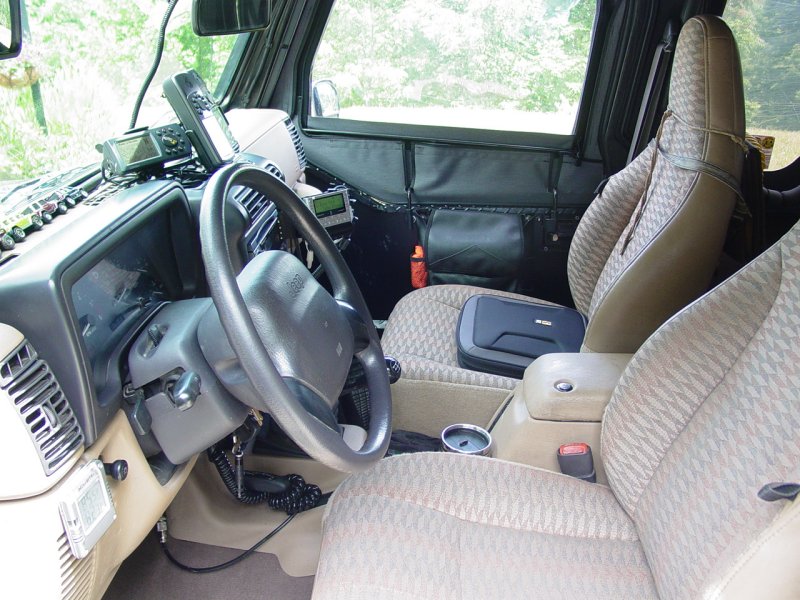

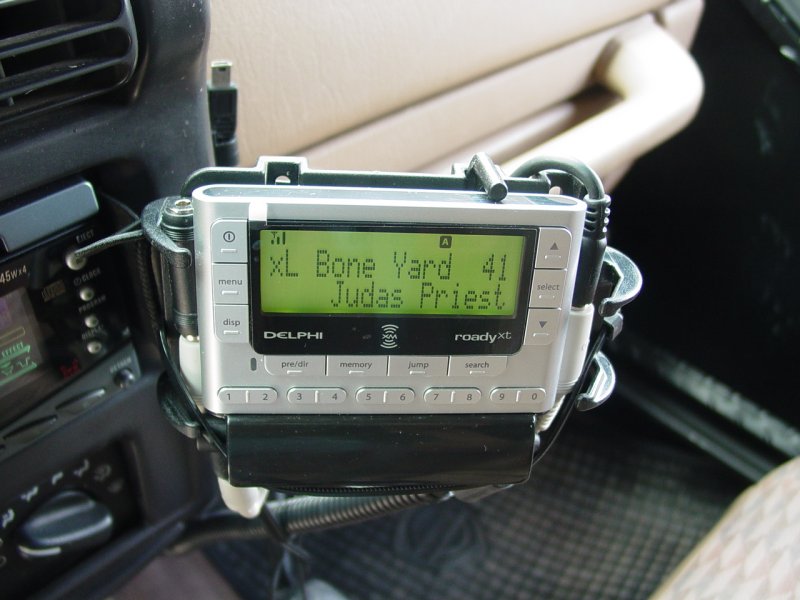
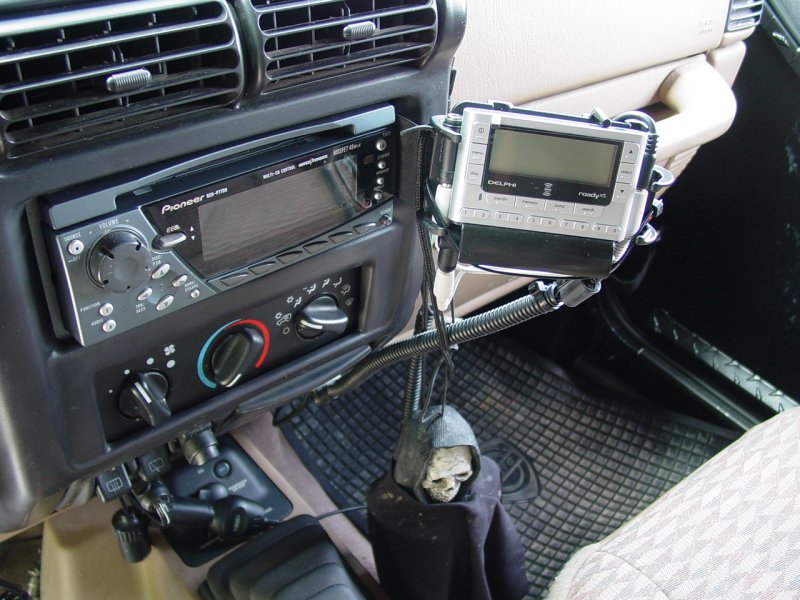
I mounted the XM unit on my RAM mount for
my palm 100 as a temporary measure. With the installation of the
new GPS, I have plenty of on-board storage for tracks and routes, so the
palm 100 no longer needs to be in the Jeep full-time. I am seeking
an AMP mount base for the XM unit and will bolt it to the bracket.
There is an interesting product on the
market from Belkin called the Tune Dock. It is available in
various colors and configurations. I have found a link for the
iPod version. It is also available for the Roady XT but not from
Amazon. It comes up on a web search.


Visitors since 12/16/06