After three years of removing a fuse every time I put the
soft top down, I was ready for a better solution to shutting off the dome light circuit
when the doors were removed. Every time I wanted to remove the doors, I had to
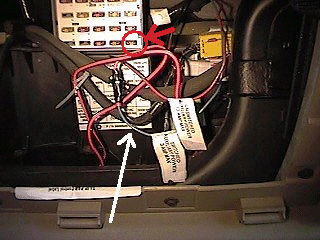
remove the glove box, remove the lower right-hand fuse (not always easy) and find a place
to store the fuse until it was time to put the doors on, when I would repeat the exercise
in reverse....
There are a few commercial products on the market that
will do this.. One is a clamp that holds the door switches in. Close, but no
cigar. Another product comes ready to install and consists of some wire, a fuse
holder, and a toggle switch. This is a good solution but the price ($25) was about
double the cost of the materials, and the design is about as easy as it gets. And I
thought I could improve on the design.
Basically, the fuse outlet on the vehicle becomes the
power plug, the fuse is relocated to a fuse holder on the wiring, and a switch is put in
to make it possible to switch off the circuit instead of removing the fuse. It took
me two minutes to decide I could build this with materials and tools I already had on
hand, and with a few things I would buy. So I sketched out the plan.

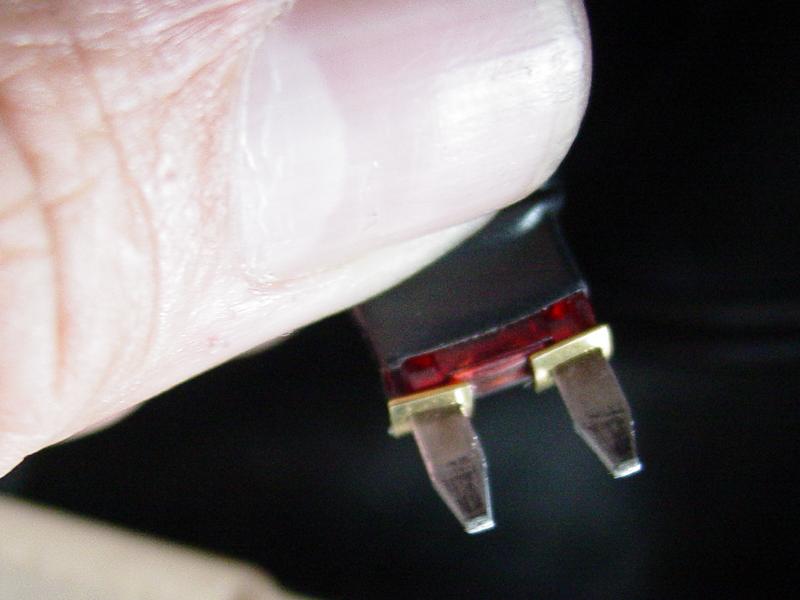
The fuse taps are placed over the two pins on the blown
10a fuse. (I "blew" the fuse by touching it to the battery
terminals.) Mine had slots that the pins fit through, and then the fuse tap sort of
snaps onto the fuse.
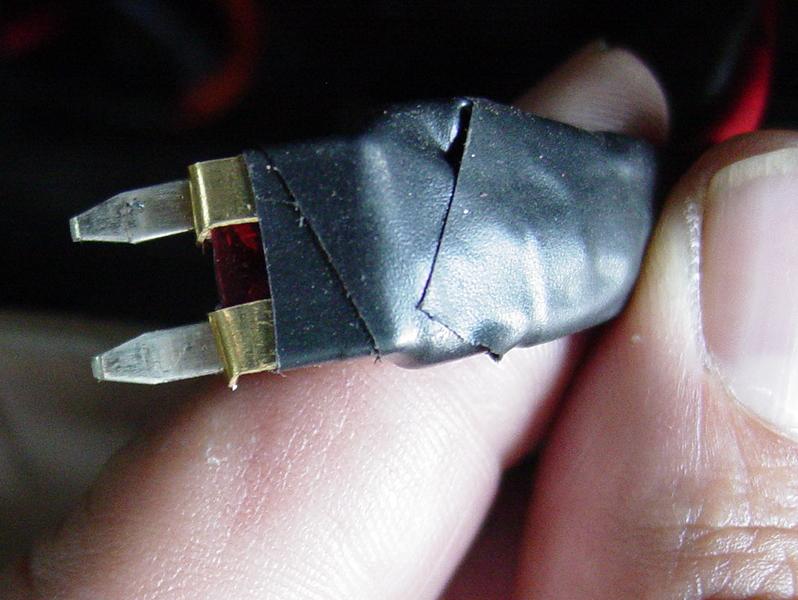
The spade connectors are attached to the fuse
taps. I taped, with electrical tape, the fuse taps and female disconnects to
the dead fuse to keep everything all as one unit. A dead fuse was used to provide
the retainer for the fuse socket, but to leave the circuit open (off) so that it can be
controlled by the toggle switch.
The fuse holder is filled with a good 10-amp fuse to
protect the circuit.
The 20-amp toggle switch is added to the loop to provide
the On/Off control.
I used 14-gauge wire to connect the fuse holder to the
toggle switch, and the toggle switch to a fuse tap.
Very basic. The dead fuse with fuse taps is
inserted into the fuse box. The wires are routed behind the glove box in the fuse
panel area. The toggle switch is placed in a holder that is then screwed to the
underside of the dash near the passenger side courtesy light using an existing screw
there.
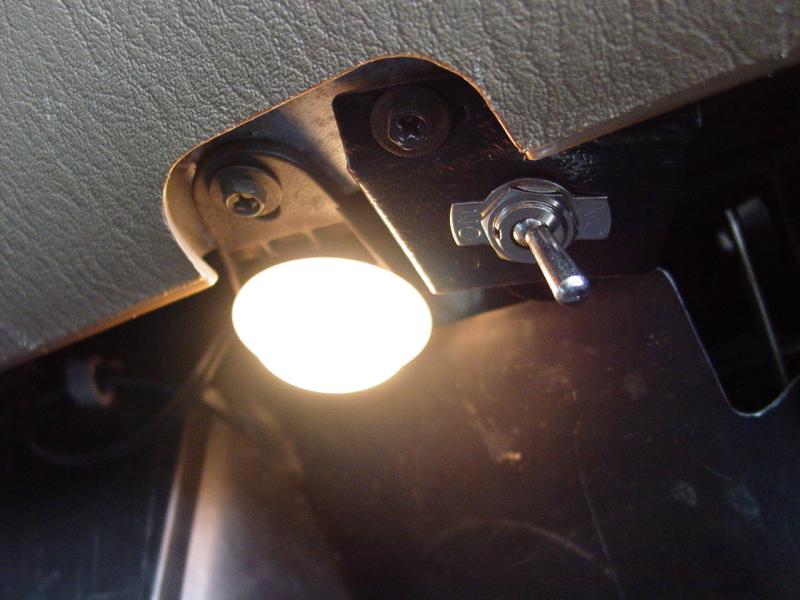
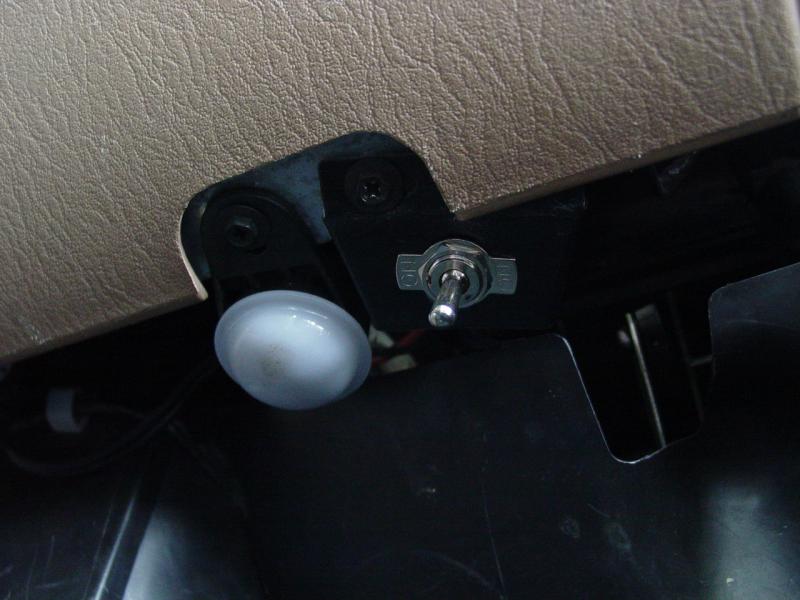
And that is all there is to it! To disable the
circuit, just turn the toggle switch off. To re-enable the circuit, turn it back
on. This also makes it possible to disable the dome light when the doors are on so
you can open the door without the light or buzzers coming on.
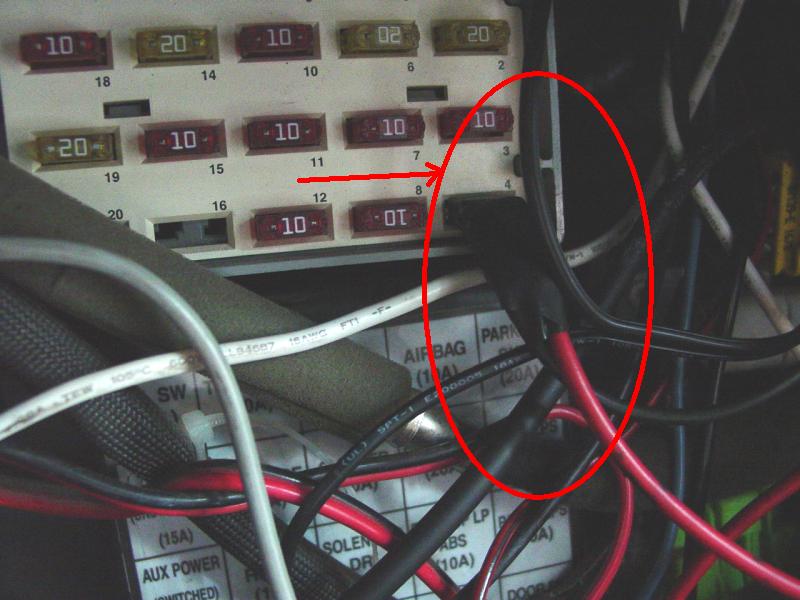
When I finished crimping up the connectors (I put spade
connectors on one end for the fuse taps and ring connectors for the toggle switch), I put
a good 10 amp fuse in the fuse holder. I connected the toggle switch to the fuse
holder using a crimp connector and a piece of wire. I placed the fuse taps onto the
contacts of the dead fuse, the spade terminals onto the fuse tap, then taped the whole
assembly with electrical tape to prevent the to sides from making contact with each other
or something else. I spent about $10 and half an hour. Saved $15 that I spent
taking the kids to dinner after we went
Geo-Caching...
Parts
|
Dead 10a fuse - I just touched it to the
jumper cables to force it to pop, any dead fuse that fits the socket will work.
|
 |
|
Fuse taps - I got a package of four from
Pep Boys. I have two left over for another project.
|
 |
|
Fuse Holder - I got a fuse holder that
would handle 20 amps even though the circuit only calls for 10 amps.
|
 |
|
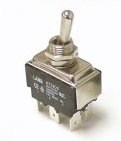
Toggle Switch with mounting plate (not
shown) - I got a 20 amp switch even though the circuit only calls for 10 amps.
|
 |
|
Good 10a fuse - To place in the fuse
holder.
|
 |
|
Parallel Splice Crimp Connectors (fuse
holder to extension wire, toggle switch to fuse tap spade connector)
|
 |
|
Ring Connectors (wires to toggle switch)
|
 |
|
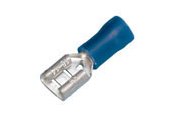
Female Disconnects (wires to fuse taps)
|
 |
|
Electrical Tape (wrap bare connectors on
dummy fuse)
|
|
|
Wire Cutter/Crimper Tool and Screw driver
(Philips)
|
|
|
Visitors since 6/30/04