There are a few
appearance accessories for the Crossfire that I have been
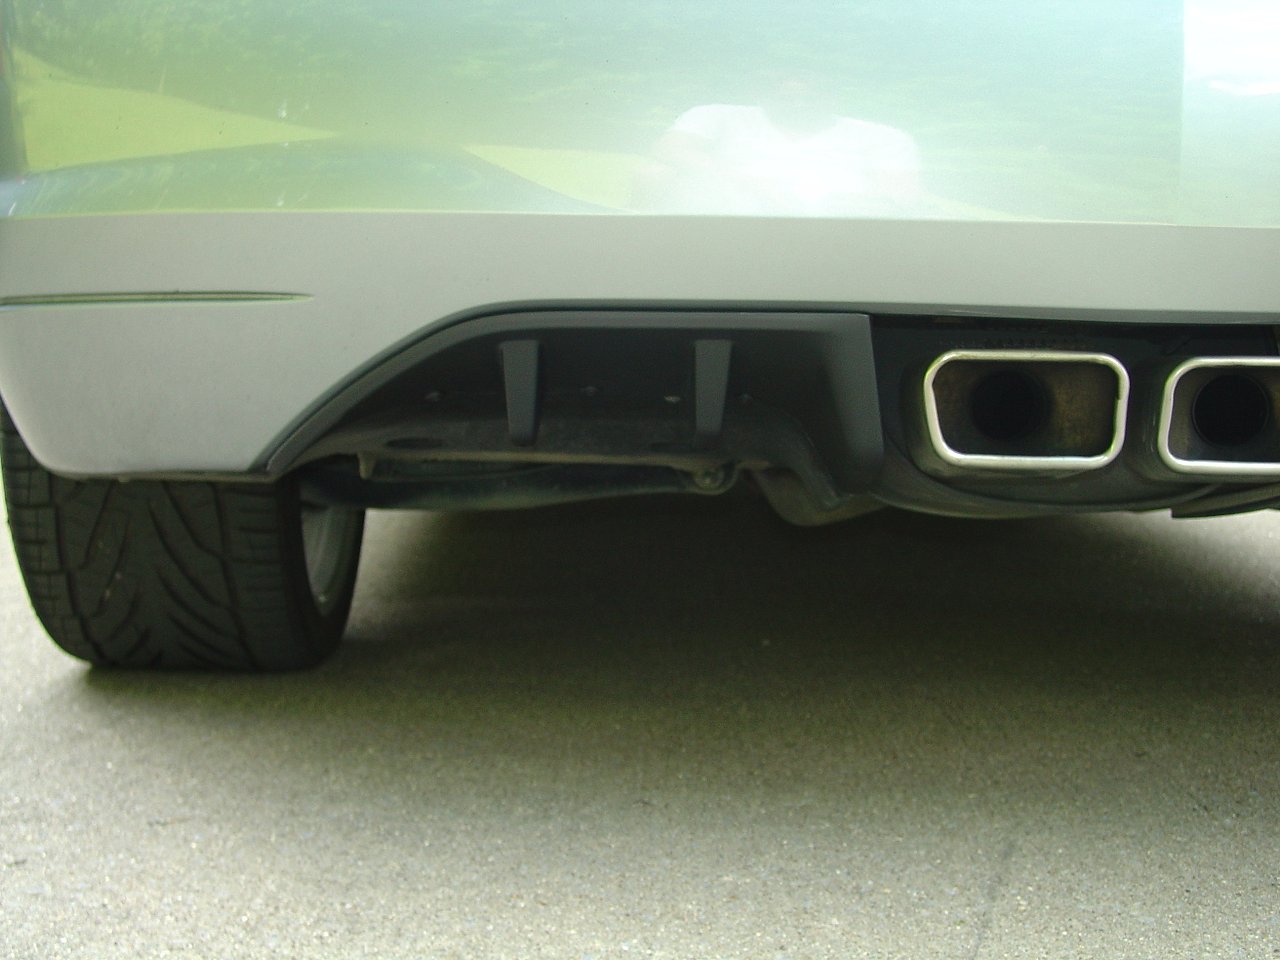
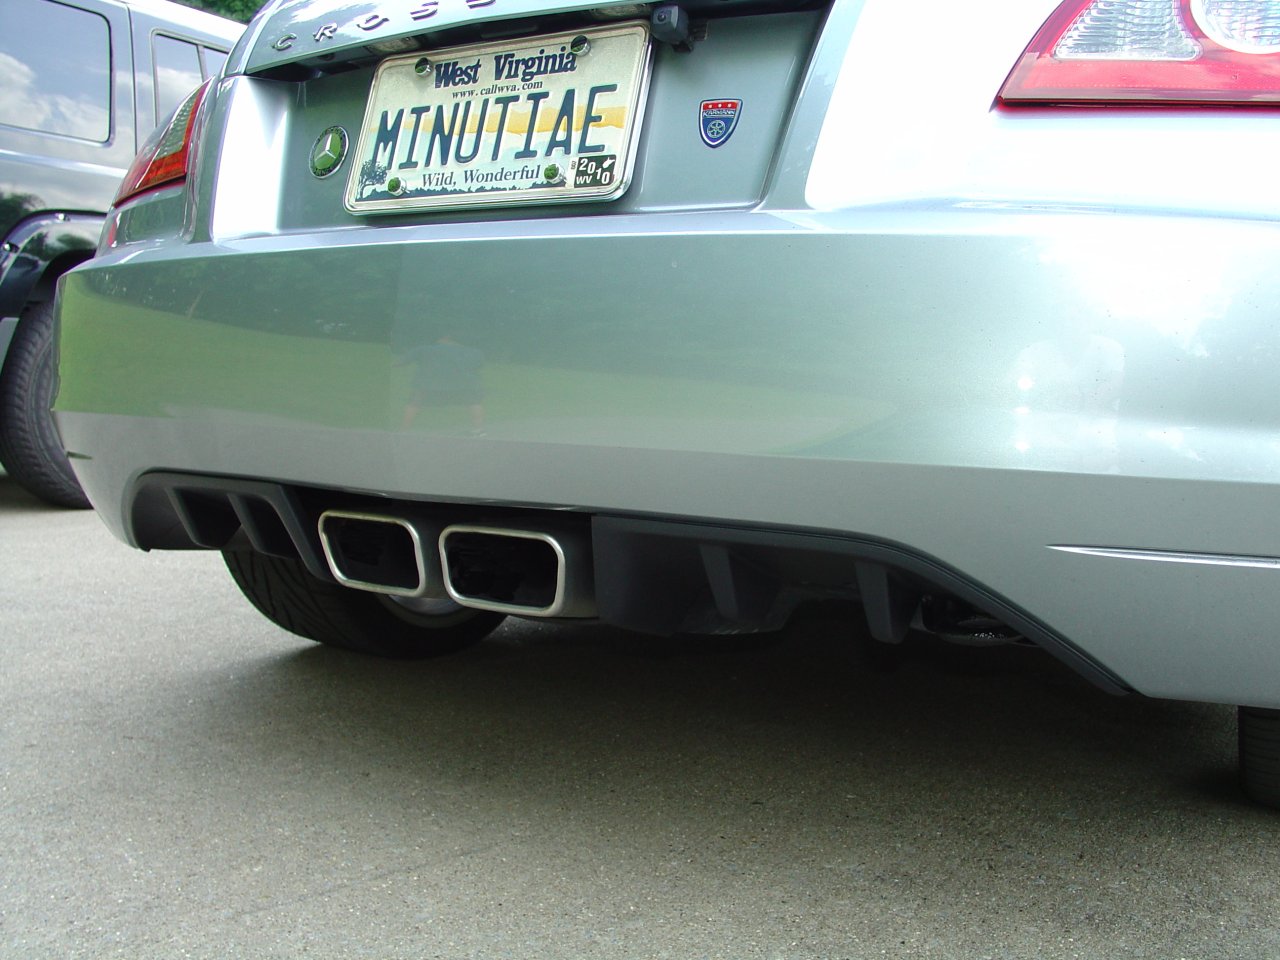
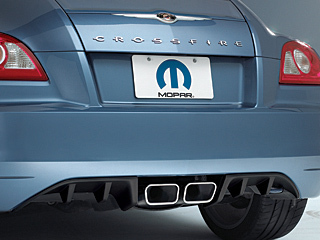
watching. One was the Rear Fascia Closeout Panel.
For all intents and purposes these are two made-to-fit parts
that dress up the area on either side of the exhaust tips.
I found them for a decent price and ordered them. A couple
days later they were in my hands.
It came with a
single sheet of instructions and the parts illustrated below.
The drill, bits and screw-driver were not supplied but are
required for the installation.
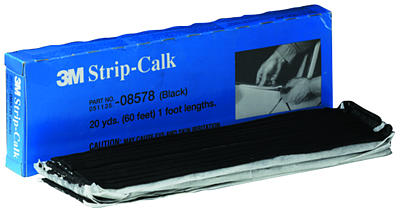
I grabbed a
Sharpie and a package of 3M Strip-Calk, and together with the
tools, parts and extension cord, headed for the car.
Strip-Calk is a Soft non-hardening caulking material in one foot
lengths for use in all types of seams, joints and openings. This
product is easily thumbed into place and smoothed with a finger.
It may be painted immediately. It has a non-sag
consistency for vertical and overhead applications. There is no
shrinkage and it adheres to metal, paint, glass and rubber.
Completely waterproof and will not dry out or crack. That
seems like a pretty ambitious claim but I have been using it
since about 1977 and in all that time it has never failed to
live up to the description above.
The directions
consist of pictures that show the steps. Step 2 shows
placing the parts into place and marking the holes to drill.
I used the Sharpie and drew circles using the screw hole as a
guide. Then I removed the part and using a center punch,
marked the center of each of the holes. This gave me an
indentation to keep the drill from drifting across the panel.
In Step 3 pilot
holes are drilled with the 1/8" drill bit. This is to
provide an easy way to line up the larger drill bit for the
final hole. The fascia material is so thin and soft that
the drill goes right through without any pressure at all.
I avoided pushing too hard so I would not damage the body inside
the fascia.
Step 4 shows
making the final holes using the 5/16" drill bit. Again it
goes through really easy. I followed Step 5 to clean the
panel with the Alcohol Wipe to prepare it for using the adhesive
that is used to attached the panel to the fascia.
In Step 6 the
protective tape is partially removed from the panels so that the
panel may be placed onto the fascia (Step 7) and then removed
(in Step 9). But first the fasteners are put through the
panel holes and into the fascia panel. Before I put the
panel up onto the fascia for final fastening, I took a piece of
the strip-calk and made a thin bead running on the edge that
ends up facing toward the front of the car. I decided to
do this because it projects down from the fascia and will be
exposed to the air coming under the car. My guess is that
this edge could scoop up water and dirt. So I decided to
put a seal on it to reduce the accumulation of dirt and water,
and to prevent the edge from catching moving air and making
noise. I put just enough strip-calk to wrap around the
edge so that when the panel is put in place the strip-calk is
trapped between the panel and the fascia and can be made into a
bead that seals the edge.
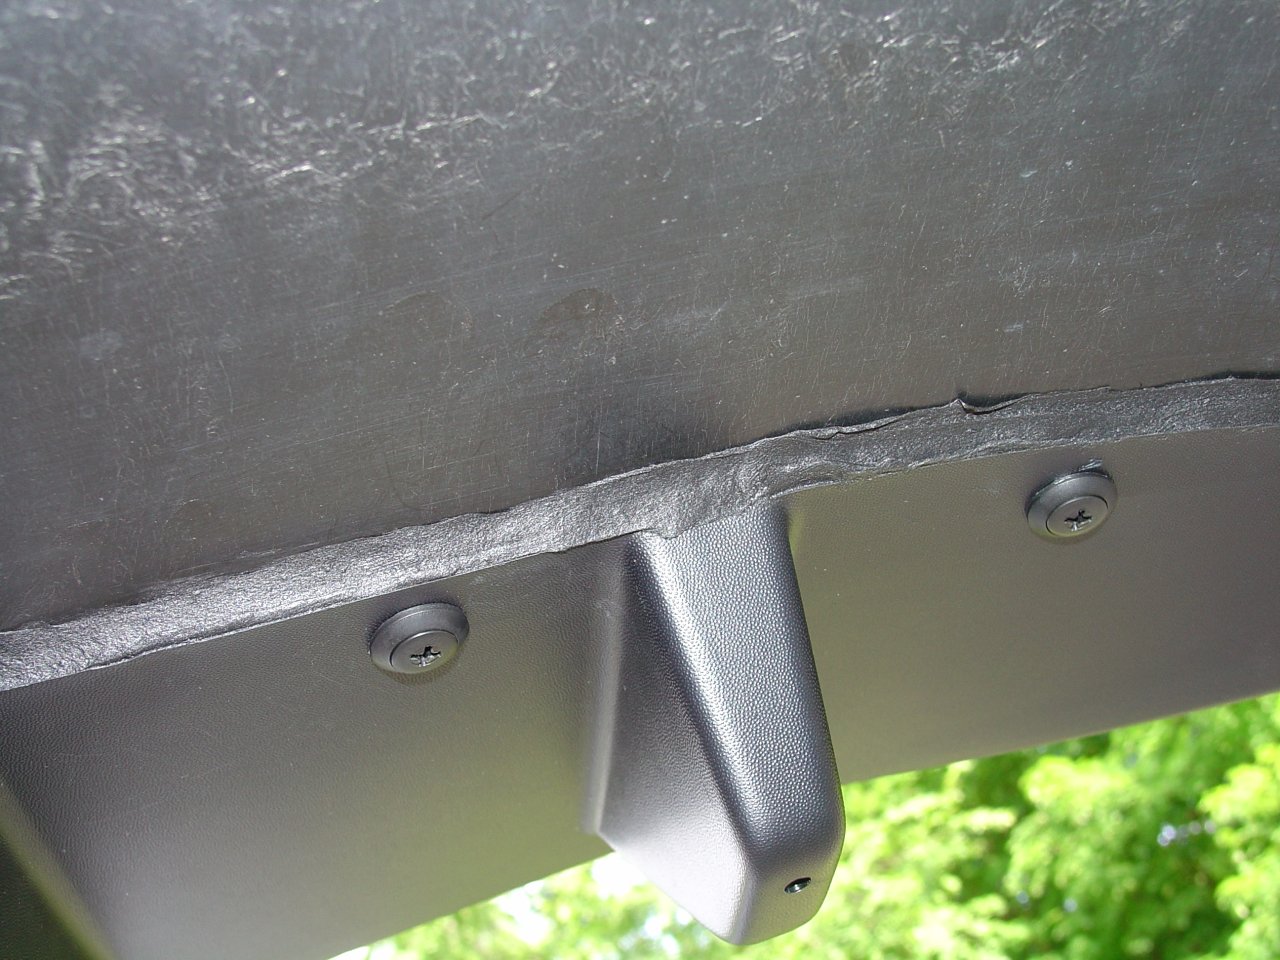
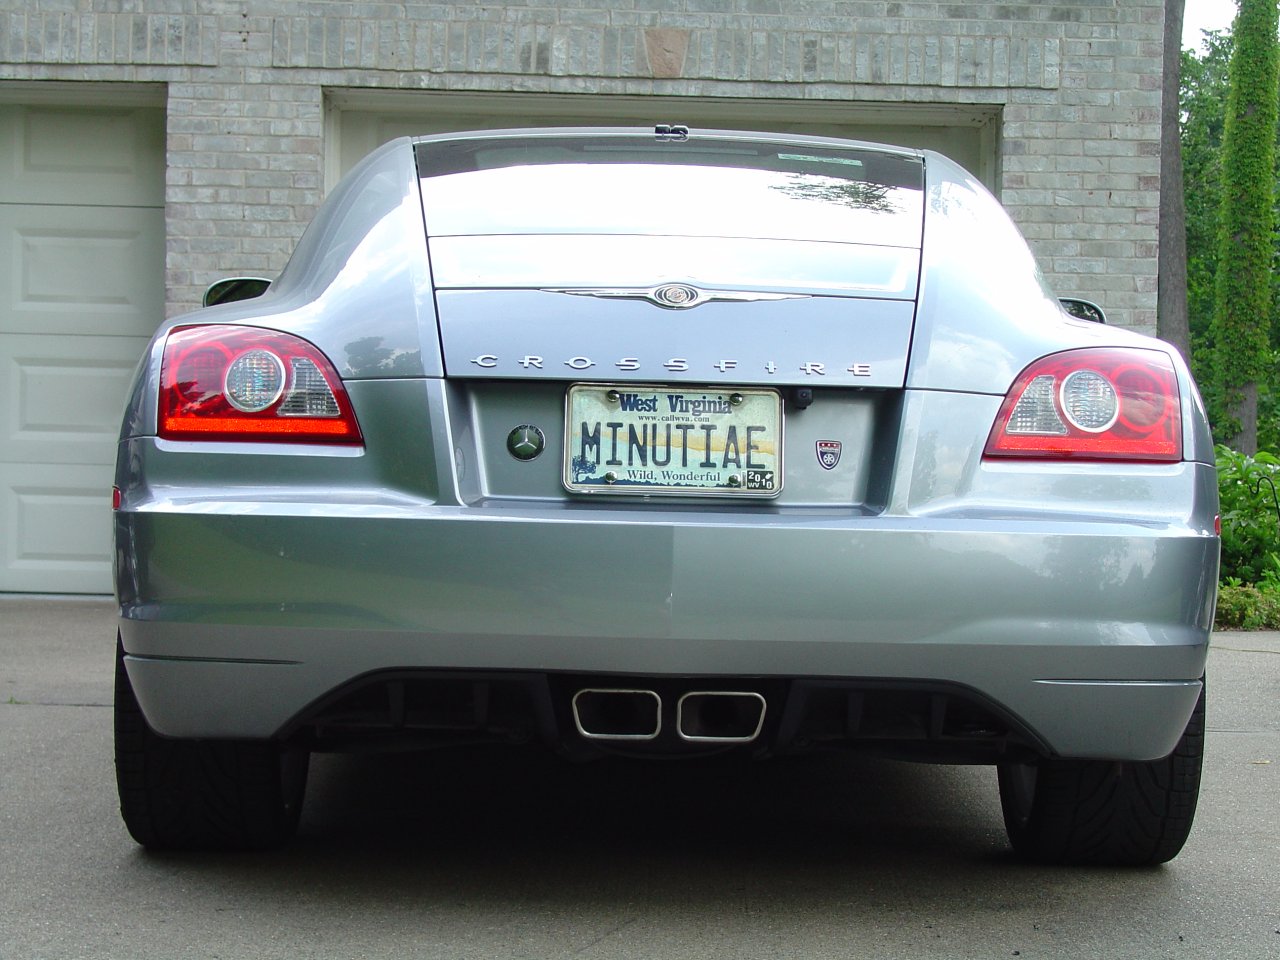
All that is left
is to press the panel into place to make the adhesive take hold,
and screw in the fasteners. And of course repeat the
activity on the other side.
My final touch was
to spray the tow loop with some satin black paint to blend it
into the panel so it didn't show. Of course I masked off
the panel and surrounding area first with the bubble wrap that
the parts came in.
It was very easy,
took only a couple minutes, and would be pretty hard to screw
up.