Let's Go Way Back... (to 2001?)
I had occasion
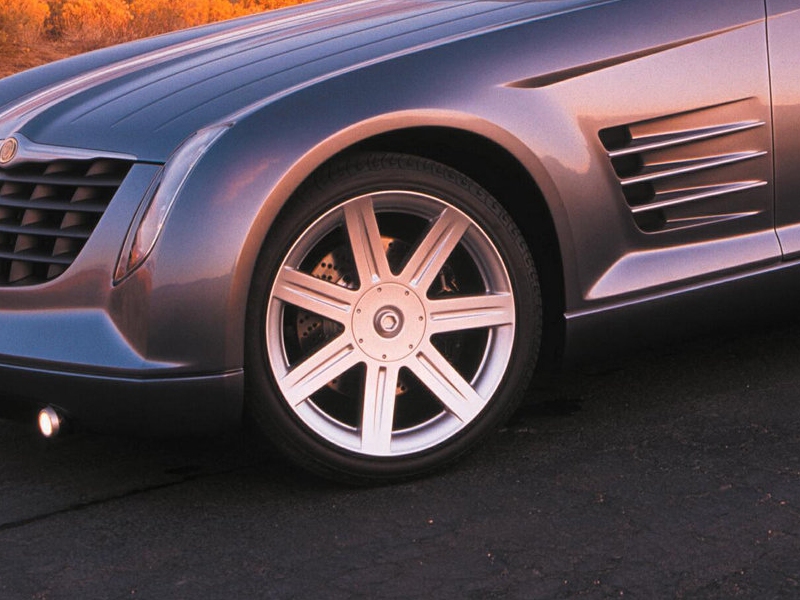
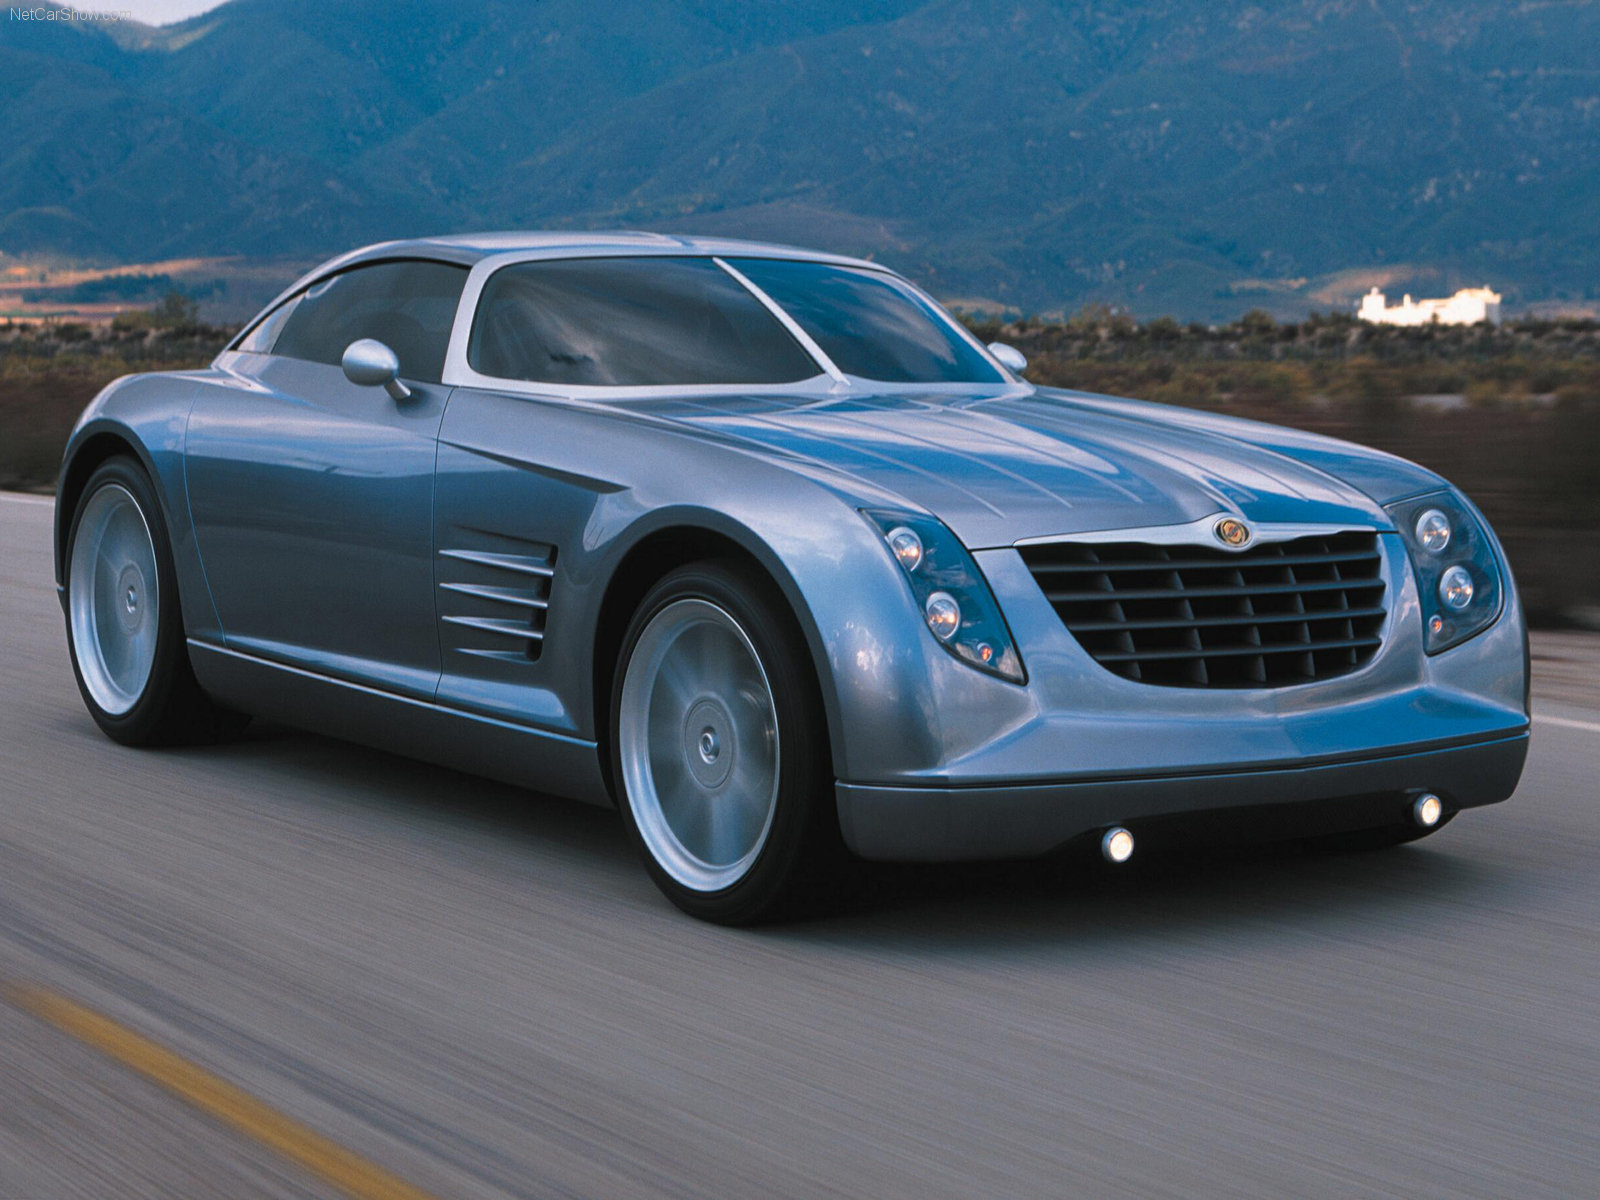
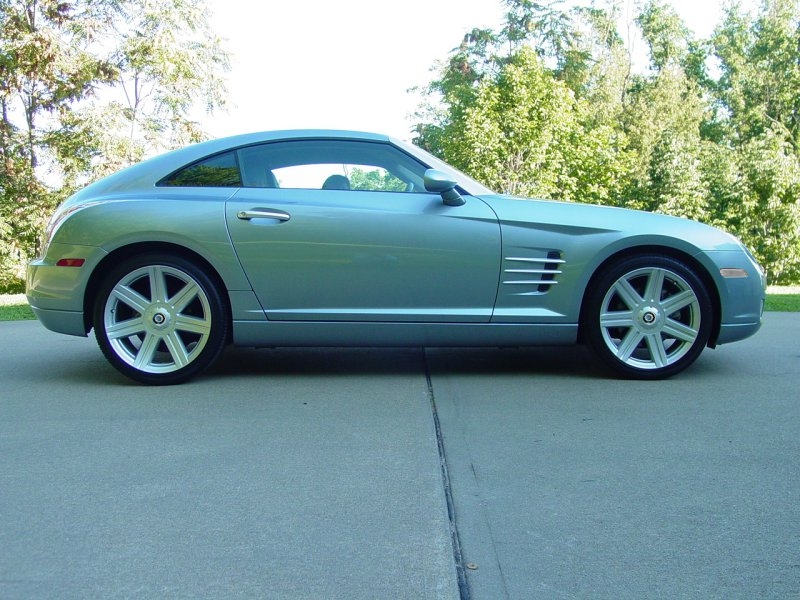
to study high resolution photos of the prototype Crossfire and
noticed something I liked - the center caps on the wheels.
As is usually
the case when a prototype goes into production, there are things
that do not make the transition. There are many things on
the prototype that didn't make it to the production car.
Notwithstanding, it's still impressive to see how true to the
original design the final car remained.

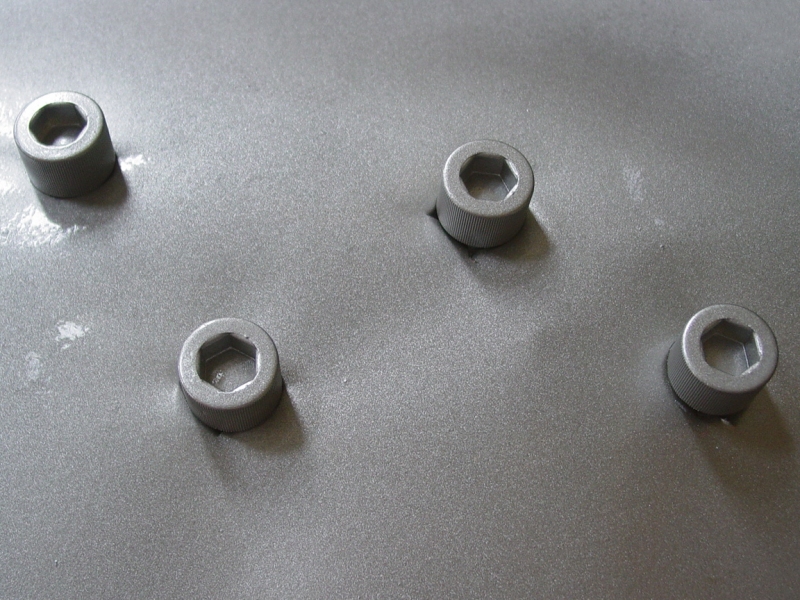
I sat one night
and did some hunting around to find suitable parts that I might
use to recapture the design of those original center caps.
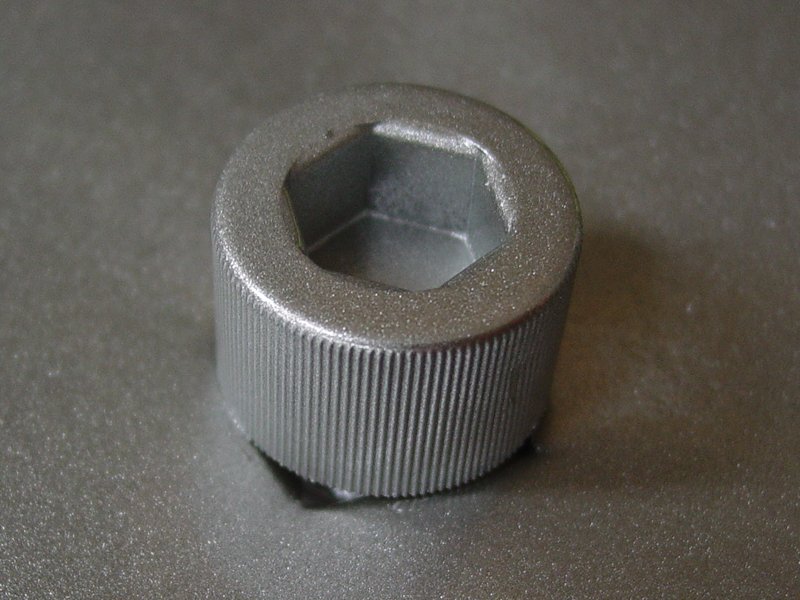
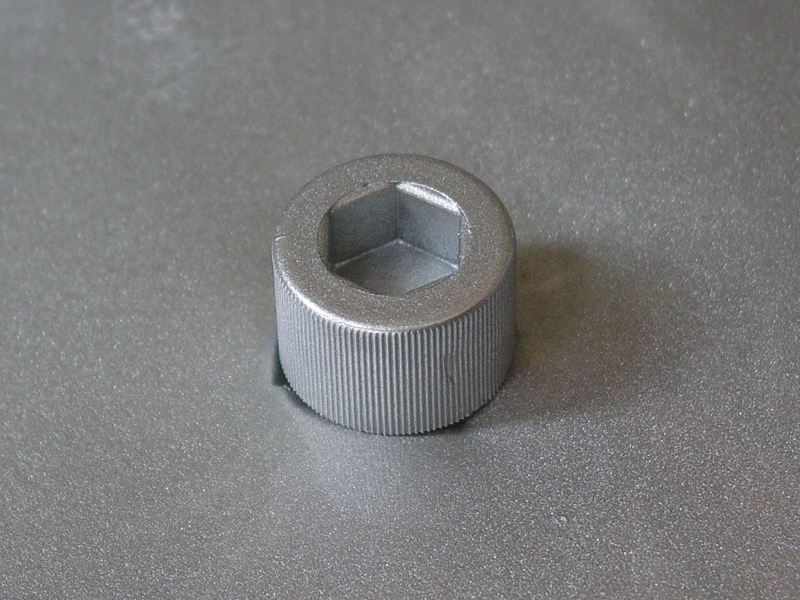
They appeared to be a large socket cap screw recessed into the
center of the cap. I grabbed one of the standard caps and
took some measures, extrapolated the dimensions of the prototype
caps, and assembled some parts I thought would come very close
to reproducing the look of the center caps on the prototype.
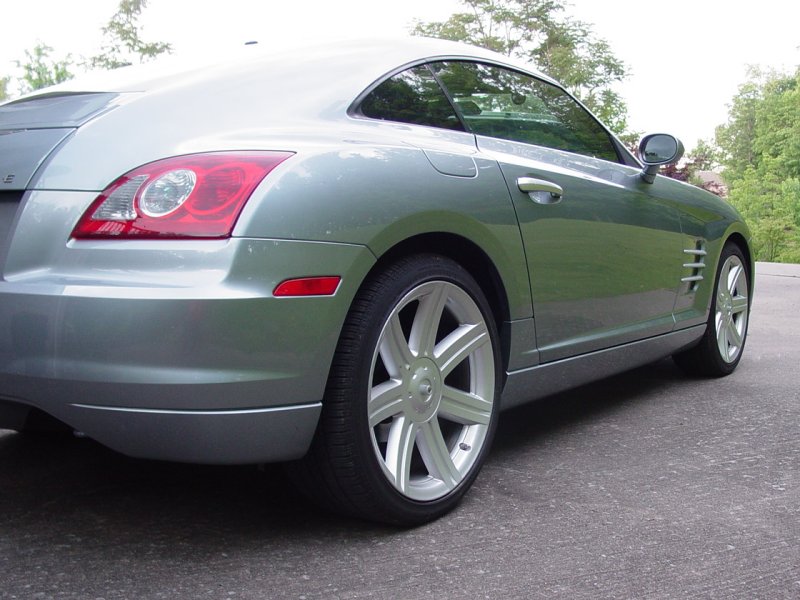
I played with a photo editing program to see what it might look
like on my car:
I did have to
accept the fact that the prototype center caps are dished and
have no raised center section like the production caps. I
also make a decision not to attempt to replicate the dimples
that mark each spoke near the outside rim of the center caps.
That would require a level of precision to embed little
button-head screws in a perfect circle. I didn't see
myself pulling that off. At any rate, the factory caps
have an indentation that attempts to create that effect so I am
sticking with that.
In terms of the
materials and assembly, there were two things that had to be
taken into account. I needed parts that would be light,
would take paint very well, and would not corrode. I
concluded that since this was a purely cosmetic effort, plastic
would be appropriate, and, once painted, should have the same
finish as the rest of the center cap. As long as some tire
technician didn't take an Allen wrench to them, it would be no
problem!
Here's the list
of parts I came up with. As I have so often done when
fabricating things from scratch, I paid
McMaster-Carr a visit and sourced everything except the
original center caps from them.
Before assembly
of the pieces, I painted the parts with a two-part treatment.
First a color coat using a carefully selected silver that
matches the color of the wheels.
First the matching silver to the wheels and center cap, making
sure that the socket of the screw is well painted and everything
has several thin coats. Next I apply a clear-coat to give
it the same luster as the wheels.

These parts are set
aside to dry for a week. That gives them enough time to
harden and fuse together. This prevents them from getting
spoiled in handling during assembly later.
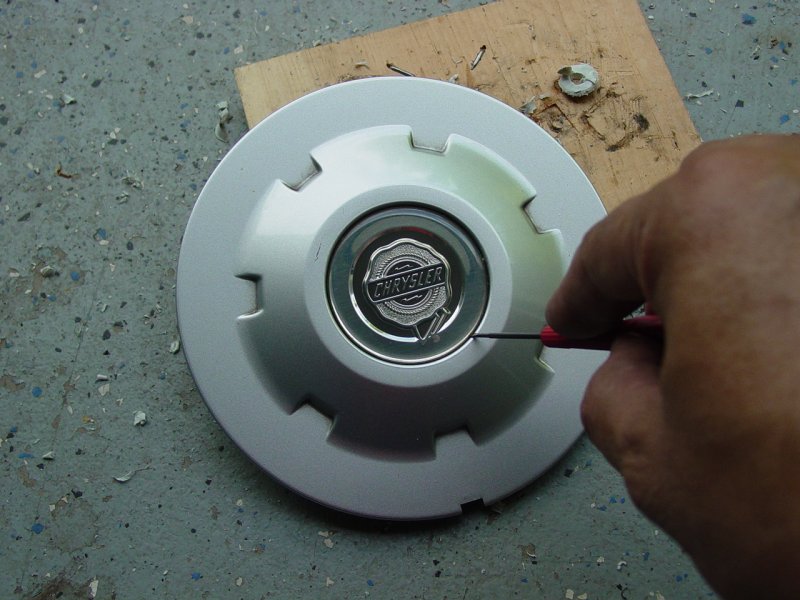
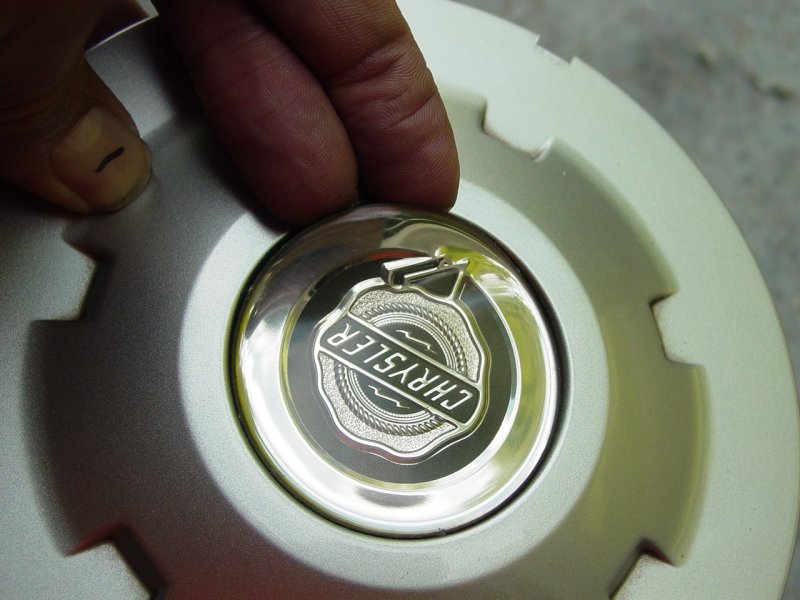
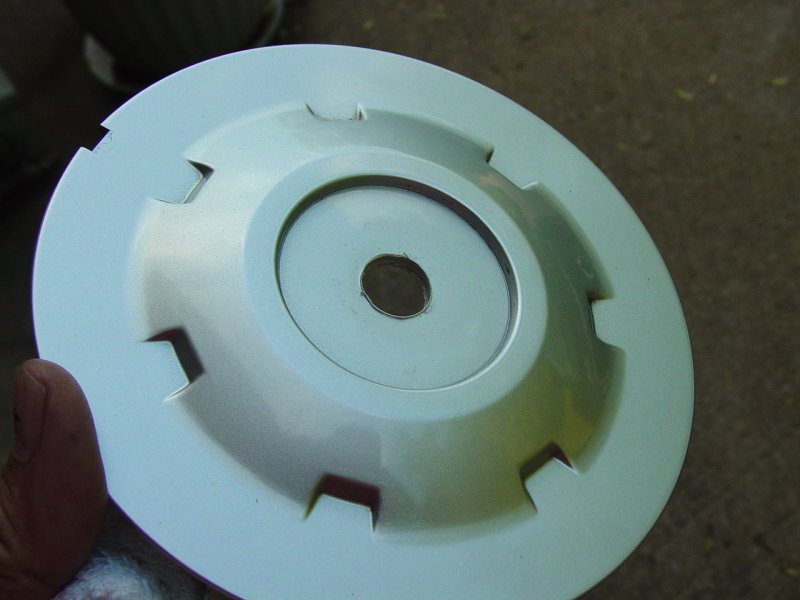
The
Chrysler logo on the center of the cap needs to be removed.
Using a jewelers flat-head screw driver, I carefully got under
the very edge of the center emblem being careful not to scratch
any part of the center cap finish.
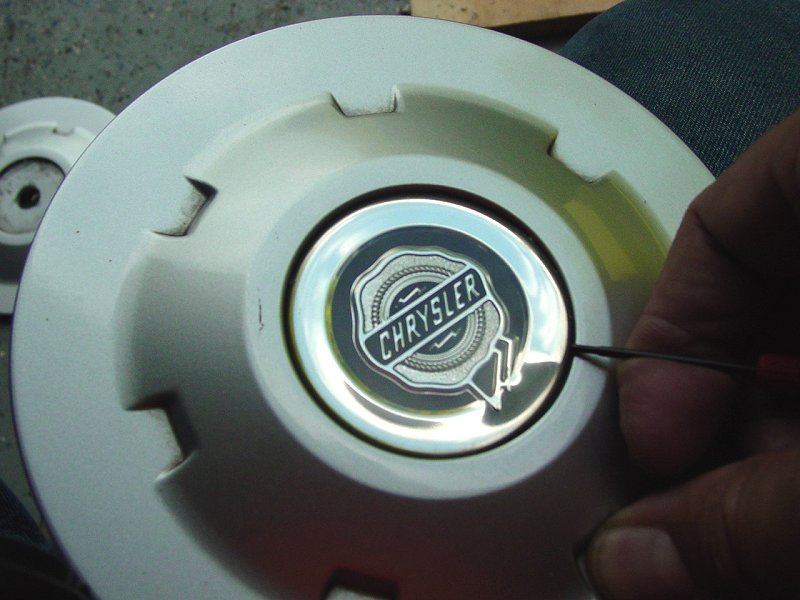
With the edge
lifted, the glue starts to give way and I got my fingers under
the center by prying it up with my fingers. Don't use
tools because the surface underneath the emblem must not be
scratched.

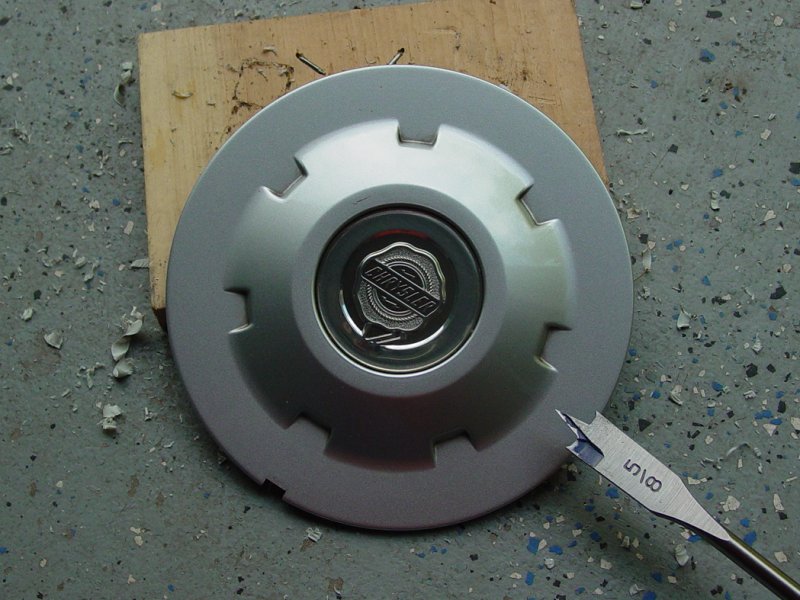
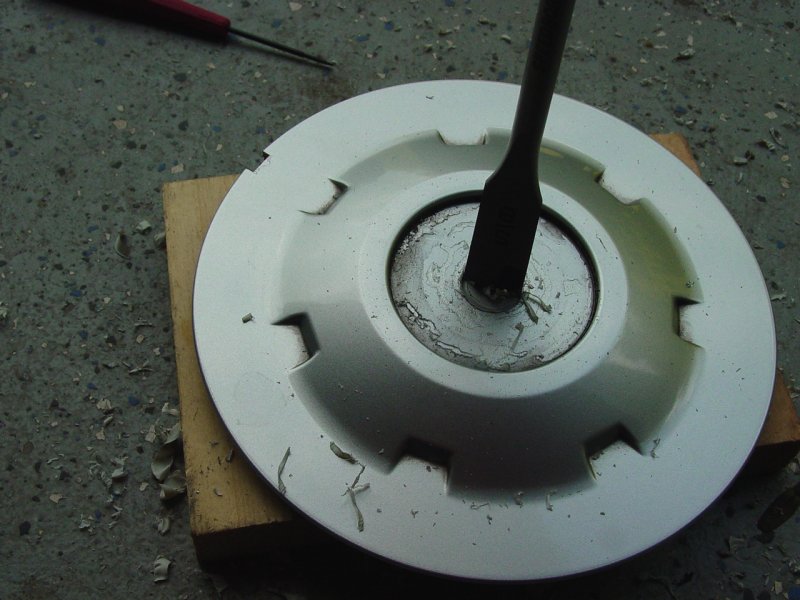
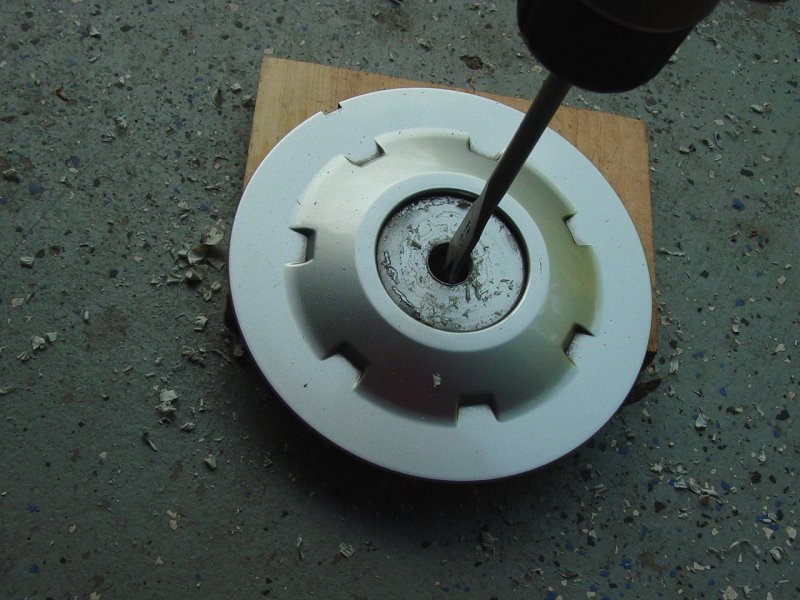
The center of the cap
is marked by the molding injection point.
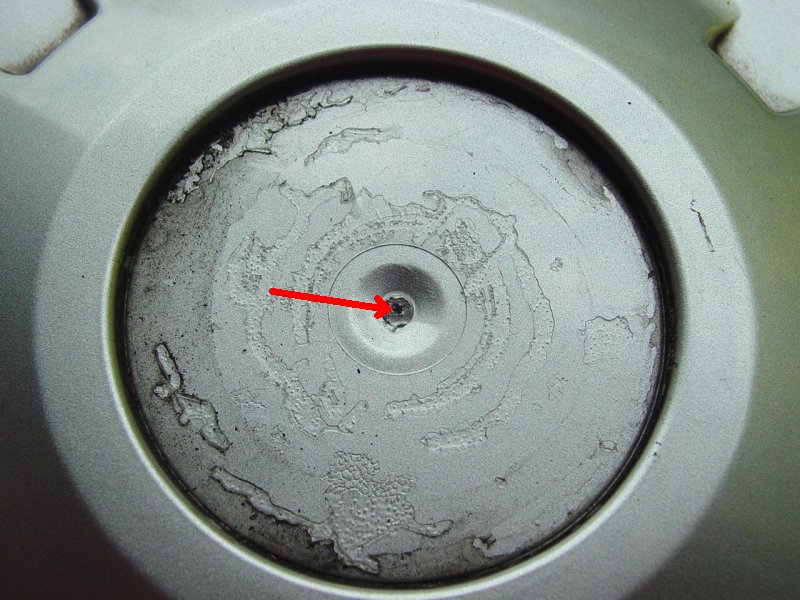
I used that as
a landmark and using a spate bit, drilled a 5/8"
hole making sure it was dead center. I do not want to
introduce wheel imbalance with this project!
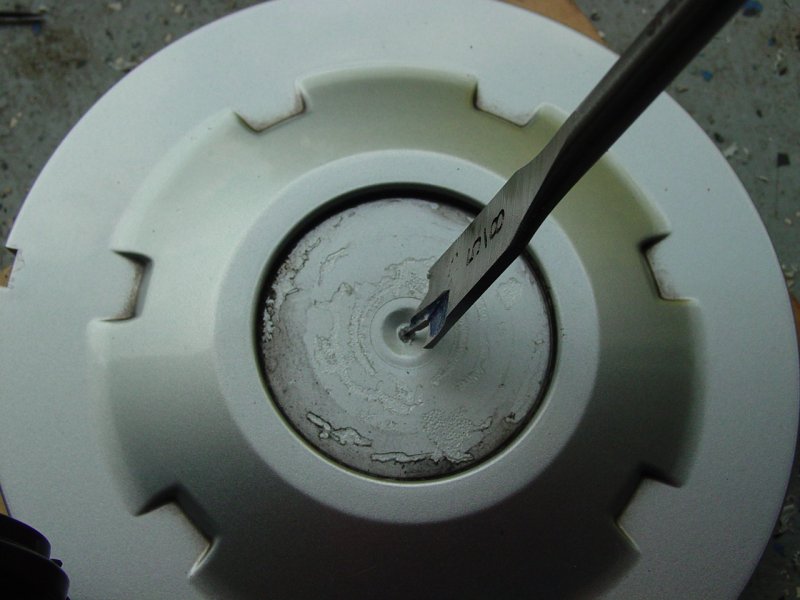
I drilled very
slowly, first scoring the cap to make sure the hole was
centered, then letting the bit slowly cut the hoe, while holding
the cap to prevent spinning.
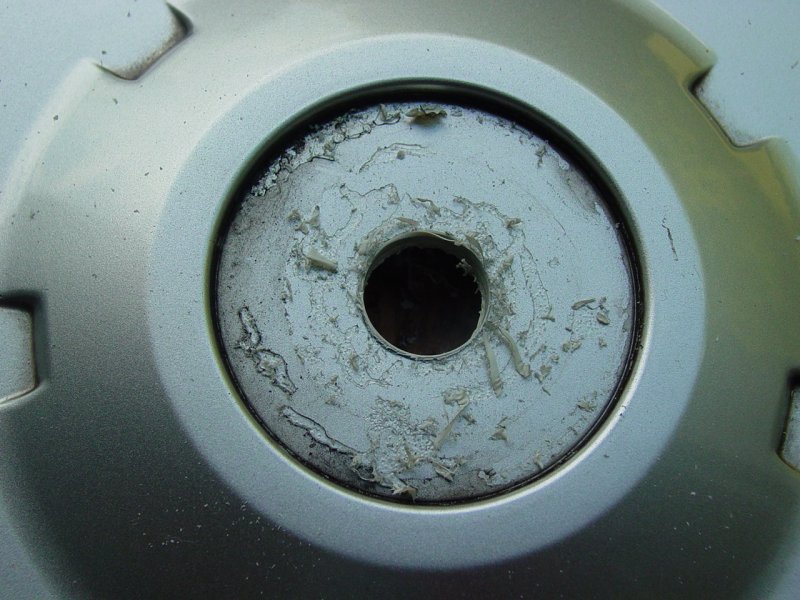
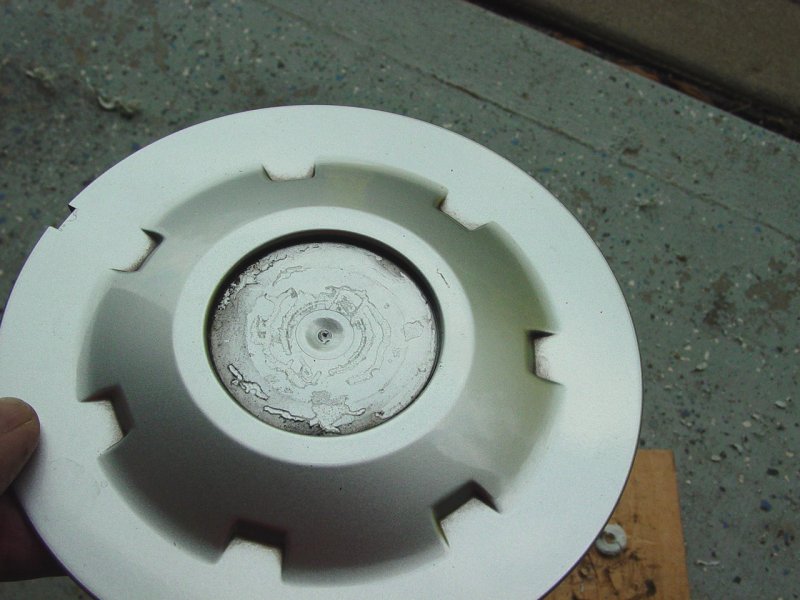
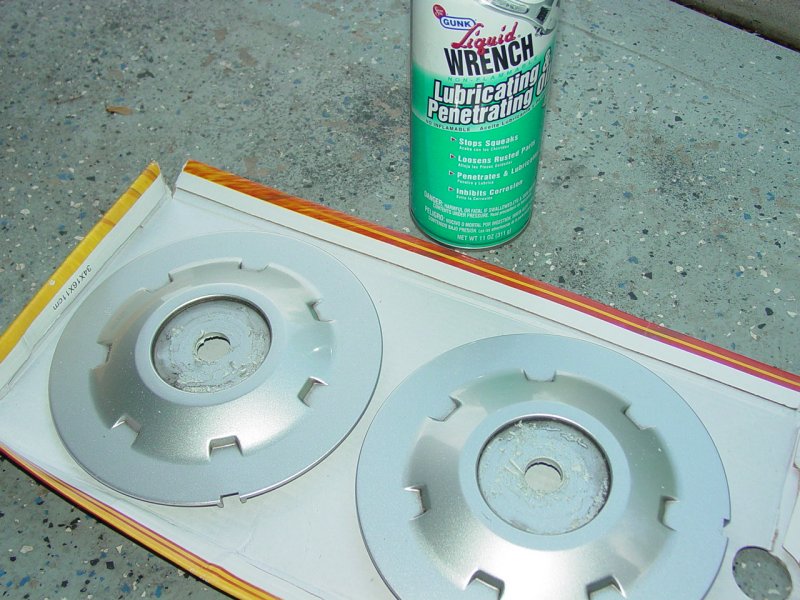
Then, using
penetrating oil, I carefully removed the glue that once held the
center piece in place, and then cleaned out the recess
completely.


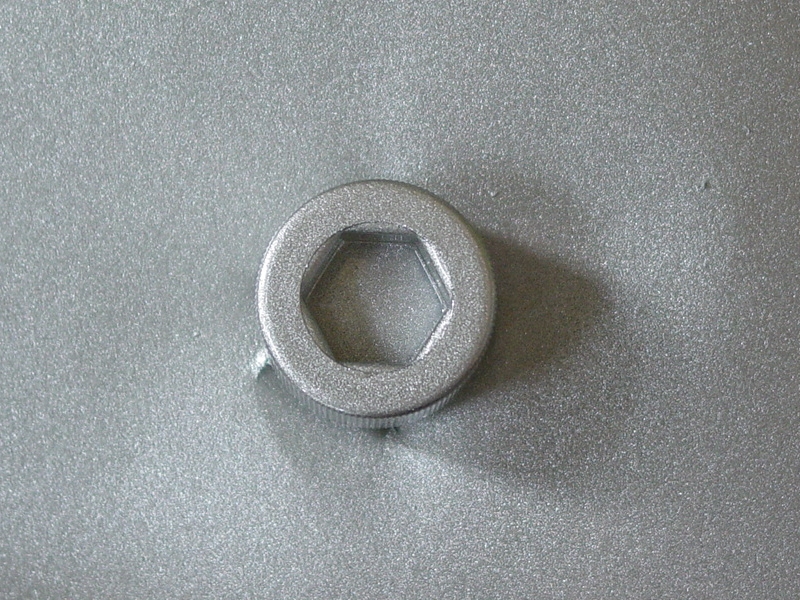
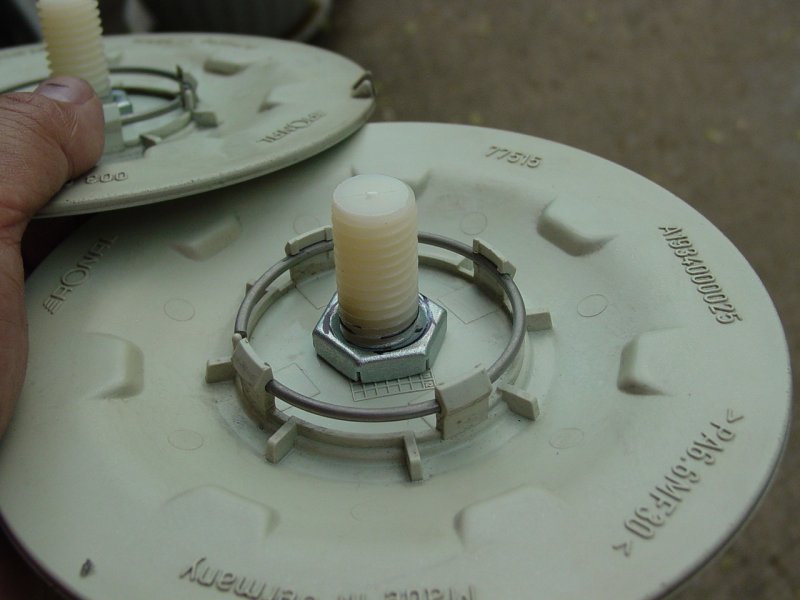
Next, I
retrieved the painted socket head cap screws, I test fitted them
into the holes. I put the retaining nut on and marked the
screw for cutting.
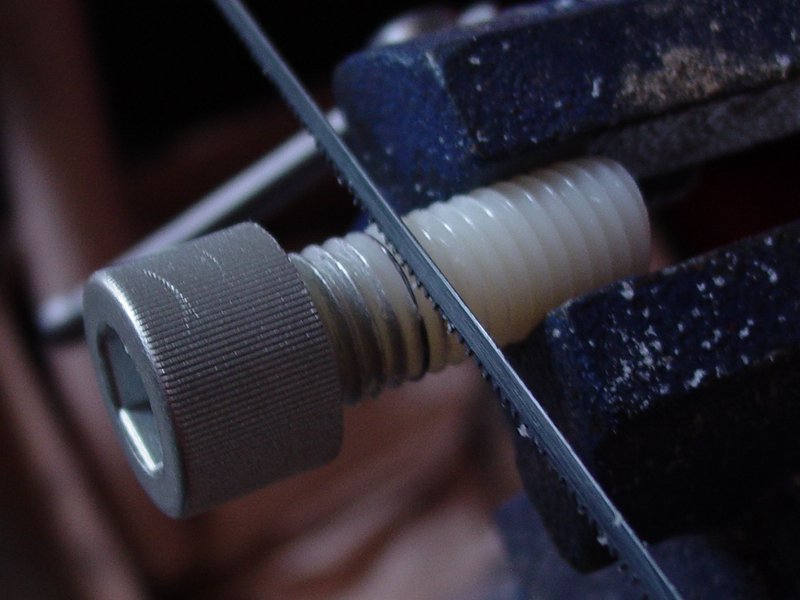
I cut the screw
off leaving just enough to allow threading on the nut and enough
threads to allow it to be made tight.
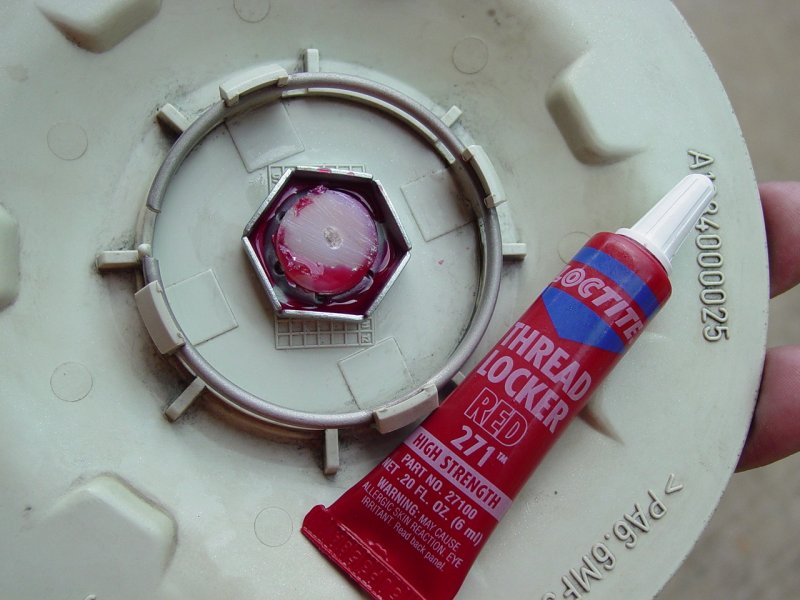
Next I
reinstalled the nut and screw, and applied some thread locking
compound to prevent the retaining nut from coming loose.
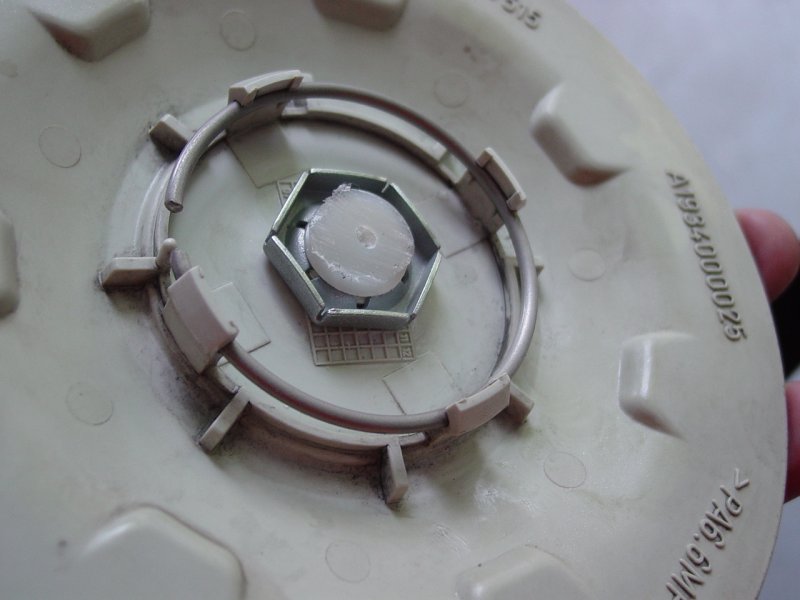

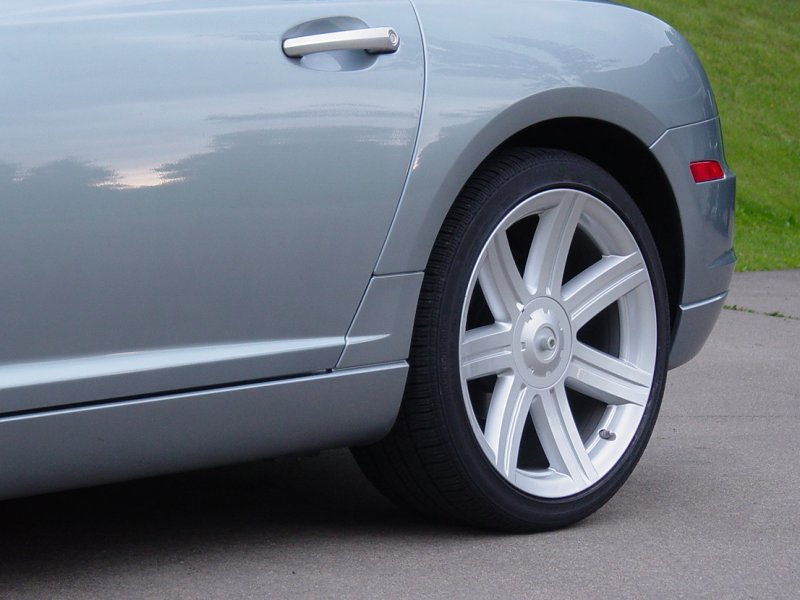
The results
approximate the look of the original prototype wheel caps.
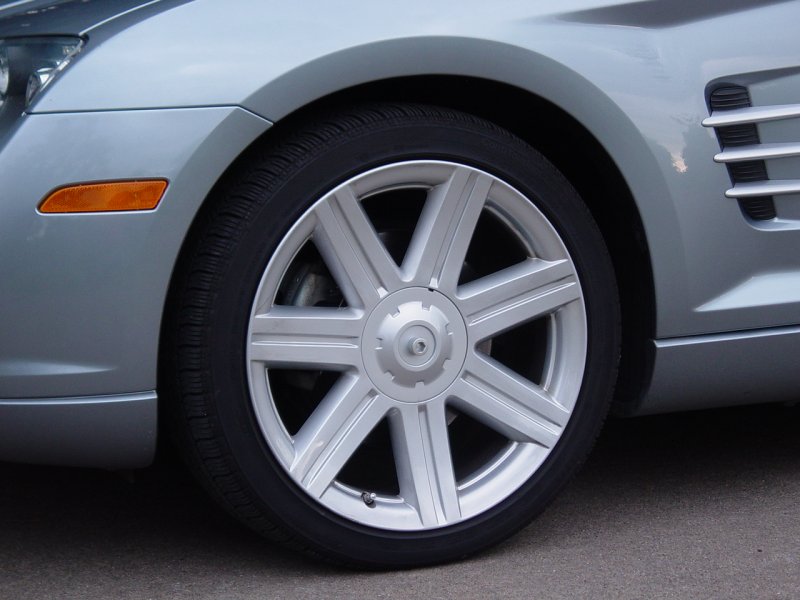

The socket head
cap nuts are not as large as the prototype ones, but I can
revisit that should I manage to find some that large!