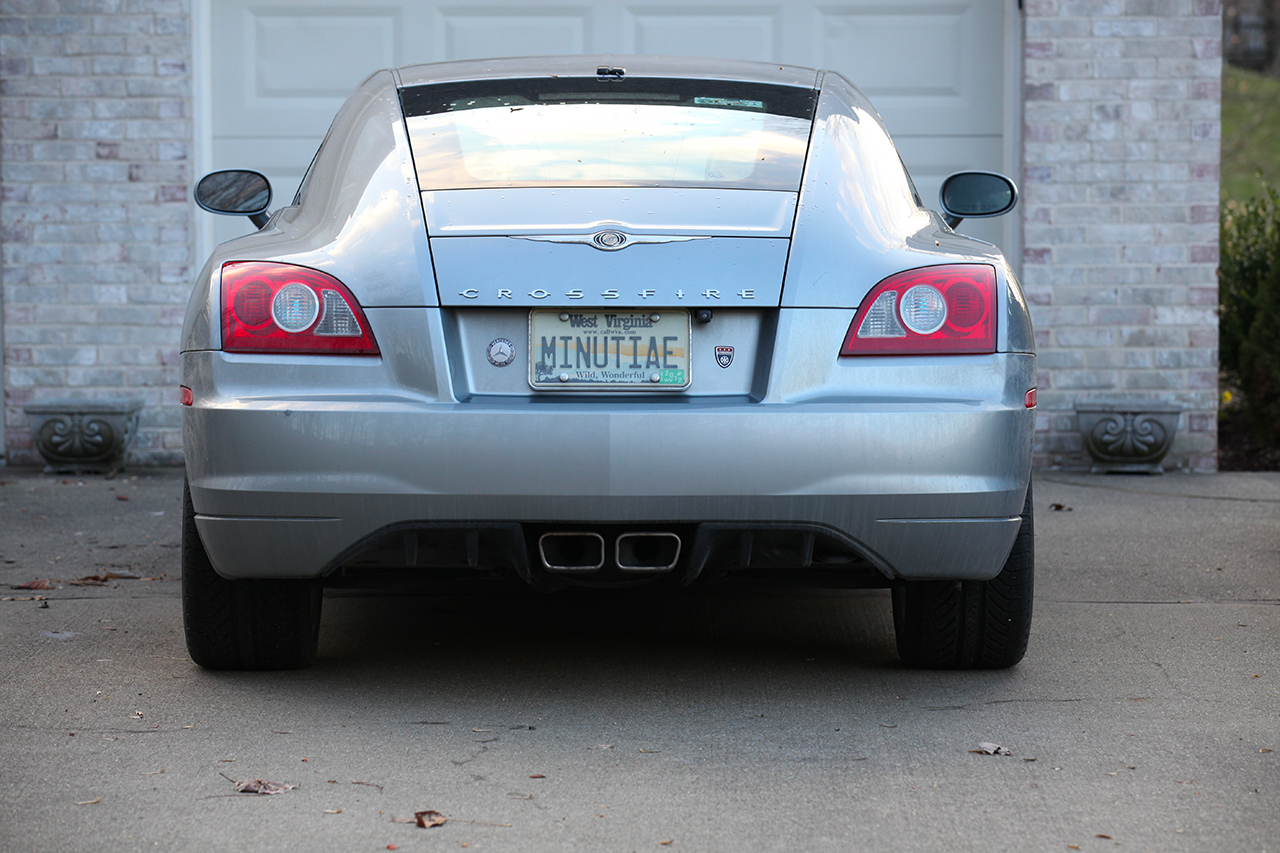
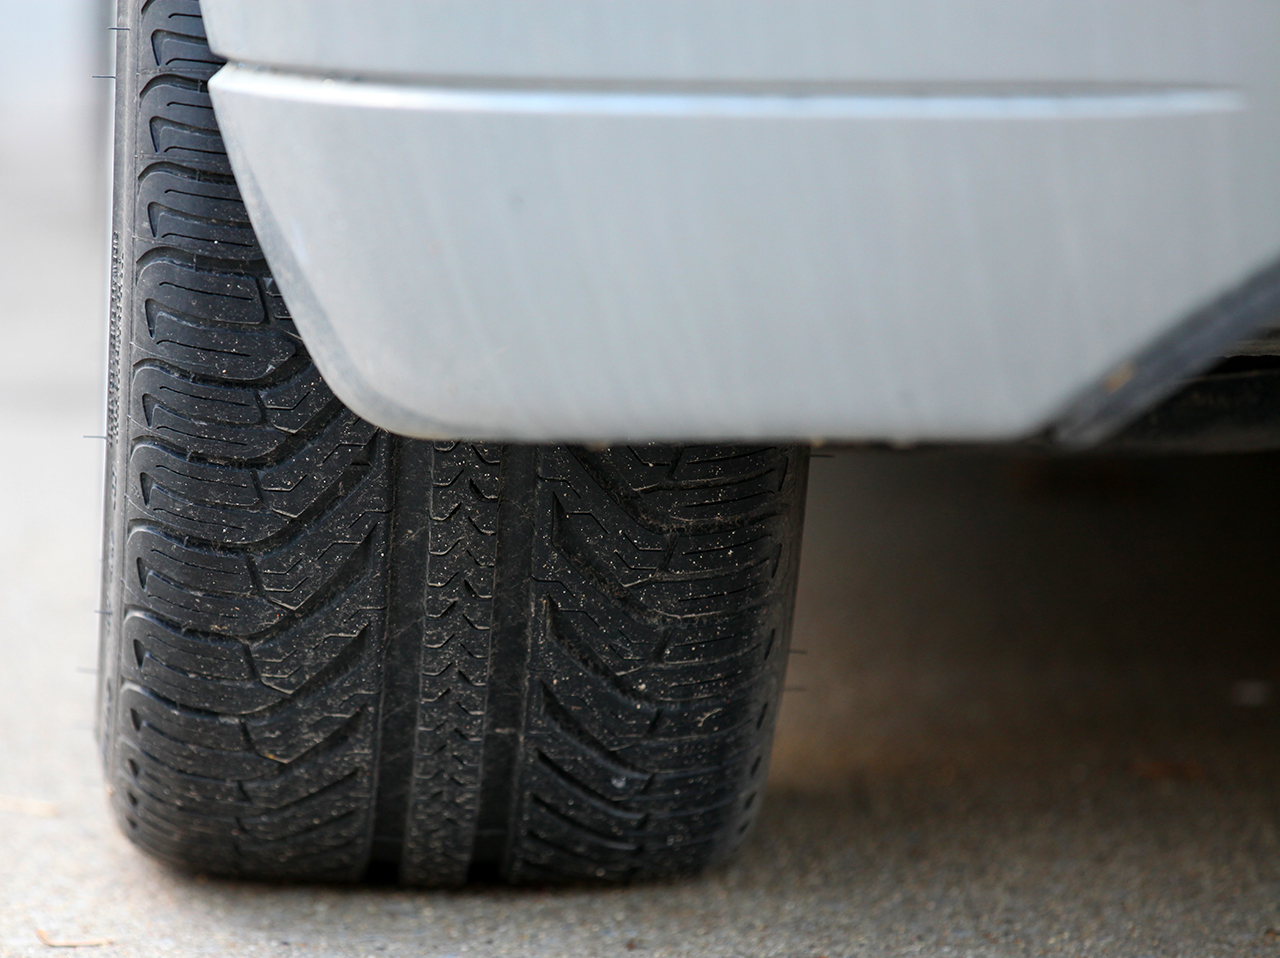
Michelin Pilot Sport A/S Plus
(Ultra-High Performance All Season)

Chrysler Crossfire with Michelin Pilot Sport A/S Plus Ultra-High Performance All Season Tires


3/21/2011

Update 18,276 Miles 3/19/2012 - Tire lasted a year, gave more miles, no vibration or noise until very end - current miles 88,276 - Pilot Sport A/S Plus ultra-high performance all-season tires

4X4 ICON 2000 - 2008 The DVD! - Click here for details!

4X4 ICON 2000 - 2008 The DVD!

Commentary

At 70,000, I had already replaced the front tires with Goodyear F1 All Season tires like last year.  But after waiting since October 2010 for the rears to arrive, I had to give up waiting on Good Year.  The rear tires wore through to the cord and I had to get tires.  I will not be buying the Good Year tires again.  This was the second year in a row I had to wait for the rear tires.  This year I ended up with two front tires that are maybe 1/3 used, and no back tires to match.

I decided to go for the Michelin Pilot Sport A/S Plus ultra-high performance all-season tires.  They maintain the same general specifications as the Good Years:


I had some additional issues to deal with.  Since mounting the front tires in October, I had a slow leak on the left-front tire.  I discovered it was a crack in the wheel, most likely from a hit it took on the storm drain that was sticking up because of some paving in our neighborhood.  With no warning, the pavers ground down the pavement around the drain and left it without any indications.  I hit it and probably cracked the wheel.

I took the wheel to Wilson Works and had them weld the crack.  After a couple days they called and I picked the wheel up.  The repair cost me a quarter of the cost of a reconditioned wheel.  I picked up some refinishing supplies and resealed the wheel so the aluminum won't corrode prematurely, and brought the wheels to the same Mercedes Dealer as in last year and had them mount and balance the tires, though this time I brought them only wheels and tires.

Changing out the Fronts

Changing out the Fronts

Changing out the Fronts

These tires feel better than the Good Years right from the start.  The speedometer, which had been about four miles per hour fast with the Good Years, is once again correct.  These tires are just the right size...

The rest of this write-up contains pictures of the tires installed, the specs for the tires, the procedures for swapping the tires, and some general info.

Michelin Pilot Sport A/S high-performance All Season Tires  Michelin Pilot Sport A/S high-performance All Season Tires  Michelin Pilot Sport A/S high-performance All Season Tires


Michelin Pilot Sport A/S high-performance All Season Tires


STANDARD PROCEDURE - TIRE ROTATION

WARNING: DO NOT ROTATE TIRES IN A FRONT TO BACK FASHION. THE FRONT AND REAR TIRES ARE
DIFFERENT SIZES AND WILL CAUSE VEHICLE MALFUNCTION.

The only method of tire rotation is from the rear right side to rear left side and from the front right side to
the front left side.

Tires on the front and rear of the vehicle operate at different loads and perform different steering, driving, and braking functions. For these reasons they wear at unequal rates and tend to develop irregular wear patterns. These effects can be reduced by rotating the tires at regular intervals. The benefits of tire rotation are:

  • Increase tread life

  • Maintain traction levels

  • A smooth, quiet ride


STANDARD PROCEDURE - TIRE AND WHEEL INSTALLATION

The wheel bolts are designed for specific applications. They must be replaced with equivalent parts. Do not use replacement parts of lesser quality or a substitute design. 

Before installing the wheel, be sure to remove any build up of corrosion on the wheel mounting surfaces. Ensure wheels are installed with good metal-to-metal contact. Improper installation could cause loosening of wheel bolts.  This could affect the safety and handling of your vehicle. 

To install the wheel, first position it properly on the mounting surface. All wheel bolts should then be tightened just snug.  Gradually tighten them in sequence 1, 2, 3, 4, 5 to 110 N·m (81 ft. lbs.). Never use oil or grease on bolts.

TIRE PRESSURE MONITORING

DESCRIPTION

This vehicle has a tire pressure monitoring (TPM) system. It is there to alert the driver when air pressure in any of the vehicle’s four tires falls below a predetermined threshold. It alerts the driver with a lamp in the instrument cluster.


SENSOR

DESCRIPTION

CAUTION: Be sure that an original equipment valve stem cap or a valve stem cap of the same sealing capability is always used if the valve stem cap requires replacement.

A tire pressure sensor/transmitter is installed in each wheel of this vehicle as part of the tire pressure monitoring system. A special valve stem incorporated into each tire pressure sensor/transmitter attaches it to the wheel.


VALVE STEM CORE AND CAP

On this vehicle, the valve stem is part of the tire pressure sensor/transmitter and is used as its antenna. If corrosion were to develop in the valve stem, it would affect the ability of the tire pressure sensor/transmitter to send the radio frequency signal to the TPM module.  The valve stem used on this vehicle is made from aluminum. Corrosion of aluminum will be caused by putting a dissimilar metal in contact with it. To prevent this type of corrosion from developing within the valve stem, the core of the valve stem is made of a compatible metal and is specially coated.  For this reason, a standard valve stem core must never be installed in this valve stem. If the core of the valve stem is removed when servicing the tire, the original valve stem core must be reinstalled. If the valve stem core needs to be replaced, it must be replaced with an original equipment valve stem core.

The valve stem caps used on this vehicle are specially designed for their use on the valve stem of the tire pressure sensor/transmitter. Each valve stem cap has an O-ring in the upper end of the valve stem cap to provide a positive seal at the end of the valve stem. This keeps dirt contamination and corrosion out of the valve stem caused by moisture. As listed earlier, these conditions can affect the ability of the tire pressure transmitter to send the radio frequency signal to the TPM module.

OPERATION

Each tire pressure sensor/transmitter serves three functions:

  • It is used as a valve stem to inflate and deflate the tire.
  • It periodically measures tire pressure. (Approximately every 30 seconds.)
  • It transmits the tire pressure value to the low tire pressure warning module in the vehicle. (Approximately
    every 60 seconds or if tire pressure changes by one psi or more between transmissions.)

The system operates by monitoring a radio frequency transmission from the sensor/transmitters located in each wheel. When the vehicle reaches a speed of approximately 32 km/h (20 mph), centrifugal force created by the rotating wheels closes a roll switch inside each sensor/transmitter, powering up the circuitry.

The sensor/transmitters will only send out information when vehicle speed is above 32 km/h (20 mph). To facilitate transmitting the radio signal to the TPM module, the valve stem acts as the antenna for the tire pressure sensor/transmitter. When the TPM module senses that pressure is below one of two calibrated thresholds, (low pressure or critical pressure) the TPM system will set a diagnostic trouble code and indirectly operate the “Low Tire” pressure indicator lamp and the chime tone through the body control module (BCM).

The tire pressure sensor/transmitter is powered by an internal battery. The battery is not replaceable separately. In the event of battery failure, the entire tire pressure sensor/transmitter at that wheel will require replacement. To extend the life of the battery, the sensor/transmitter is not activated until the vehicle reaches a speed of approximately 32 km/h (20 mph) as stated earlier.

Each tire pressure sensor/transmitter has a unique identity code. This will allow the TPM system to indicate to a technician, through diagnostic trouble codes in the module, which tire of the vehicle has lost air pressure. This code is also used to identify to a technician which pressure sensor/transmitter has set a diagnostic trouble code. For this reason, if a tire pressure sensor/transmitter needs to be replaced, the new sensor/transmitter must be programmed to have its identity code recognized by the receiver.

REMOVAL

1. Remove the tire/wheel from the vehicle.

CAUTION: When removing the stick-on balancing weights from the wheel, do not use an abrasive cleaner or a cleaner which will damage the protective finish on the wheel.

2. Remove the balancing weights from the wheel (1).

Note: The cap used on this valve stem contains an O-ring seal to prevent contamination and moisture from entering the valve stem. Retain this valve stem cap for reuse. Do not substitute a regular valve stem cap in its place.

3. Remove the cap from the valve stem (2).

Note: The valve stem used on this vehicle is made of aluminum and the core is nickel plated brass. The original valve stem core must be reinstalled and not substituted for a valve stem core made of a different material. This is required to prevent corrosion in the valve stem caused by the different metals.

4. Using the appropriate tool, remove the core (4) from the valve stem (2).

5. Let the tire fully deflate.

CAUTION: The pressure transmitter must be removed from the wheel and dropped into the tire prior to breaking the bead and dismounting the tire. Failure to do this will greatly increase the risk of damaging the pressure transducer when servicing the tire.

6. Remove the nut (1) mounting the valve stem (4) of the pressure sensor/transmitter to the wheel (2). Drop sensor/ transmitter into the tire (3).

CAUTION: When breaking the top and bottom bead of the tire off the wheel, care must be used so the bead breaking mechanism on the tire changer does not damage the wheel. This includes the surface of the wheel flange on the inside of the wheel.

7. Using the tire changer manufacturer’s procedure, first break down the upper bead of the tire. Then break down the bottom bead of the tire.

CAUTION: When dismounting the upper tire bead from the wheel, the proper procedure must be used. Not using the proper procedure will result in damage to the wheel and tire.

8. Dismount the upper bead of the tire(1) from the wheel(2).

The upper bead must be fully dismounted from the wheel to remove the tire pressure transmitter from the
inside of the tire. The bottom bead of the tire does not need to be removed from the wheel.

9. Pull upward on the tire(1). Reach inside the tire and remove the pressure sensor/transmitter(3).


INSTALLATION

Note: When installing the tire pressure sensor/transmitter, replace the sealing grommet at the valve stem base before installing the pressure transmitter in the wheel. Also, be sure that the surface of the wheel that the grommet seals are against is clean and not damaged.

1. Install the tire pressure sensor/transmitter (1) on the wheel (2).

2. Install the special sensor mounting nut (3). When tightening the tire pressure sensor/transmitter nut, hold the sensor so it does not rotate. Once tightened, the gap between the sensor and the wheel must be even on both sides as shown. If the sensor/transmitter rotates (clocks), damage to the sensor/transmitter can occur when mounting the tire. Tighten the nut (3) to 4 N·m (35 in. lbs.).

CAUTION: When mounting the upper bead of the extended mobility tire, the proper procedure must be used. Not using the proper procedure will result in damage to the wheel and tire.

3. Mount the upper bead of the tire on the wheel.

4. Inflate the tire(s) to the proper specification.

5. Install the original or an OEM replacement valve stem cap on the valve stem.

6. Using a soap solution, check that no air leak is present where the valve stem mounts to the wheel.

7. Balance the tire/wheel assembly using the correct procedure for using wheel flange mount and stick-on wheel weights. For balancing information and wheel weight positioning, see below.

8. Install the tire/wheel on the vehicle. Refer to Page 22-42.

9. Program the identification code for the new tire pressure sensor/transmitter into the TPM module. 

10. Verify that the TPM module has been programmed with the identification code from the new tire pressure sensor/transmitter using the DRBIIIT scan tool. If the identification code and tire pressure thresholds from the new tire pressure transmitter are present in the receivers memory the new tire pressure transmitter has been correctly programmed to the receiver.


STANDARD PROCEDURE

TIRE AND WHEEL BALANCE

It is recommended that a two plane service dynamic balancer be used when a tire and wheel assembly require balancing. Refer to balancer operation instructions for proper cone mounting procedures. Typically aluminum wheels use the back cone mounting method without a cone spring.

Note: Static should be used only when a two plane balancer is not available.

Note: Aluminum wheels require coated balance weights and special alignment equipment.


Wheel balancing can be accomplished with either on or off vehicle equipment. When using on-vehicle balancing equipment, remove the opposite wheel/tire. Off-vehicle balancing is recommended.


For static balancing, find the location of the heavy spot (1) causing the imbalance. Counter balance wheel directly opposite the heavy spot. Determine weight required to counter balance the area of imbalance. Place half of this weight (3) on the inner rim flange and the other half on the outer rim flange.


For dynamic balancing, the balancing equipment is designed to locate the amount of weight (2) to be applied to both the inner and outer rim flange.


Crossfire Maintenance and Modification

Return to Crossfire

Shop for Jeep Toys and Books | See the Toy Jeeps | Off-Road Index 


Click or the [ BACK ] button on your browser to return to the previous page.

Photos, Layout and Design © 2009 Paul M. Provencher All Rights Reserved.
Contents of this Web Site may not be used without written permission

Hit Counter Visitors since 3/21/2011

Last Updated 03/19/2012 08:43:40 PM -0500

Home