With the annual
inspection due in a few days, and the odometer nudging 195,700 miles, I
took on the job of attending to a few things that needed to be taken
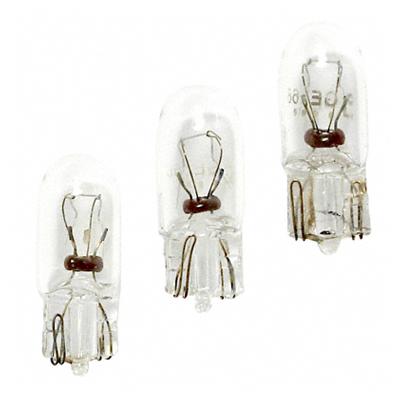
care of. There were a couple burned out marker lights, the
brakes
were wearing thin, it was time to rotate the
tires, and I decided to
change fluids, filters, and do an ignition system tune up.
So after breakfast I
made my list of parts. I decided I would try some aftermarket
parts. Partly to save some money over the cost of dealer parts,
and partly to save the 70-mile drive to the dealer. With my list
complete, I headed out the door for the nearest
NAPA Auto Parts.
I picked up all the
parts with the exception of the dielectric grease, wiper refills and
side marker bulbs. I asked if they gave Jeep clubs discounts and
the counter guy looked at me like a deer in headlights. But he
offered that AAA customers get discounts so I produced my card and saved
about $70 on my $260 order. Not too shabby!
With everything bought
and paid for, it was just a matter of taking it home and installing it
all.
Ted stayed home to work
with me while Tom and Maria went to a 5-year-old's birthday party.
We had to talk Ted into staying but pretty soon he was interested in
helping me.
I started with the easy
stuff. I removed the drain plug on the oil pan after laying out
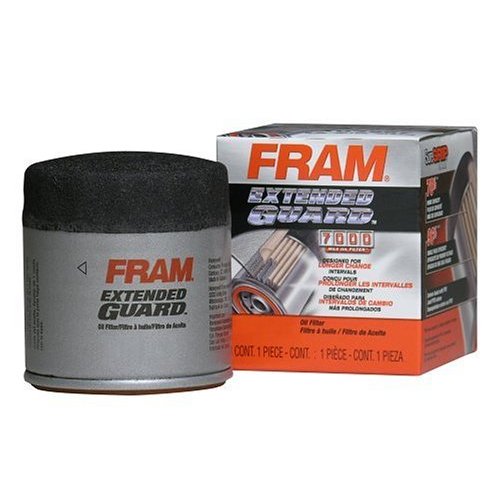
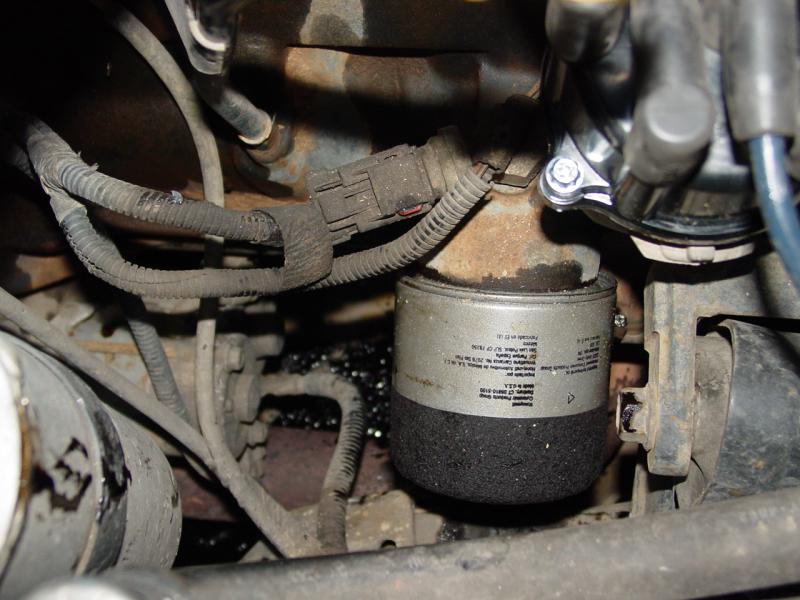
pads to lie on and a basin to catch the oil. While the oil drained, I removed the old oil filter and
replaced it with a new one.
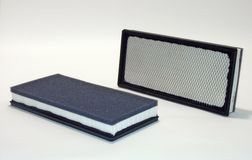
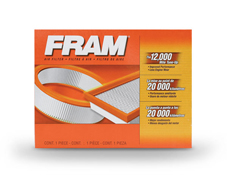
Then I replaced the air
filter. The new FRAM air filter no longer has gray foam pad that
goes underneath the filter so I saved it from my old filter, washed it
out and glued it onto the new filter with narrow beads of silicon cement in the same
position as found on the old filter.
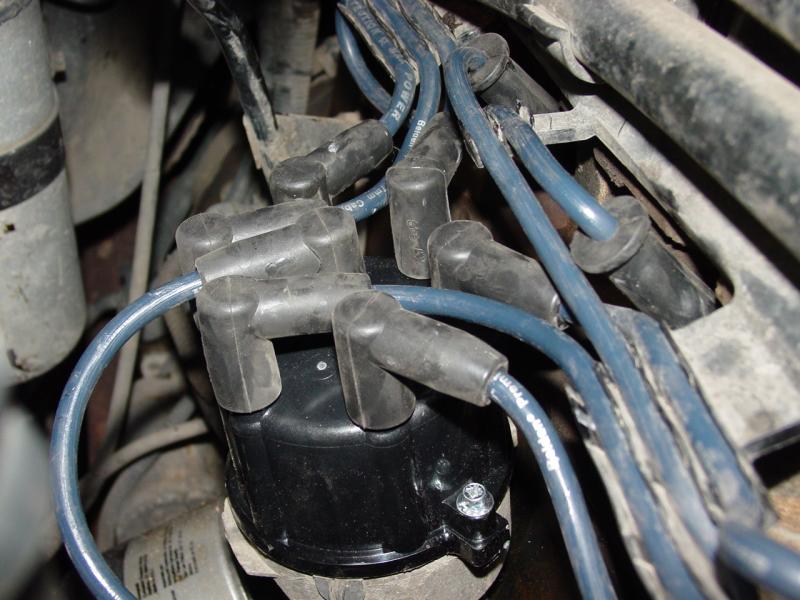
Ted finished getting
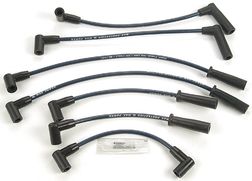
dressed for the weather, a "balmy" 40-degree winter day with no sun. I replaced the
spark plug wires one by one and laid them loosely on the old plugs and
rotor. Once all the new plugs were routed I replaced the plugs.
The plug closest to the firewall was a bit tight and the one closest to
the front of the engine a bit hard to get to, but I got them all off
without much drama. I explained to Ted what I was doing and the
logic of doing one wire at a time and comparing the old wire to the
selection of new wires. While a basic approach to replacing
ignition wires, it makes it easy to keep things straight and also
confirm that the correct replacement wire set is in hand.


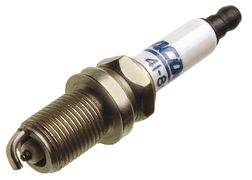
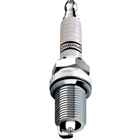
I had previously gapped
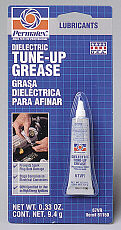
the plugs (.035) and put a little anti-seize on them. I installed
them one by one and then put the dielectric grease on them before
pushing on the spark plug wires. I gave Ted the job of verifying
the gaps and he managed to find two that were a couple thousandths off.
So I showed him how to gap them and explained why it was important.
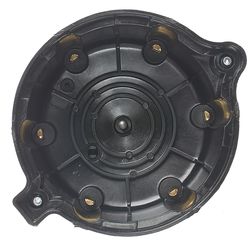
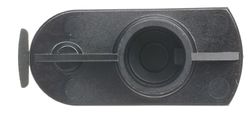
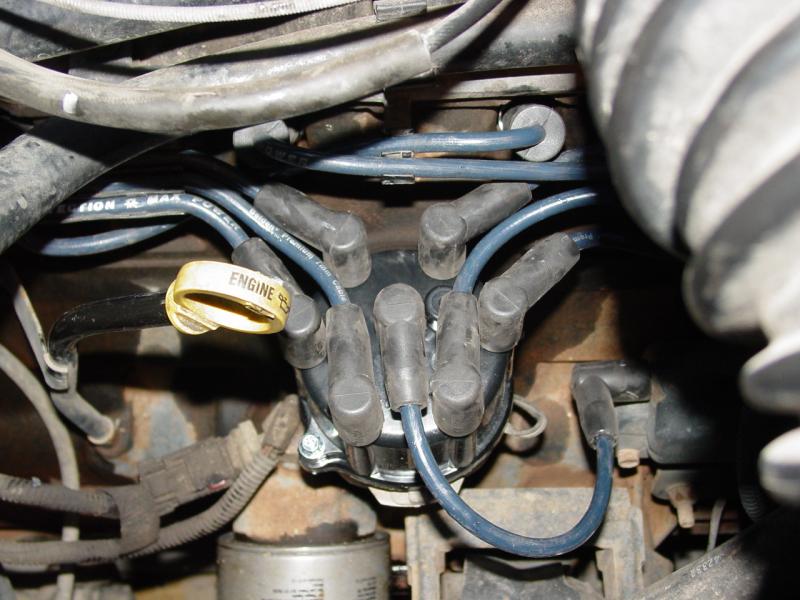
When all the plugs were
installed I swapped out the cap and rotor. Ted asked questions
about the operation of the distributor and I demonstrated with the old
parts, showing how the distributor rotor makes contact with each anode
in the distributor cap, and in turn the power goes down the wires to the
plugs.


Then I closed the oil
pan and poured in the new oil. There was some oil that had spilled
out of the old filter and drained along the engine skid plate and found
its way to the mats I put down to lay on. So I cleaned that up and
showed Ted where it came from and explained that we needed to get it all
off the skid plate so that it would not keep dripping and soil the
ground. I also explained that if we left it we might confuse it
for a leak. The easy stuff was done.
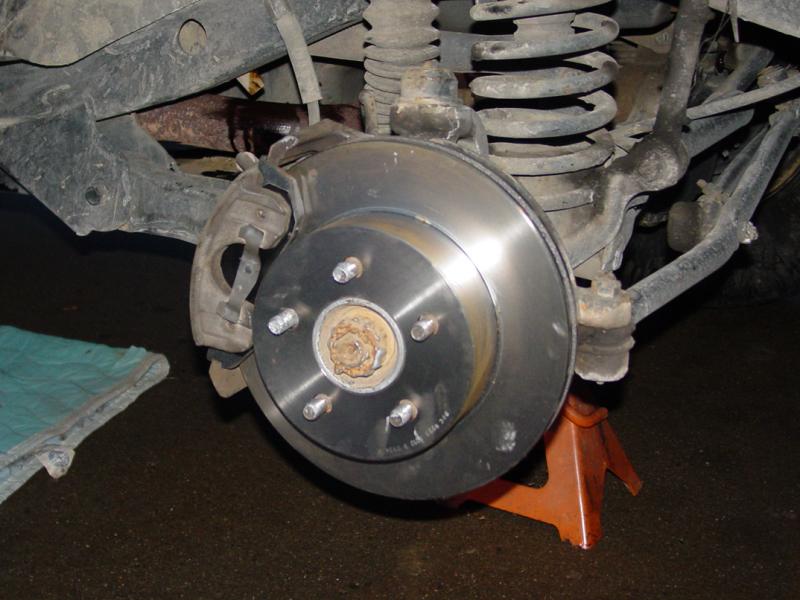
Next I jacked up the
driver's side and removed the front tire. Ted ran the floor jack
and got lessons on proper placement of the lift point. He was very
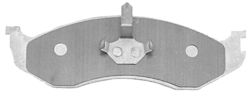
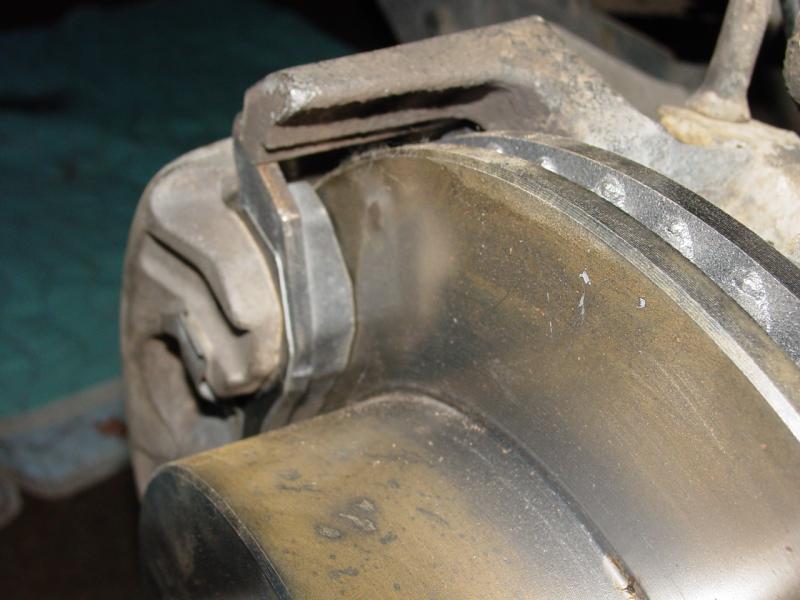
helpful all the way through the job. Next I removed the brake
caliper and rotor and replaced the rotor and brake pads. This was
more or less straightforward, the only part of the job that was tedious
being the pushing of the caliper piston back in while recovering the
excess brake fluid from the reservoir. I took
the opportunity to hit the grease zerks too.
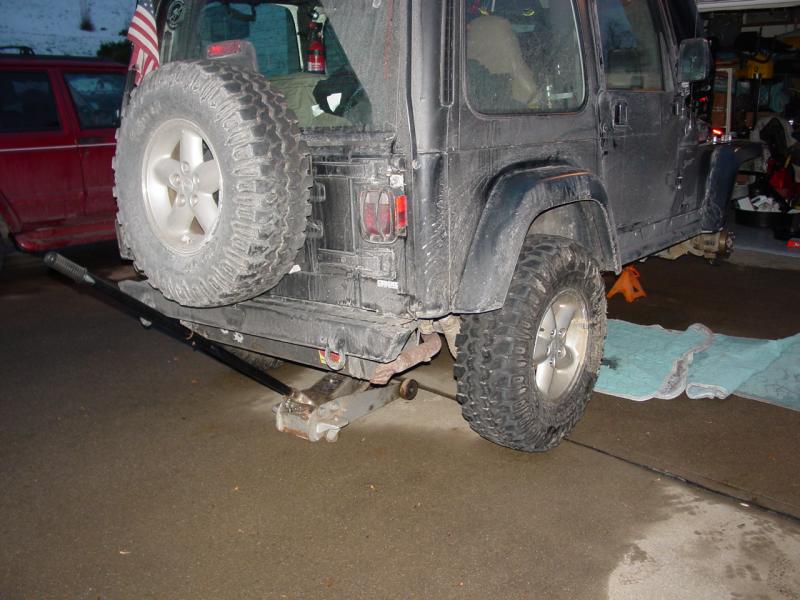
Then I
jacked up the driver's side rear tire with the front still up on jacks.
This allowed me to rotate the tires front and back. I gave Ted the
job of removing the loosened lug nuts and lining them up to be cleaned.
We also talked about changing tires and the proper order to loosen
(before jacking) and remove (alternating lugs) lug nuts. We also
talked about how the tires and wheels are heavy and can come loose once
the lug nuts are removed. We even had a demonstration of what can
happen when the jack stand is not placed properly - the front suspension
unloaded a little on top of the jack stand causing it to slide out.
Fortunately we were clear of the vehicle and the floor jack was under my
control so we didn't drop the Jeep or get anyone trapped. (I only
let Ted jack up the vehicle - lowering it is not as safe and the
floor jack not as easy to control for a kid.) We repositioned the
jack stand under the axle tube. (see photo, left above)
I repeated
this on the passenger side. During the brake install I had to
drain out excess fluid from the brake fluid reservoir because the
calipers were substantially pushed back in due to the increased thickness of the new
rotors and pads.
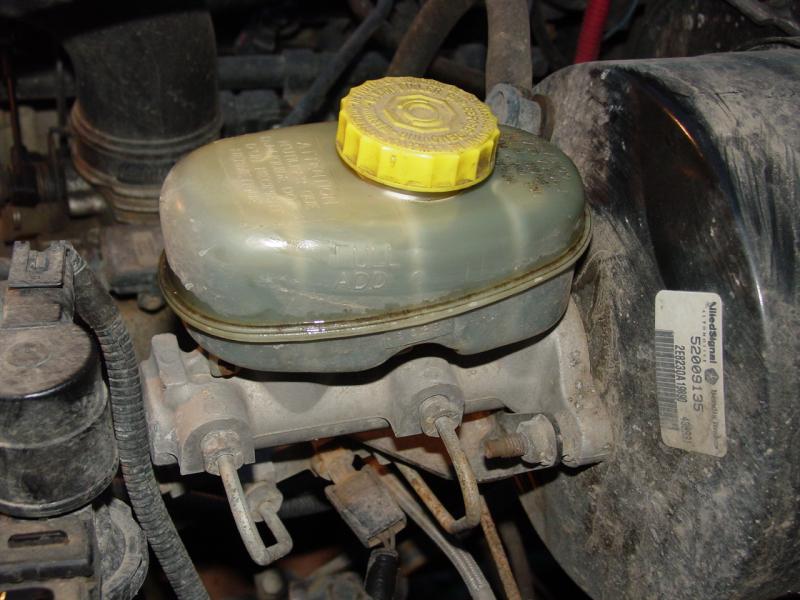
Once we got everything put back together I
applied the brakes a couple times and then topped up the reservoir with
fresh fluid. Then it was time for a test drive to check for any
problems. But first Ted and I ran over all the jobs making sure
that everything was tightened down properly and that no tools were left
lying in or around the Jeep. We wiped all the areas that had
excess grease, oil, and brake fluid so that we could spot any new leaks
after our drive. We topped up the windshield washer reservoir,
engine oil, and found the power steering fluid was OK.
So we took a ride up
the street to the car wash and rinsed the salt off the vehicle and
chassis.
The afternoon was shot.
We spent about five hours on it including the time to get the parts.
Ted was a real trooper, and might have learned a few things. And
some of our money stayed in our pockets!
Here are a few of the
items we used to do the job, to give you a way to purchase them or
simply to check prices with your local supplier.
xxx