Gas Can Rack

Rear - Click to Enlarge


4X4 ICON 2000 - 2008 The DVD! - Click here for details!

4X4 ICON 2000 - 2008 The DVD!


I had been plotting to get storage for two 5-gallon NATO cans for some time.  The main reason for needing them was a trip I was to take into an area where I would run out of gas before coming to another gas station.  I needed enough reserve to get back out without walking.

The objection I had to commercial solutions was mainly that they were costly and often heavy.  It would be enough of a weight concern that I would be stowing about 80 pounds of fuel without adding another 100 pounds of steel to support it.  There had to be another way.

Carrier - Click to Enlarge

I played around with getting Jared at COMP4X4 to fabricate a swing bracket just for the gas cans.  But time was tight for my trip and he was backed up with paying customers.  So I sketched out some ideas and then came up with a solution that met my needs:  it was very cheap and quite light, while still being strong.  I loaded up my notepad and made a trip to Wal*Mart, Home Depot, Pep Boys and boltdepot.com:

  • (4) galvanized stud anchor strapping ("L" shaped for mounting gas can holder to bracket on body tub)
  • (3) 1 1/4" x 48" x 1/8" steel angle
  • (2) 2" x 48" x 1/8" mild steel stock
  • (2) 900 pound capacity 10ft ratchet straps
  • (1) gas can holder (I already had one from a Jeep show)
  • (2) gas cans (Brand new from neighbors yard sale, major savings)
  • (30) 7/16" x 3/4" Stainless Steel Bolts
  • (30) 7/16" Stainless Steel Washers
  • (30) 7/16" Stainless Steel Lock Washers

I already had a Titanium drill bit (7/16") and a 3/4" hole saw capable of cutting metal.  I went to Sears and got myself a long needed right-angle 4" grinder.  My old drill was still working well enough to drill all the holes I needed.

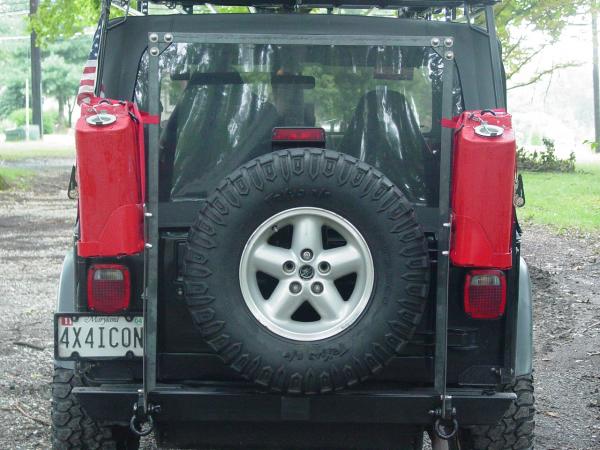
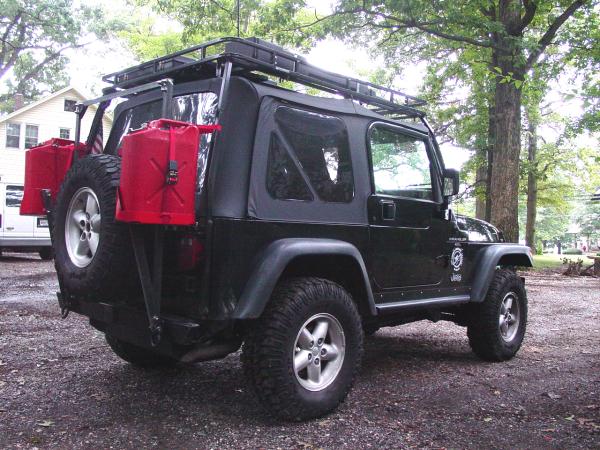
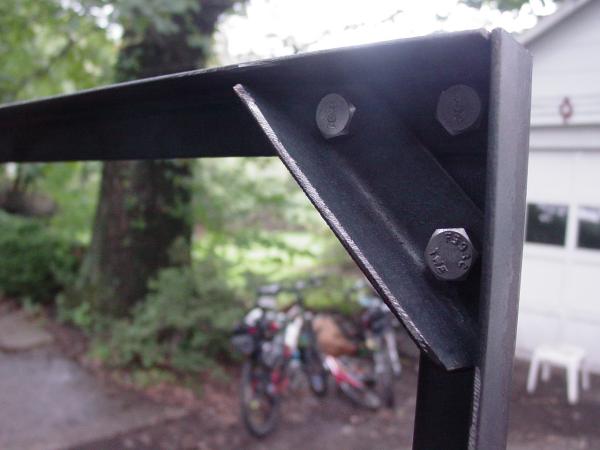
The basic idea was to create a load-bearing vertical member from the angle steel, brace it diagonally with the 2" flat steel stock.

Bumper Mounting Detail - Click to Enlarge

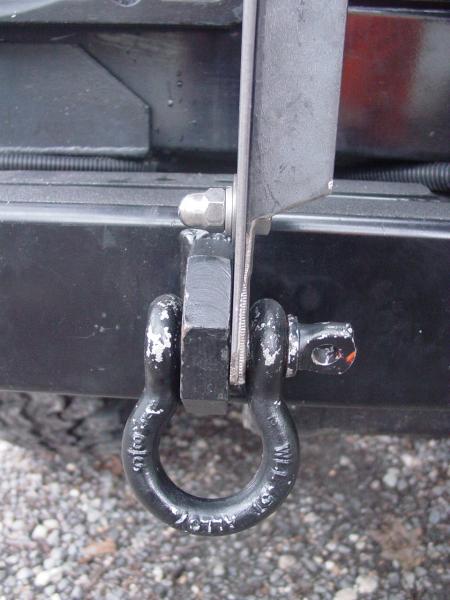
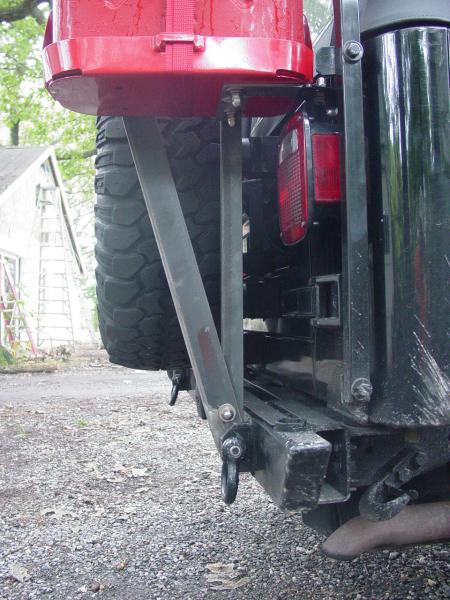
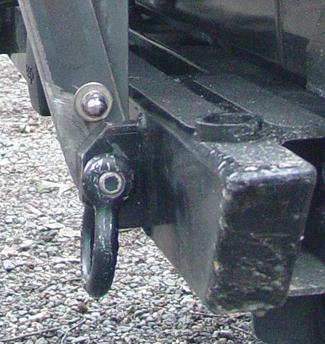
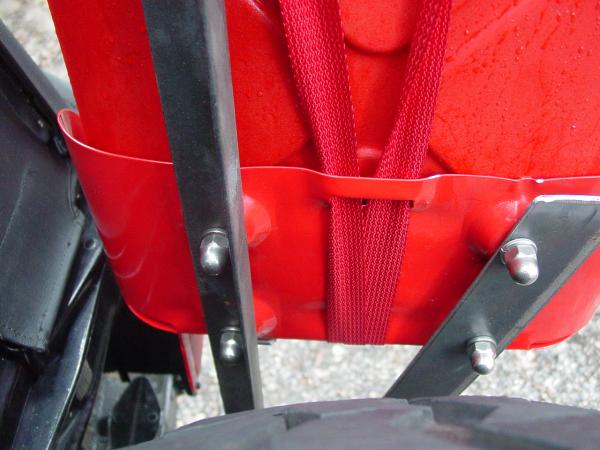
I designed the two uprights, one 2" wide x 1/8" thick steel sheet and one piece of the angle steel.  They use the d-shackle pin as the lower mounting point

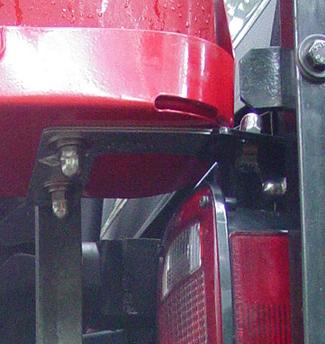
The bolt shown here is to keep the two pieces together to make assembly and disassembly easier and to give added strength.

Bumper Mount Detail - Click to Enlarge
Tub to Holder Mounting Detail - Click to Enlarge 
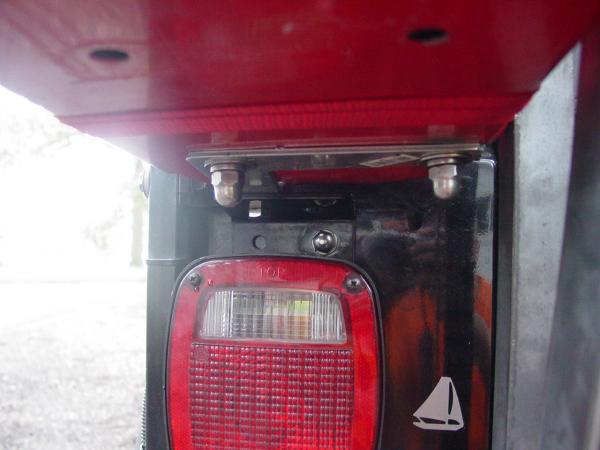
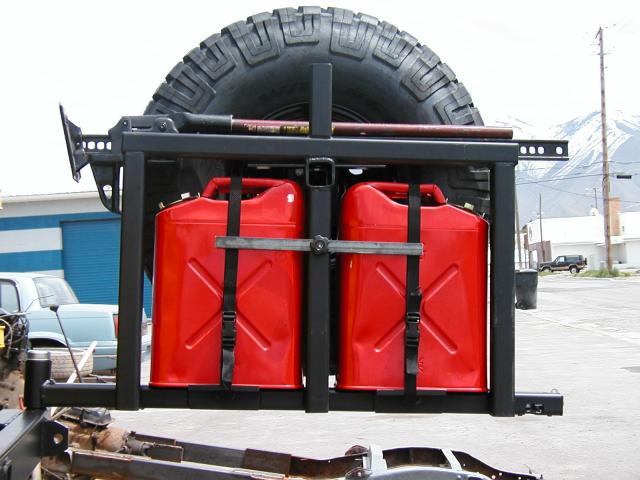
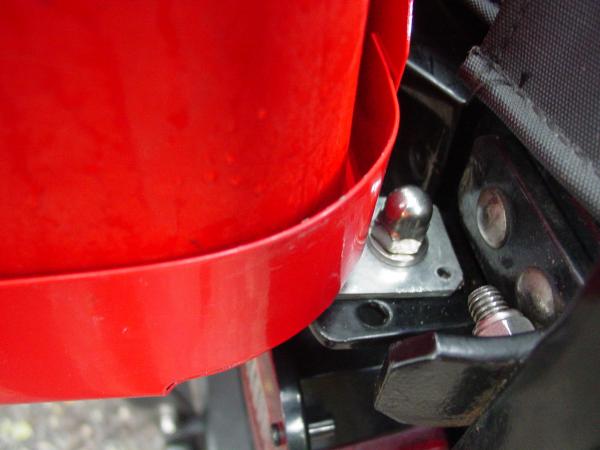
I mounted the upper floor of the gas can holders to the "L" bracket strapping (2 each side for strength) and in turn bolted that to each of two heavy duty brackets that are part of the Olympic roof rack parts.  They were the perfect item for anchoring the base of the gas can holder to the tub with sufficient strength.

I acquired these brackets by contacting Olympic and ordering them separately.  Visible in the photo are the existing brackets on the tub rear corners for my Garvin Roof Rack.  These existing brackets forced me to relocate the Olympic brackets lower on the tub to clear them.

Tub Attachment Bracket Detail - CLick to Enlarge
Holder Mounting Detail - Click to Enlarge 
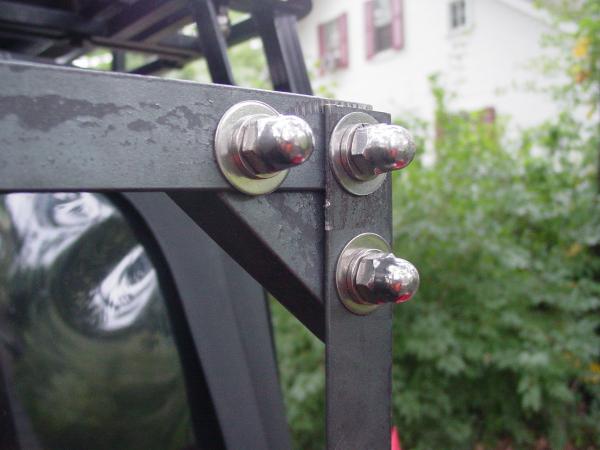
Once I measured the pieces and cut them out, I assembled everything together.  To be honest it took three evenings working with my drill and grinder to do this mainly because of the time it takes to measure and drill or cut.  But it is pretty easy work if you don't mind measuring and then drilling or cutting forever.  If it was wood (or if I had a drill press and machine shop...) it would have taken an evening.

Side - Click to EnlargeHolder to Tub Bracket Mount Detail - Click to Enlarge

I took the extra trouble to add gussets to the frame around the top of the vertical members so they would not get sideways or allow the cans to twist around.  A test run with water in the cans proved that they are stable enough to call them done.  I will disassemble and paint them, probably leaving the stainless steel hardware bare metal.

Upright Corner Detail - Click to Enlarge Upright Corner Detail - Click to Enlarge

Rear - Click to Enlarge

RearBatman and SupermanBlitz Jerry Can and filter nozzleSideSideSideRear

Death Zone Sticker


Return to Jeep Specs | Modification Schedule

Shop for Jeep Toys and Books | See the Toy Jeeps | Off-Road Index 


Click or the [ BACK ] button on your browser to return to the previous page.

Photos (except as noted), Layout and Design © 2003 Paul M. Provencher All Rights Reserved.
Contents of this Web Site may not be used without written permission

Hit Counter Visitors since 9/14/03

Home