Jared stopped by once
at the old house and we spoke a few times on the phone. He was
getting his business started, and was very nice about listening to my
ideas about Jeeps and stuff. He promised to send to me some rear
bumper frame tie-in mounting brackets when he got them designed and
manufactured. True to his word, he sent them to me and of course,
just like the bumper, I had to go right out and install them on the
Jeep.
But first I had to take
care of a couple things. First, I needed to pick up some hardware
to mount the brackets. And secondly, I needed to remove the old
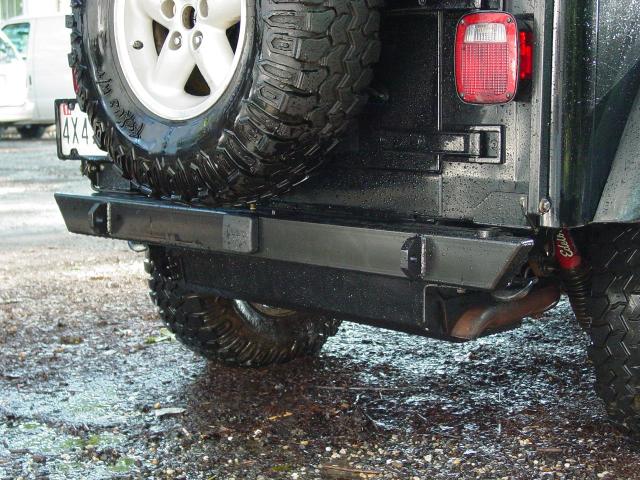
rear tow hooks that I had installed over 5 1/2 years ago. During
the installation of the rear bumper, I had contemplated removing the tow
hooks because I would not need them anymore. The new bumper has
d-shackle tabs that replace the tow hook function. But at that
time the tow hooks weren't in the way so I just left them where they
were.
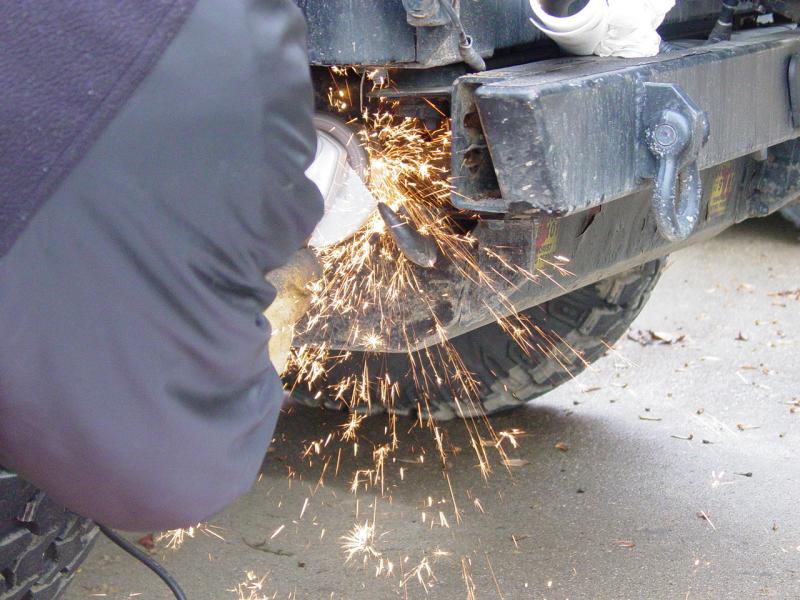
It was a real pain.
The tow hook had pulled the frame a little bit so the bolts were
probably bent. And they had been put on without anti-seize
compound by accident on the driver's side. So I had to grind off
the bolt heads and then grind, hammer, and grind for two hours to get it
off. The passenger side, I ground the bolt heads off and they came
right off. Then I prepped the frame for the new brackets by
cleaning off the grease and grime, and painting some rust-inhibiting
paint.
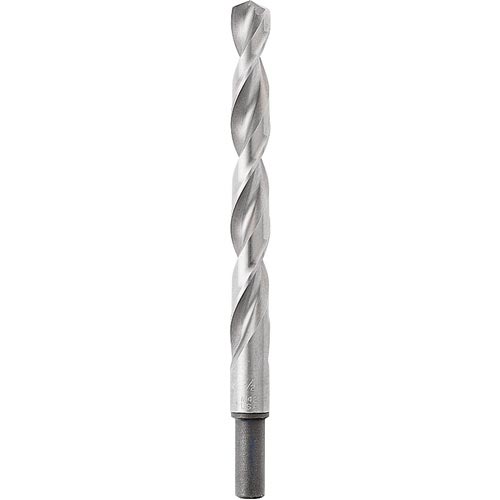
I took a drive to
Lowe's and purchased the necessary hardware and supplies. Hardened
fasteners aren't cheap and neither are cobalt drill bits. But
these are holding the bumper on and drilling through a steel frame isn't
the same as drilling pine wood...
After purchasing the materials, it was
really just basic assembly work.
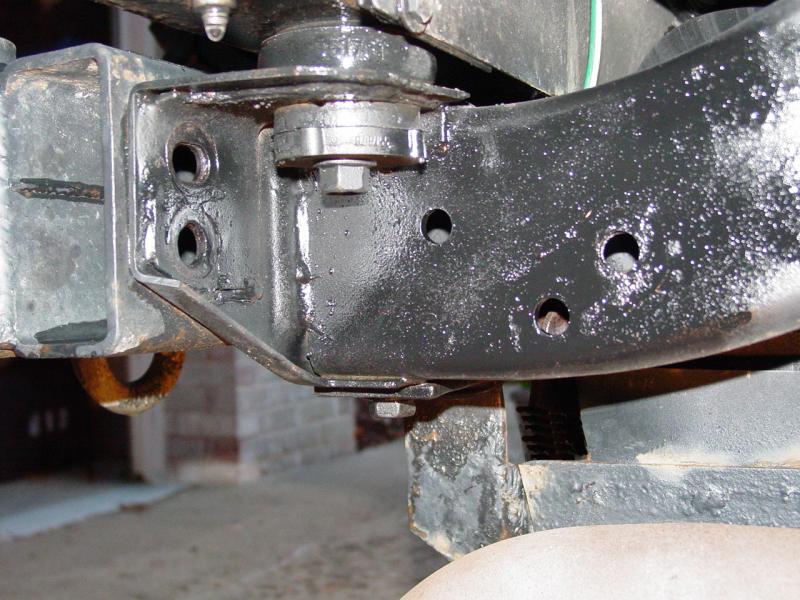
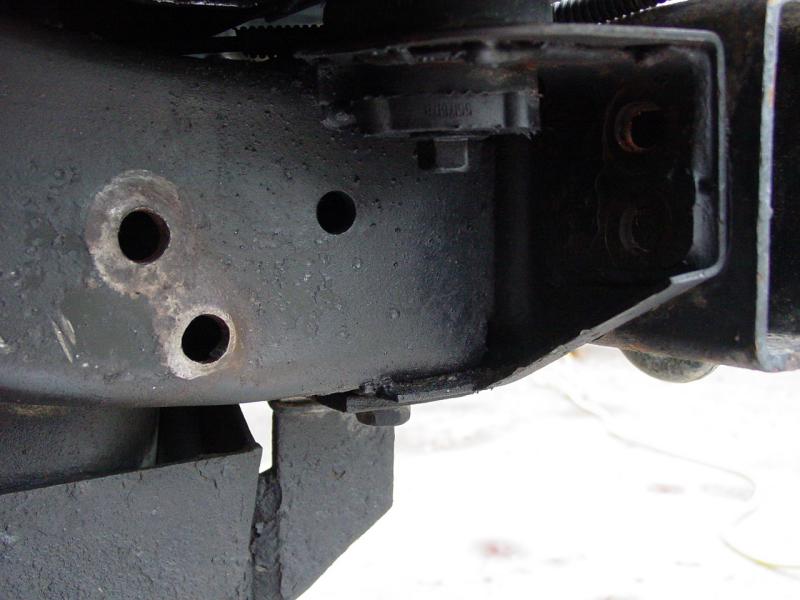
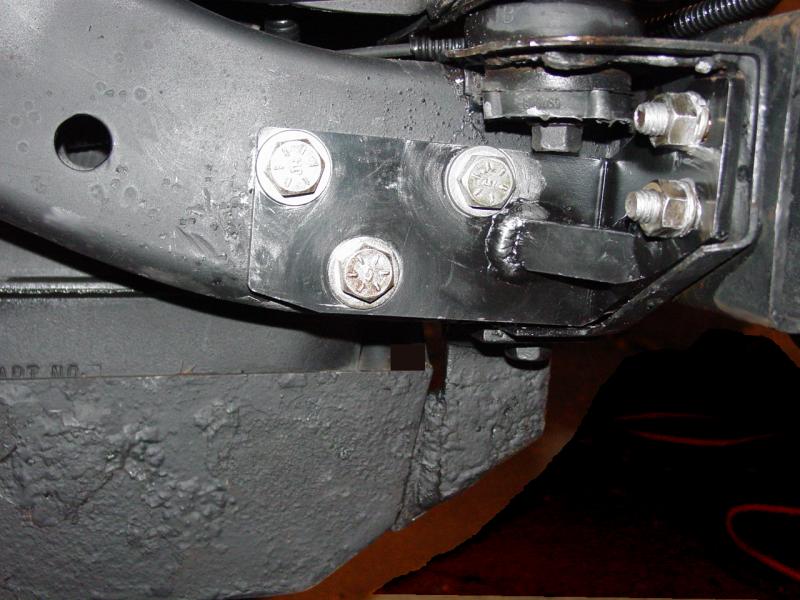
I put the pieces together loosely to
locate the spot to drill the third hole in the frame. Two of the
holes on the bracket line up with stock holes on the frame. The
third hole (the one the most distant from the bumper, must be drilled.
I had holes from my tow hooks but unfortunately they were not located in
the same spot as the hole for the bracket.
I marked the drilling location with a
center punch. Then I removed the bracket and set the parts aside.
Then I drilled. With the cobalt drill, the holes were done in no
time flat.
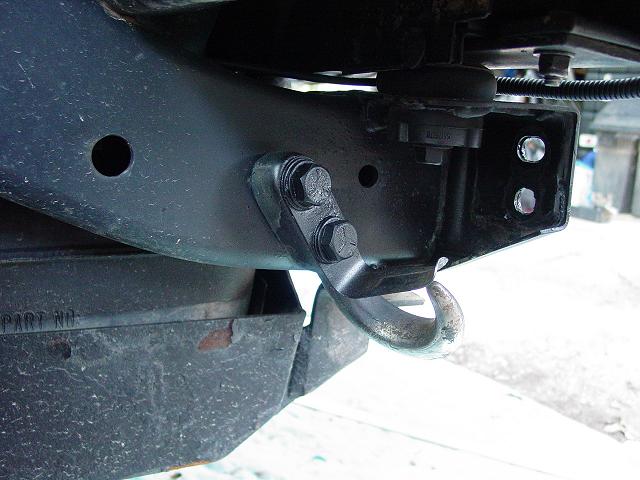
I had more fun assembling the hardware
because the nuts and bolts must be fished into the frame through a small
hole below the mounting holes. These holes are normally used for a
factory tow hitch that comes with special nuts that have handles on
them, making it possible to put them up into the frame cavity and get
them started on the bolts. My hardware simply had to be blindly
fed up into the cavity and balanced and finessed onto the bolts.
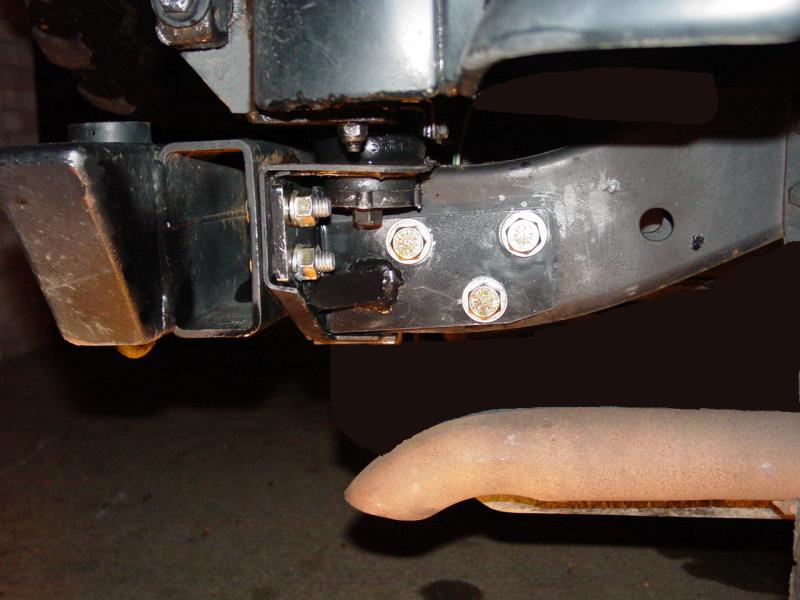
With some anti-seize lubricant on the
bolts to make them a little sticky (and to make removing them remotely
possible someday) I assembled the brackets to the frame. I put
hardened washers on both sides of the frame with the bolt passing
through, then a lock washer and finally the nut. I used the 7/16"
nuts and bolts on the cross member because that's what was there before.
I used the 1/2" nuts and bolts on the frame because they matched the
holes. I could have probably used 1/2" all around as the holes are
large enough on the cross member.
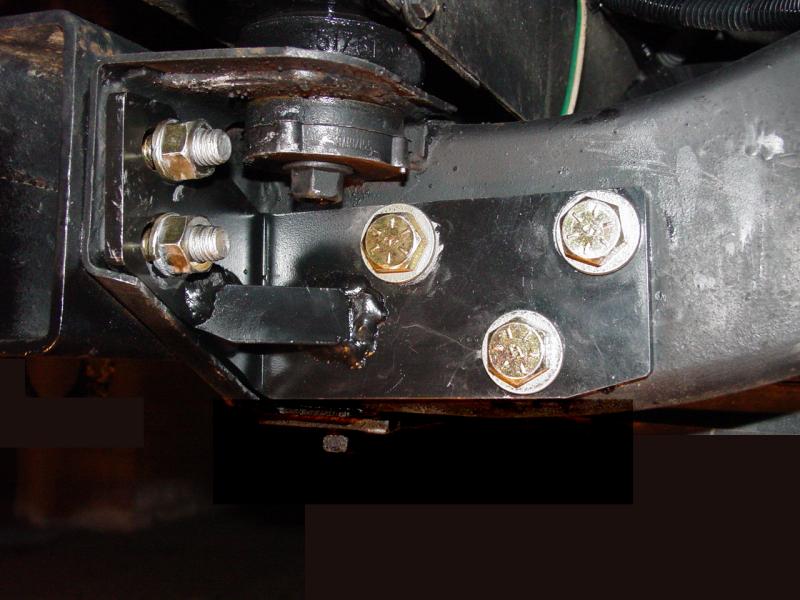
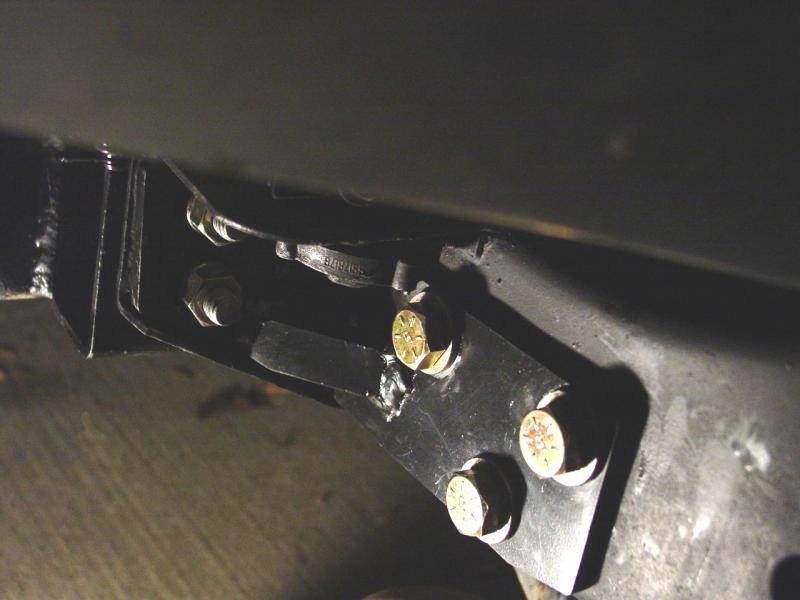
When I finished, I was happy to see that
the brackets fit perfectly and clearly provide the necessary support for
the rear bumper that is lacking in the cross member, which is not very
thick. This will give me the proper solid mounting for using the
rear bumper as a tow point (it has a 2" receiver hitch); as a recovery
point (with the d-shackle tabs welded all the way through the bumper to
the mounting points).
Thanks to Jared at Comp 4x4 for these high-quality,
extreme-duty parts!
Here's the full description from
his web site:
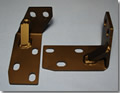
|
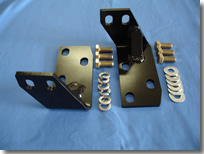
REAR BUMPER
FRAME TIE IN MOUNTING BRACKETS
Laser cut with precision bending.
Manufactured from 1/4" thick steel for heavy
duty applications.
Available for Jeep Wranglers 1976-2006 (CJ/YJ/TJ/LJ)
This
product is a must for anyone carrying over a 31"
tire and/or using a tire carrier. Since the
stock rear cross members of Jeeps are thin and
not made to carry added weight, this is the best
possible solution and upgrade you can do.
The
gas tank etc. does not need to be dropped.
Some
YJ/TJ Jeeps that are using aftermarket shackles
etc. may have to make modifications to fit.
This
is a quick and easy install that anyone can do
with a few wrenches. Kit includes the brackets
and all needed mounting hardware. Brackets come
stock in black color. Brackets use stock bolt
hole locations, but offer additional mounting
holes if you desire to drill into the frame for
additional mounting points. Please specify year
of Jeep at time of purchase so we can get you
the correct brackets.
Part # FTB0001
 |
|