11/8/02
![]()
| Background | |
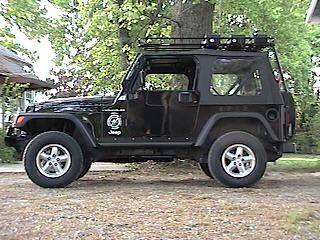
I got my hands on a black soft top over the summer and preferred the way it looked to the tan top that came with the Jeep. I realized at that time that I would eventually paint my hard top as well. (Man, look at those tires and empty front bumper...!) |
|
 |
 |
Tan Soft Top |
Black Soft Top |
| Of course, I procrastinated it until finally it was time to install the hard top. Painting it would be no problem for me, but the temperature in my unheated garage was going to be an issue. It's hard to achieve a good finish if the air is too cold. It was not much warmer than 50 degrees out by the time I get home in the evenings, and it is dark to boot. My last chance came when it would be in the low sixties and I had some daylight to work with. | |
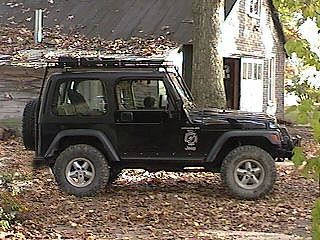
A shot of the hard top before painting... |
|
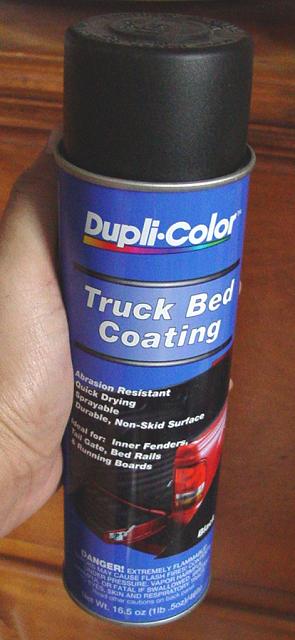
So I got my work area ready, then ran to the store to buy paint. I wanted a semi-gloss black finish that would be durable and resistant to fading. I also wanted something that would resemble the factory finish - slightly rough. I decided to use a spray-on Dupli-Color Truck Bed Coating (TR 250 Black) paint that has all of these qualities. I have used it on my undercarriage with good results - it is resistant to scratching and withstands oil, grease, dirt and all manner of other elements. I can't say for sure if it will withstand the sun and UV rays, but I am optimistic... For $44 I got six cans of paint, had two left over for frame touch ups (I usually keep the paint on hand anyway...). I have 3M Prep-Sol on hand so that cost has already been absorbed, but I should add that it is a very important step to clean the top with some sort of prep solvent so that the paint will adhere properly. A good soap and water wash with sufficient drying time before the cleaning solvent is a good idea. |
|
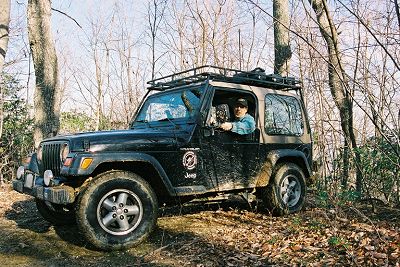
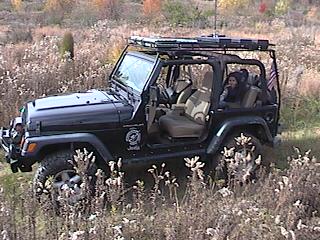
My preparation of the top was simple: I took it out from under the storage cover I had over it in the garage, wiped it clean twice with Prep-Sol, then masked off the windows with tape and paper. I outlined all the edges with paint and then painted it with three coats of Truck Bed Liner Spray. I used the full cans to spray the top surface so the cans would be full, then when they were half filled, set them aside to use on the vertical surfaces. I very quickly had a high-quality finish as good as a factory fresh top. It has the same semi-gloss and texture, and should be pretty tough. I let it dry for 24 hours before handling the top. While it was drying, I took my youngest and we went out to test the new 4.56 gears and Detroit lockers...
It was a pretty day - in the mid-sixties, with wispy clouds in the sky. I took off the soft top completely, along with the doors for what is probably our last topless ride of the year. Our test drive took us out to a little road that ruts through a small stream, a couple of sets of deep ruts, and otherwise it is pretty basic. Naturally, the new drivetrain will receive more thorough testing and full write up but preliminary results are good! |
|
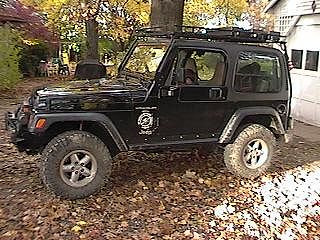
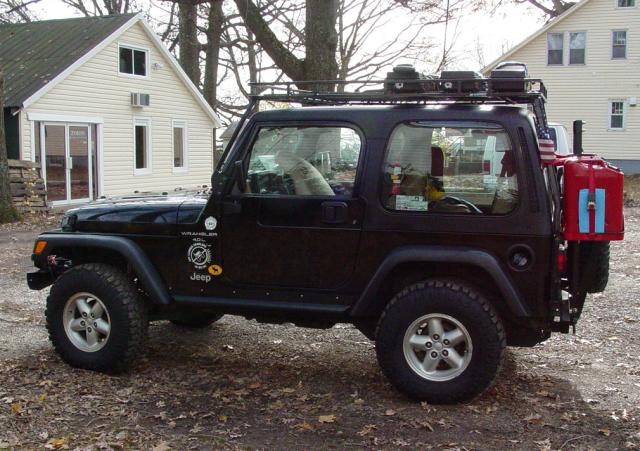
| Back the hard top, this year I did not make the mistake of trying to handle the hard top alone. A neighbor came over and helped me heft the rack and top. Even with the top hoist I made, I still have the added challenge of my rack. I can usually take the rack off alone but getting it back on is another problem altogether... | |
|
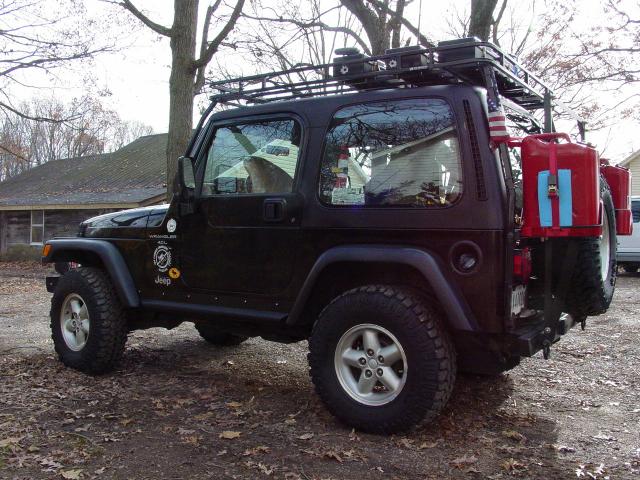
paint job with top
installed for the winter...
|
| Hardtop, Schmardtop! |
|
Update: 11/23/03
|
|
| Once again it was time to put the top on. It had hung all summer and fall in the garage with a moving blanket over it. When I painted it last year, I had failed to sand a couple spots properly and the paint had flaked. |
|
|
So I took out the sanding supplies and sanded the problem areas, cleaned them off with some Prep-Sol, then painted them with several thin coats of Dupli-Color Truck Bed Coating (TR 250 Black) that I bought at Wal*Mart, feathering the edges into the good paint that I would not be replacing. |
| It came out just fine, so I touched up the roof rack while I waited for the top to dry, then when everything was dry, reinstalled the top. | 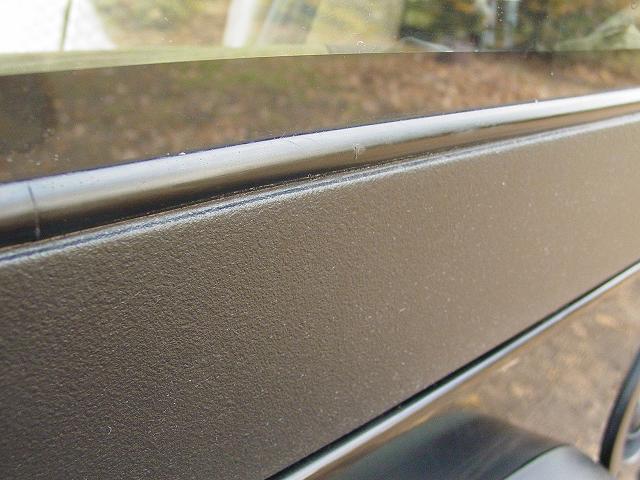 |
Hardtop Wiring Harness
Installation (Mopar Instructions)
(These instructions are not needed for Jeeps with tops that were factory installed.)
Return to Jeep Specs
Shop for Jeep Toys and Books | See the Toy Jeeps | Off-Road Index
Photos (except as
noted), Layout and Design © 2002, 2003-2008 Paul M.
Provencher All Rights Reserved.
Contents of this Web Site may not be used without written permission
Visitors since 11/8/02
Last Updated 02/09/2008 09:57:47 AM -0500