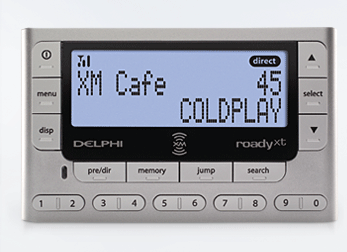
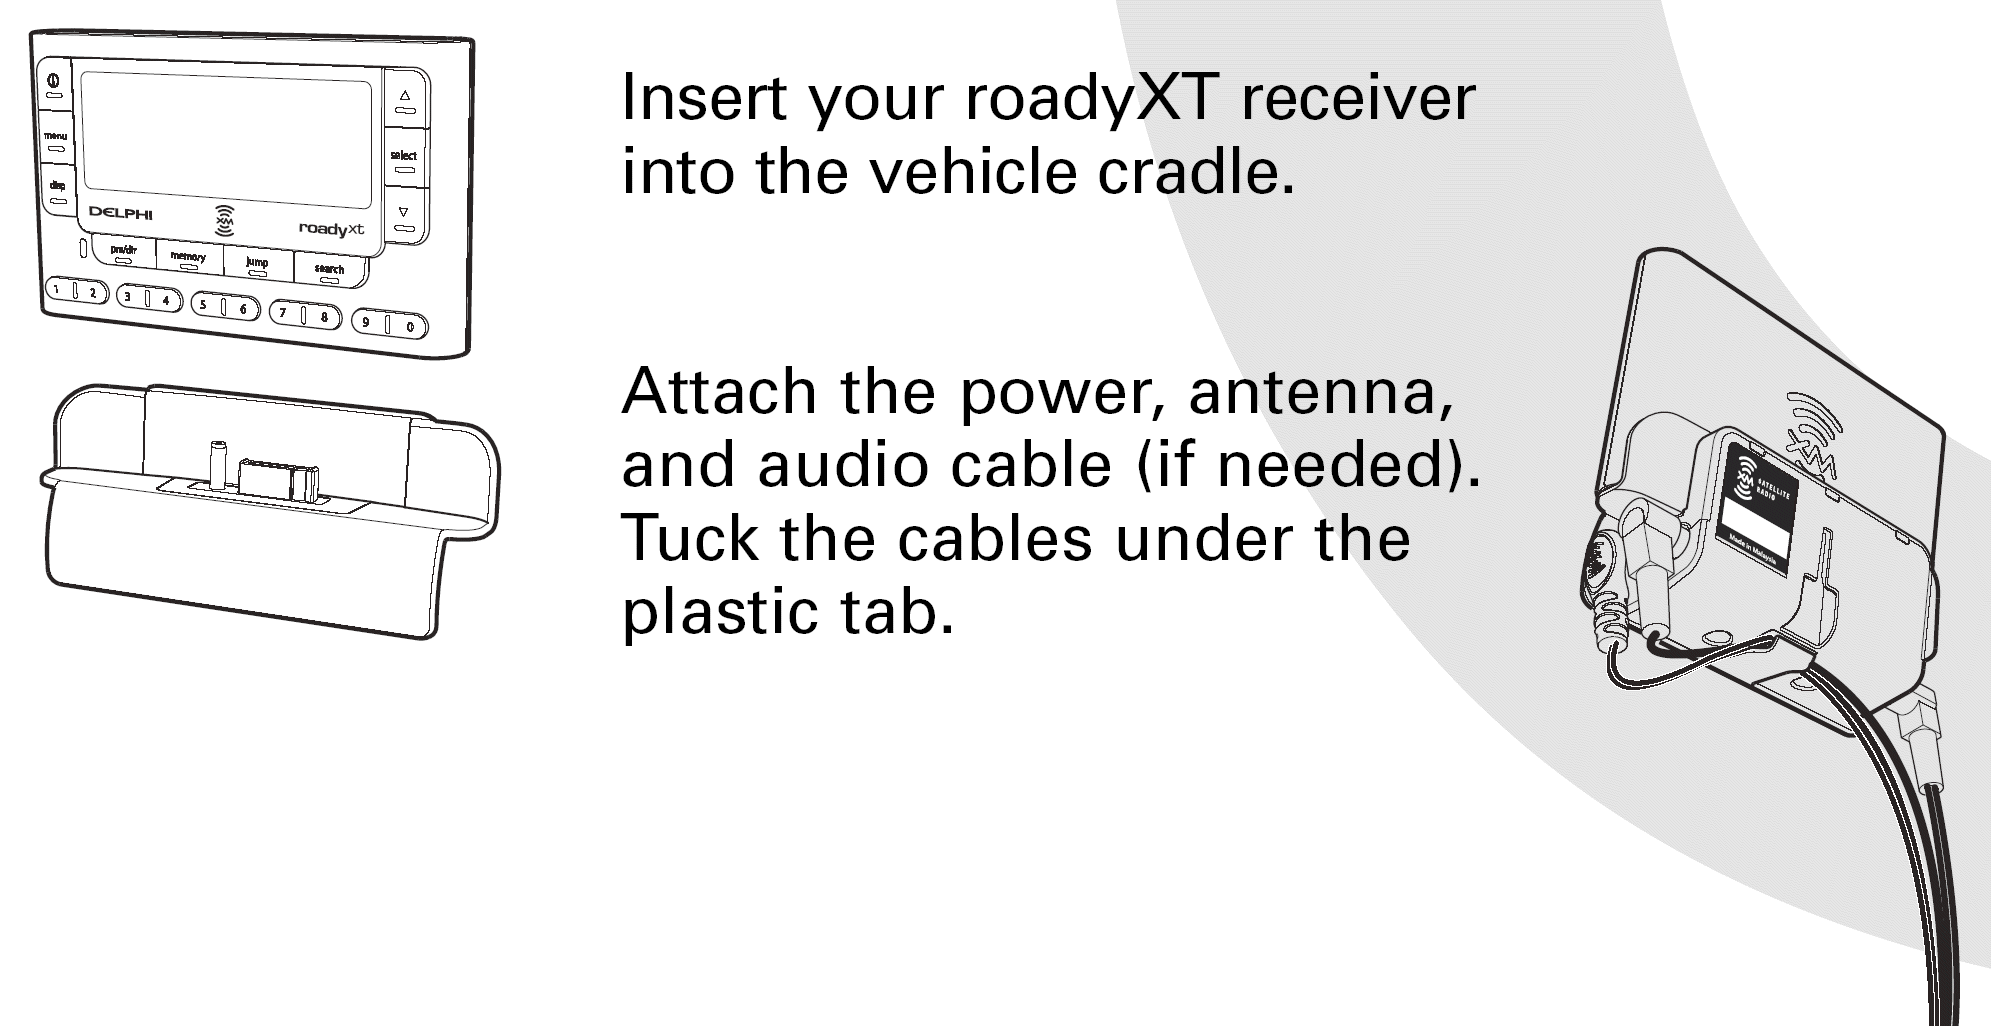
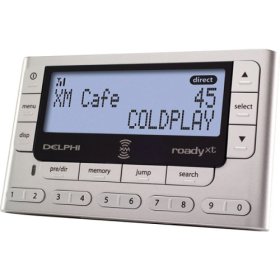
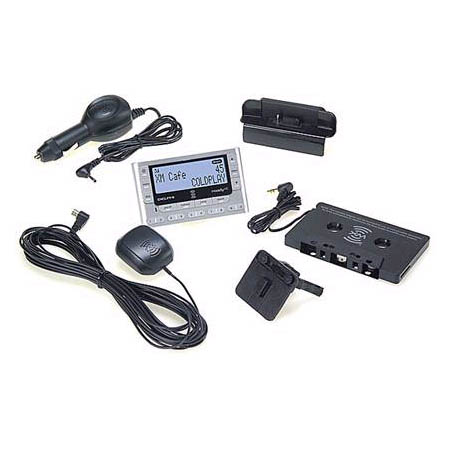
The car kit comes with the radio and provides everything needed to
install the device in a few minutes.
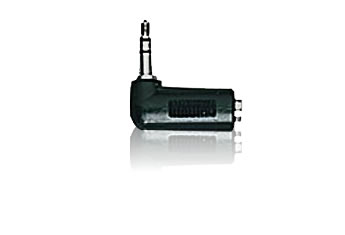
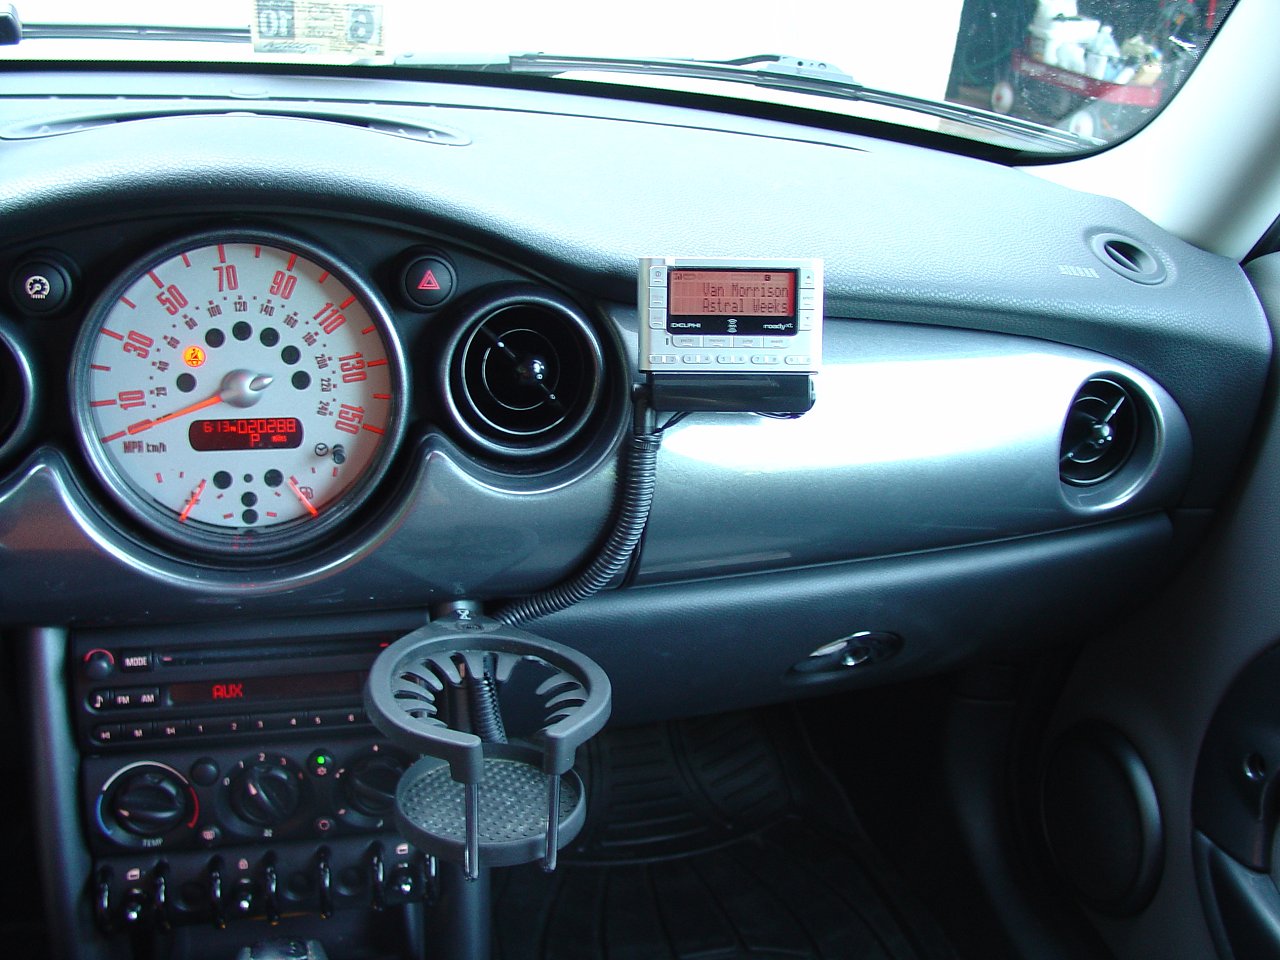
I added a right-angle connector for the
3.5mm audio line. This solves the problem of having the
connector sticking straight out the side of the radio. Without the
angle adapter, the plug and radio are vulnerable. This way the
lead is more flush with the side of the radio.
I plugged the power cord into an
accessory plug 12v outlet that I added behind the panel below the
steering wheel, attached to the auxiliary fuse panel for this purpose. Then I ran the antenna wire back through the car and stuck
the magnetic pad antenna on the roof.
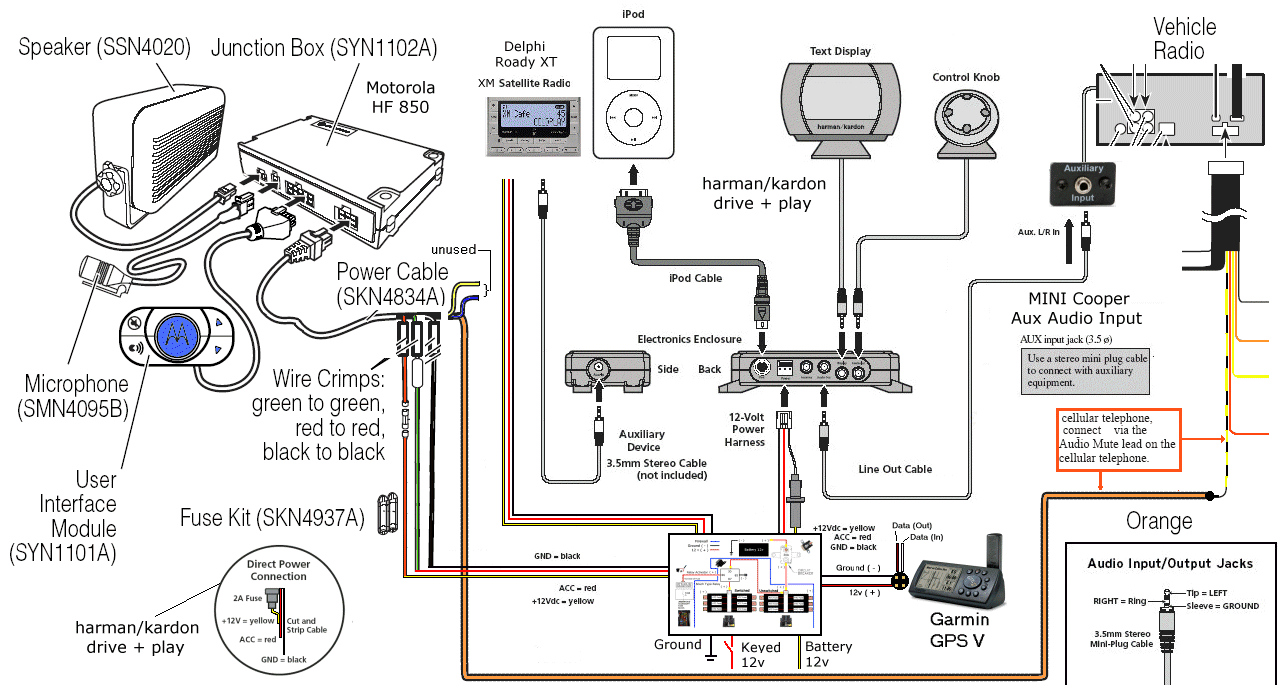
Audio Connections
In order to use this with the factory
radio / head
unit, I plugged it into the harman/kardon
drive + play that is in turn plugged into the
MINI Cooper Auxiliary Audio
Input that I installed for this purpose.
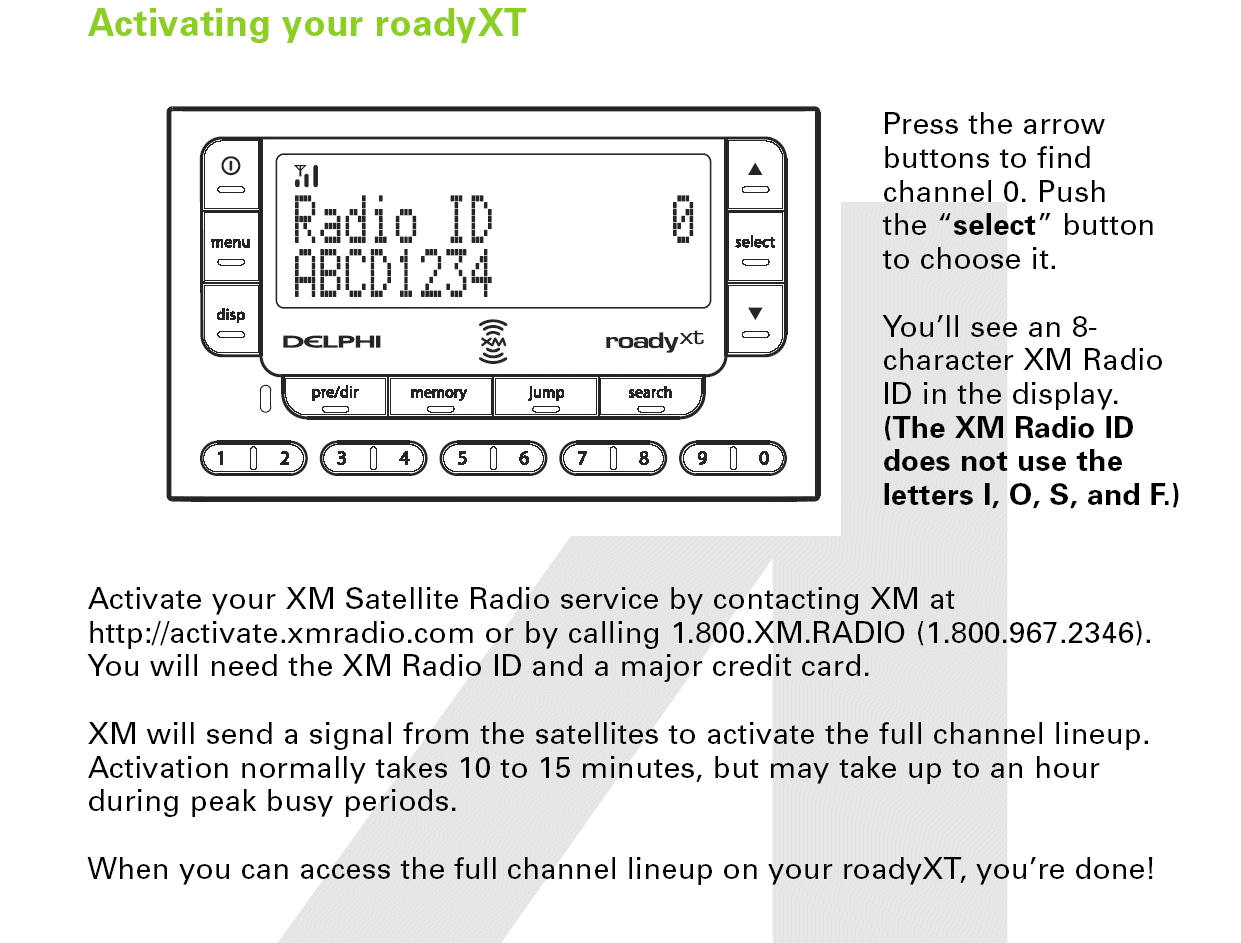
I called the XM Radio customer service number
(below) from
the car using the hands-free and re-activated
the XM-Radio online. (We had it in another car and de-activated it
when we
upgraded to an integral unit.)
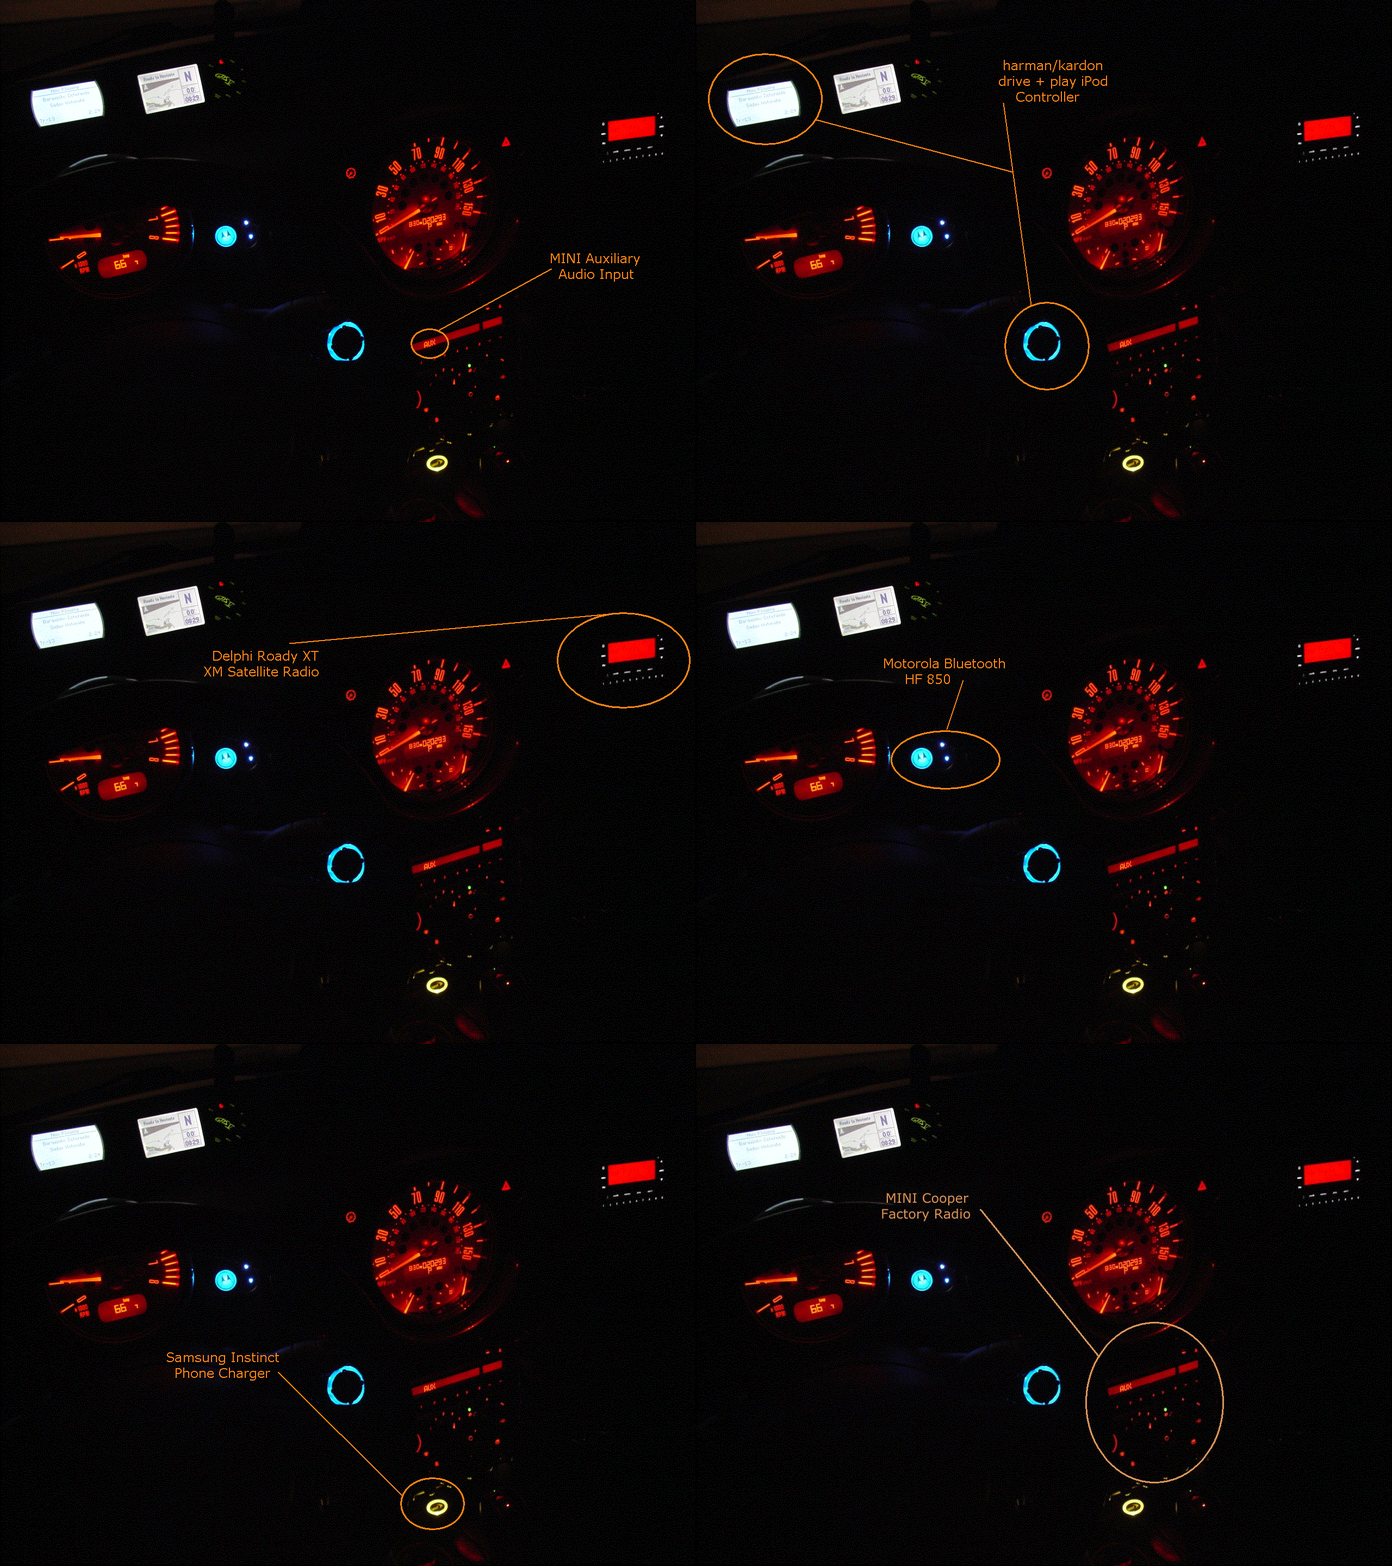
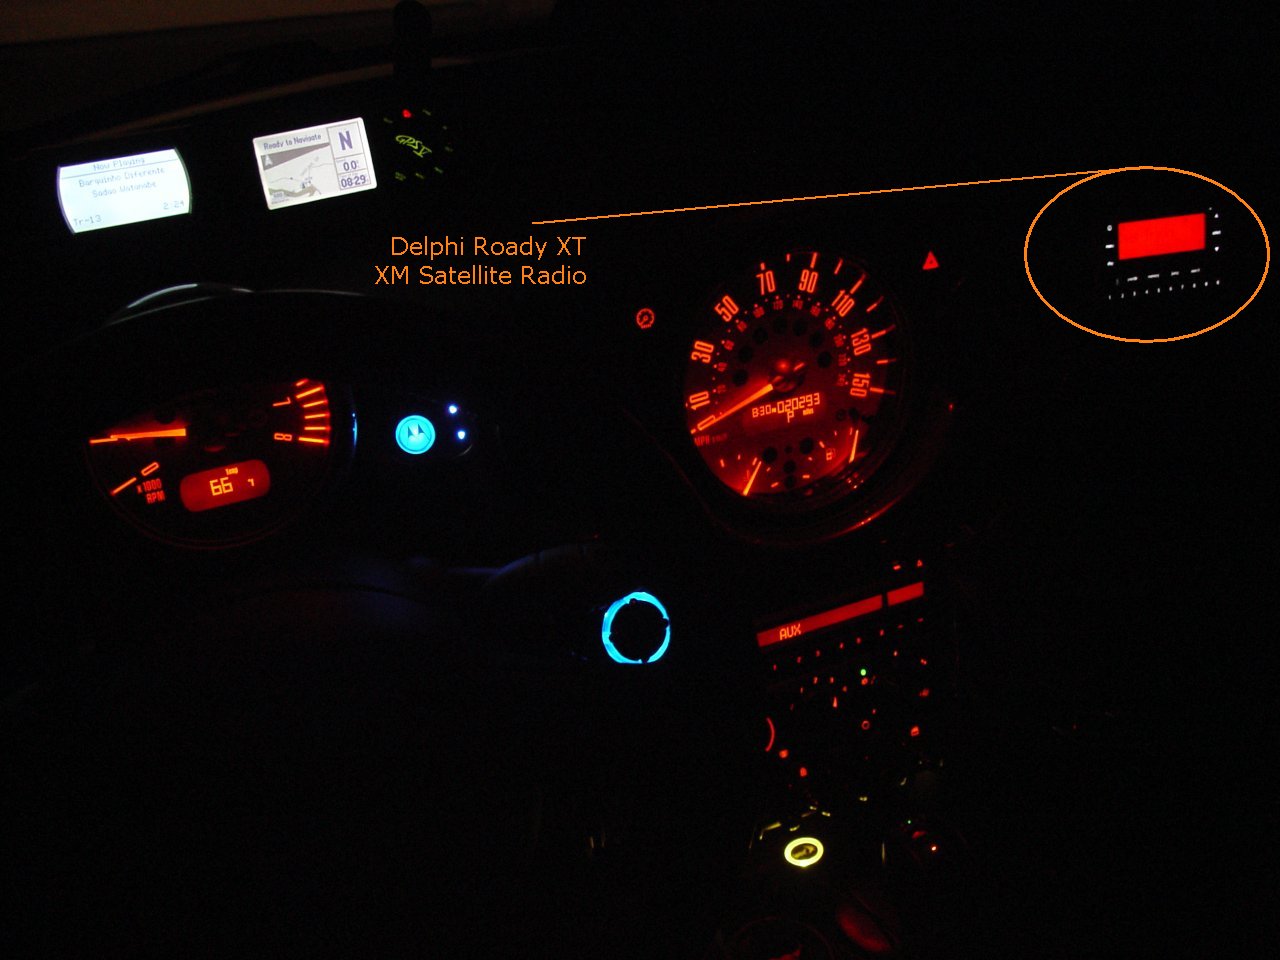
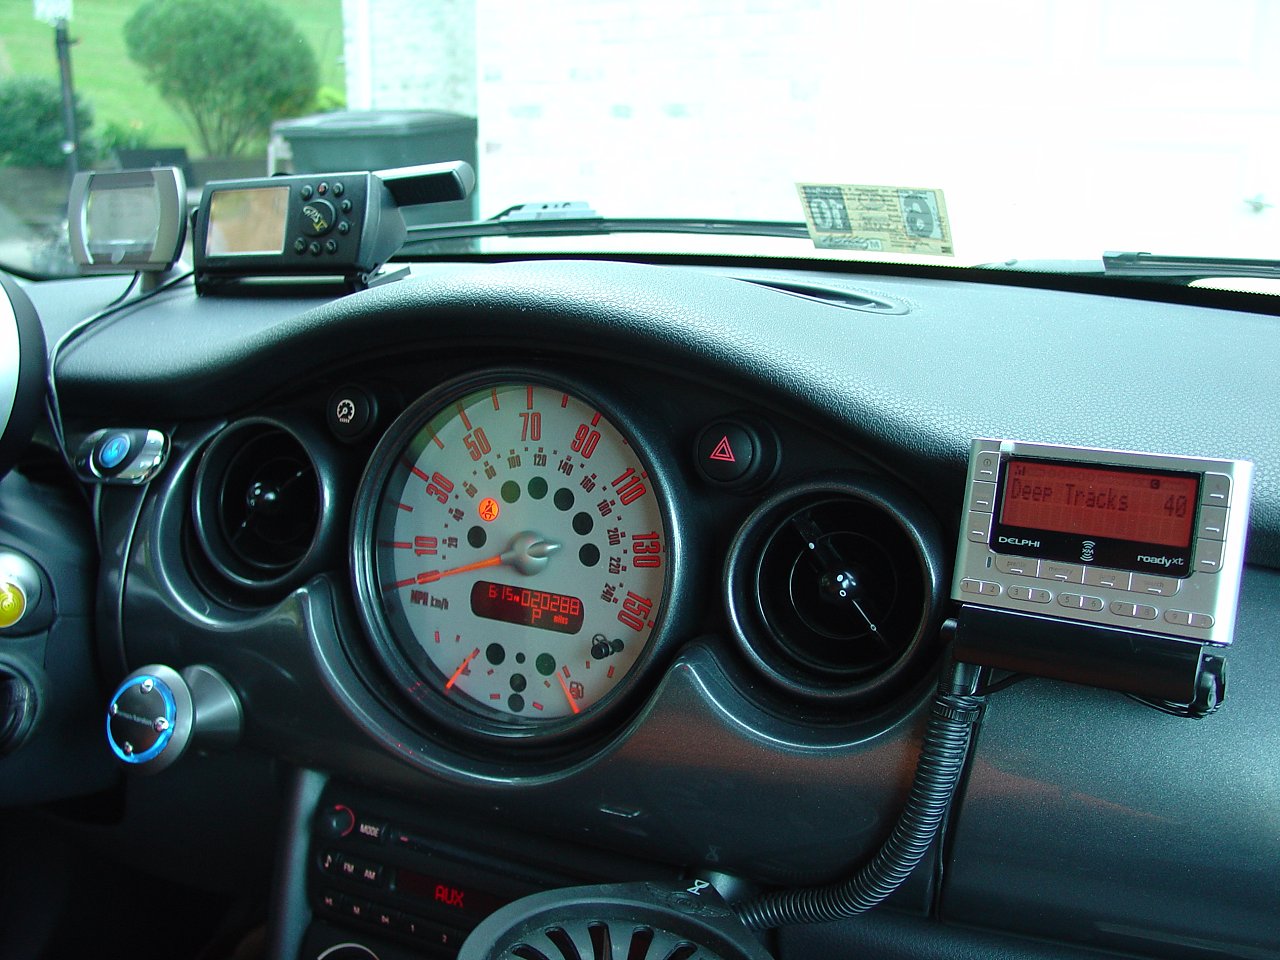
Here's the
final configuration:
This is a simple device to install.
The manufacturer provides several connection methods to get the signal
from the unit to the system installed in your car. If you have a
cassette player (I don't) you simply plug the cassette adapter into the
unit and insert the "cassette" into your player. If you do not
have a cassette player and do not have auxiliary inputs on your system,
the next option is to use the wireless FM transmitter. Simply put,
you set the unit to use this option, tune your existing FM radio to an
unused frequency, match it on the unit, and you are set to go.


Roady XT User Manual
Quick Install Manual

