My family and I moved back in the fall.
One of the "fun" things about this (and there were many...) was the
uninstalling and shipping of the hard top hoist and associated parts. As I took it
apart, I made mental note of the details I had considered when I installed it the previous
year. I put the parts carefully away and more or less forgot about it until I
finally had enough spare time to undertake the installation in my new home. More
than two months later than usual.
This was complicated by one of those
classic American Phenomena - the cluttered garage. Layered over the usual junk was
the added junk from the resident motor head, aspiring carpenter and home handyman, and of
course the disorganization of a displaced home because of the move. In short, the
big job was not the installation of the hoist, it was the identification, location,
evacuation and sterilization of the garage itself. This task seems to be one of
those "never ending" tasks for me, and this installment took a couple hours.
I set the soft top aside, still packed in
the box I created for the move, along with the hoist parts and soft top windows.
Then I took on the use of a "stud finder" to locate a joist that would
support 140+ pounds, not to mention the lag bolt that I was planning to screw in for that
purpose. As luck would have it, the joist lined up perfectly with the center of the
garage and also on a true course with the overhead light and light socket installed in the
ceiling...
This meant that I was going to be placing
significant faith in the accuracy of the stud finder, and when setting the pilot hole for
the lag bolt, I could drill into a 120VAC feed... Do not undertake either of these
considerations lightly. If the lag bolt is not anchored to something substantial, my
top could end up being little chunks of glass on a bed of fresh fiberglass birds nest.
And even if I hit the joist, I could be knocked off the step ladder by a nice tasty
shot of Edison's revenge (He wanted homes to be powered by DC because AC was
"unsafe" - after all, it's what they use in the electric chair...).
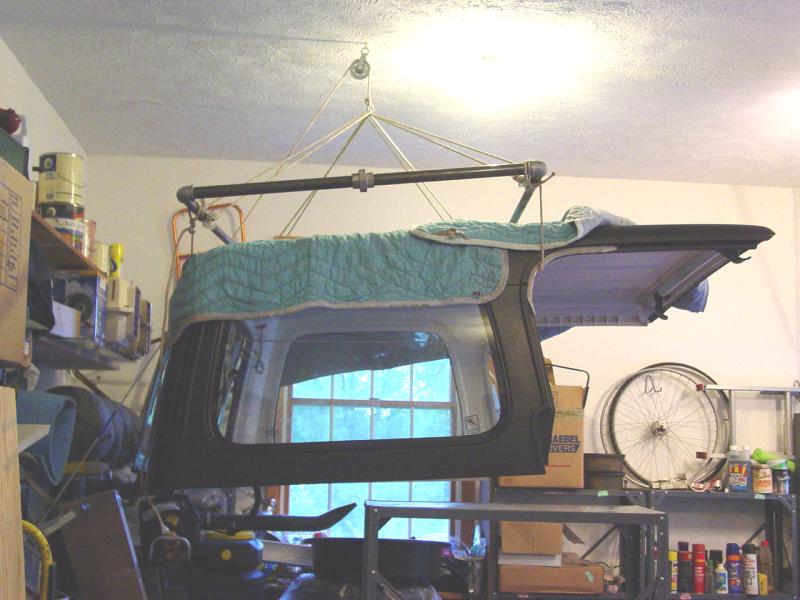
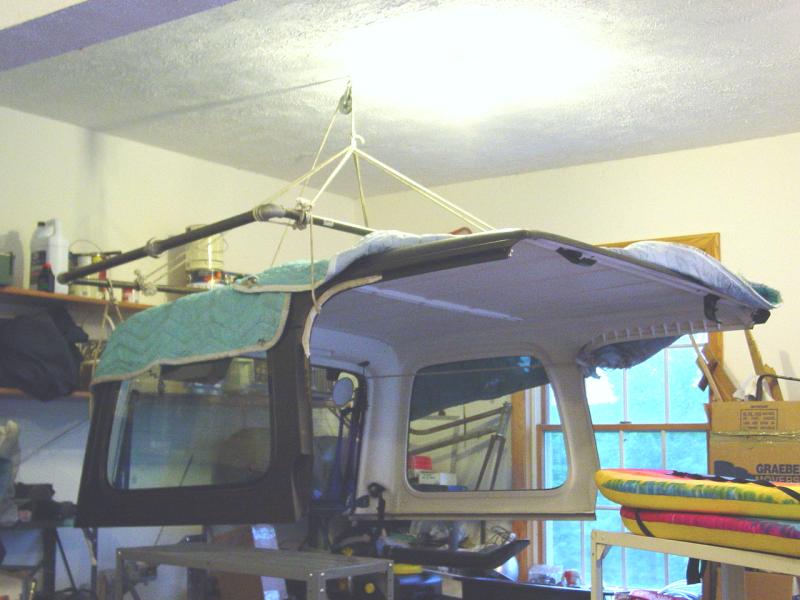
As evidenced by the fact that this piece
is written in the past tense, you can probably surmise that I succeeded in avoiding the
juice. And you will see from the pictures that the top indeed is supported by the
joist that I am assuming is where my stud finder placed it. Let's hope there is no
addenum to this write-up along these lines.
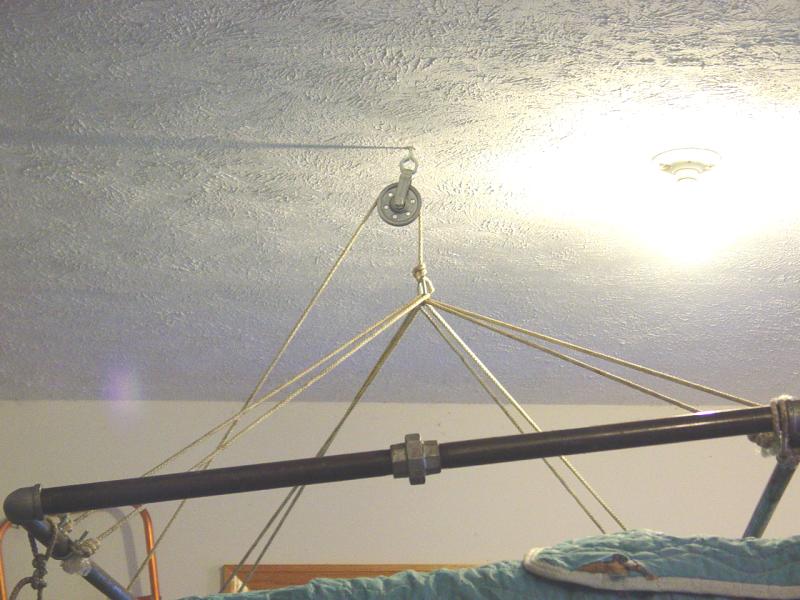
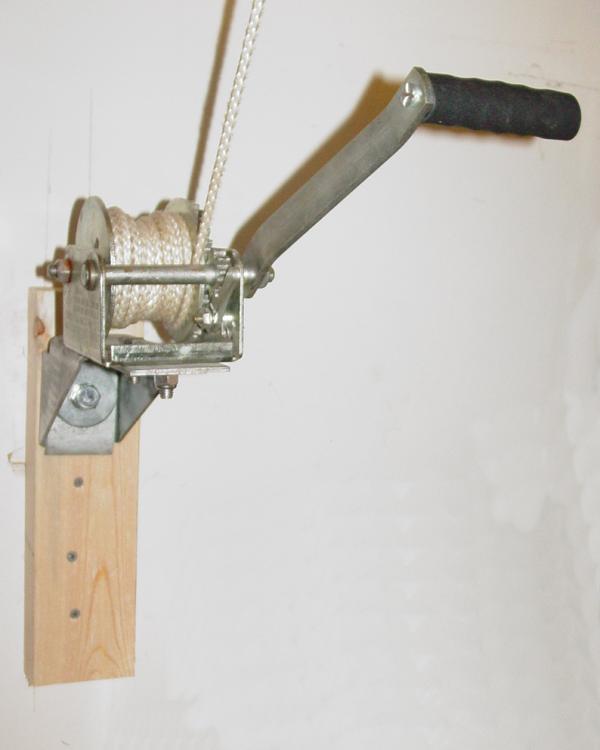
With power and support for the overhead
pulley located and the pulley properly installed, I turned my attention to the
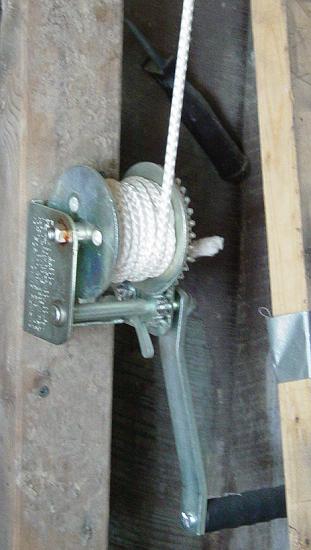
installation of the winch (AKA hand crank). The crank is a boat trailer winch that I
bought at a trailer store. The same unit is also sold in Lowes, Home Depot, and
Wal*Mart. The problem came with attaching it to the wall. When I installed it
at the last home, I built a frame across a couple of the studs that were exposed (rustic
barn) and used lag bolts to secure the winch.
This time I was more fortunate to have a
beautifully finished garage (shoot, they even stucco'd the ceiling...) with no exposed
joists or studs. So I located a stud on the wall to attach the winch. Only now
I had a problem. The crank handle is so long that the winch base must be set off the
wall far enough to allow the crank to operate.
I made a trip to Lowe's and bought an
angle support that is used for constructing joists. I placed a single 2 x 4 beneath
it, locating it to the studs with 3" exterior wood screws. Then I drilled pilot
holes for my 1/2" lag bolt and bolted it to the wall stud through the 2 x 4.
Next I bolted the winch to the bracket. Of course I had made sure that the
winch on wall and the pulley on the ceiling were in alignment. I had previously made
sure that the line between the winch and the pulley did not interfere with the top when it
was hanging from the support.
I fixed a mistake I had made when
constructing the support frame by placing weights on one side until it was balanced and
hung nice and flat. A heavy pipe joint on one side had created an imbalance that
required this.
The lacing of the supporting cord was
already fixed from when I first built the hoist. Basically, I used 300 pound test
synthetic line, some threaded chain links and some cable clamps to make the basic frame
that holds the top. I tied lines on to the frame that thread through the front and
rear of the top on each side and support it when hoisted.
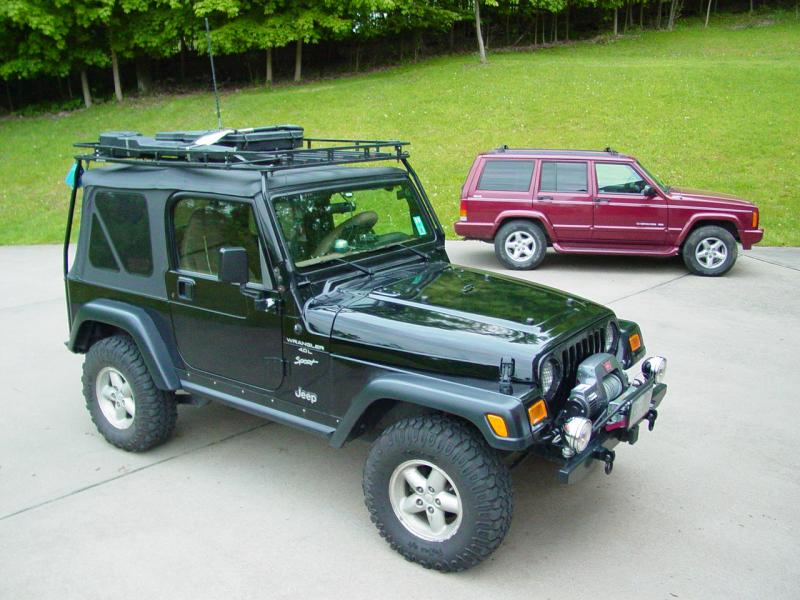
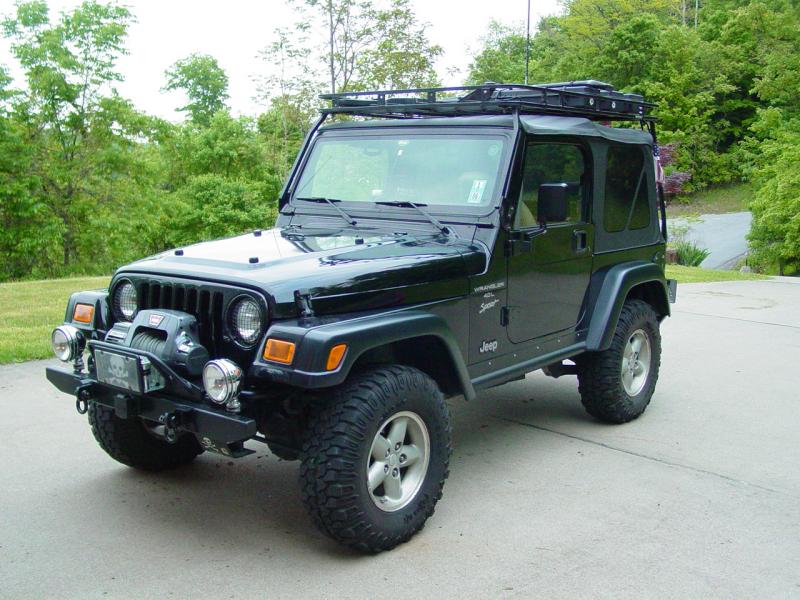
Now, I was ready to start removing the
hard top. But first I had to remove the roof rack.
This is further complicated by the standard cargo that is stored there (Hi-Lift
Jack and three tool boxes full of readiness items), and the CB antenna that needs to be
disconnected. On top of all that, the rack base is heavy enough that it requires two
tall adults to manage it. Or so I thought.
One arrives at creative solutions when
necessary. I had tried all manner of removing the rack alone over the years.
What I finally arrived at this time worked the best of many partial solutions I
have tried in the past. First, I unbolted the uprights from the top rear, and swung
the rack back to a completely flipped back position, propped up on spare tires and wheels,
two on each side under the bottom of the rack, and supported at the top by the wall over
the entrance to the garage. In this position, I was easily able to remove the CB
antenna connection and two remaining bolts holding the rack to the rear uprights. I
had already cleaned out the tool boxes and removed the Hi-Lift before flipping the rack
back.
Next I moved the Jeep out of the way and
flipped the rack down on top of my boys' Radio Flyer Wagons. I put one wagon on the
front and one on the back. Then my five-year-old and I "drove" the rack
out of the way.
From here on out, it was what most people
have to do to remove the hard top and install the soft top. I backed into the garage
and got the Jeep under the hoist. I unbolted the six fasteners, disconnected the
wiper, washer, and two clips up front. Then I tied the top to the hoist frame,
lifted up on the front of the top on each side to break the seal. Then I cranked the
top into the air. If this was all I had to do, it would have only taken 10 minutes.
But my life has never been that uncomplicated...
I drove the Jeep back outside and went
back to check the hoist and mountings for safety. No major issues surfaced.
The lag bolt in the ceiling joist was not moving an inch, had not bent, and was
secure. The winch mount was solid and stable. It looked great! The line
that I used was not stretching, frayed or in danger of breaking.
I turned my attention to installing the
soft top. The soft top disconnects
spared me the troubles with the factory ones. One of the clevis clips had gone
missing from the move.
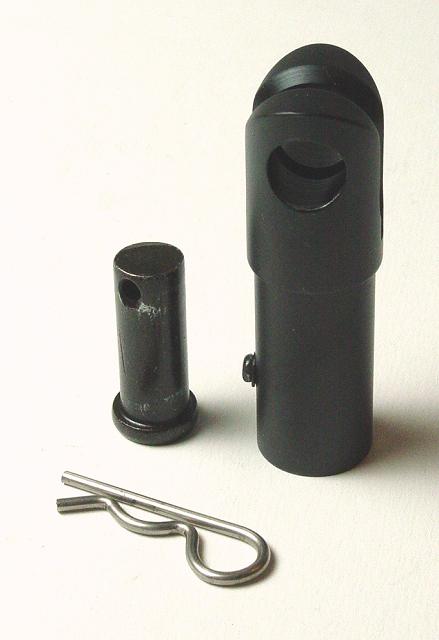
I made a mental note to get a couple
spares the next time I go to Lowe's. The top came out of the moving box in the same
condition I put it in. I had cleaned it thoroughly before packing it and carefully
rolled the windows to keep them from kinking.
The top went right on. Mission
accomplished. Or maybe I should say, Part I complete.
What was left was to restore the contents
of the garage to a better organization. I will spare the details as it is not really
part of the main task...