Rack |
Cargo Net | Front Mount | Rear Mount | Hard Top | Front View
Permanent Storage | Upgraded Hardware | Install Instructions | Door Modification |
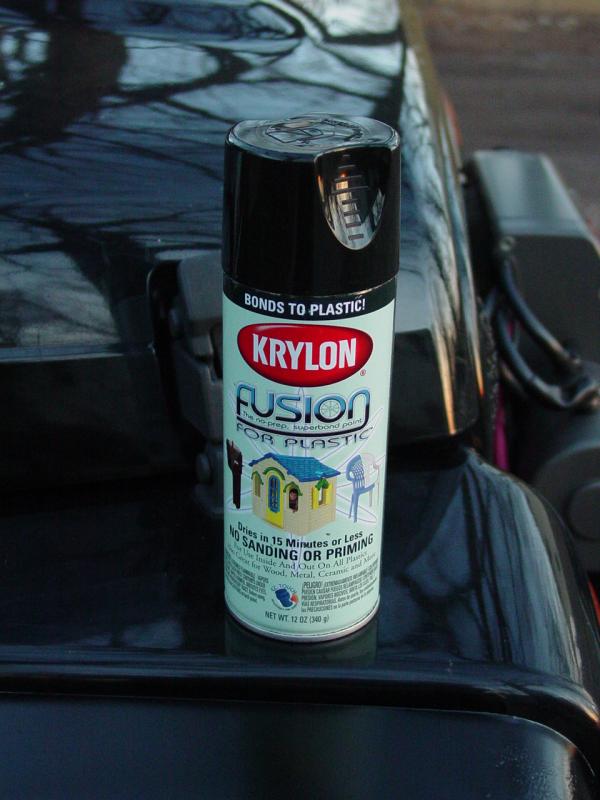
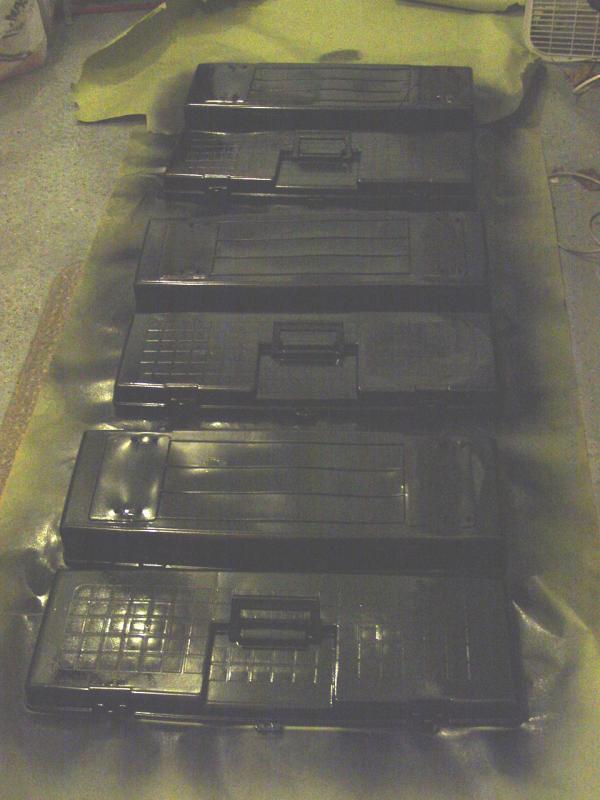
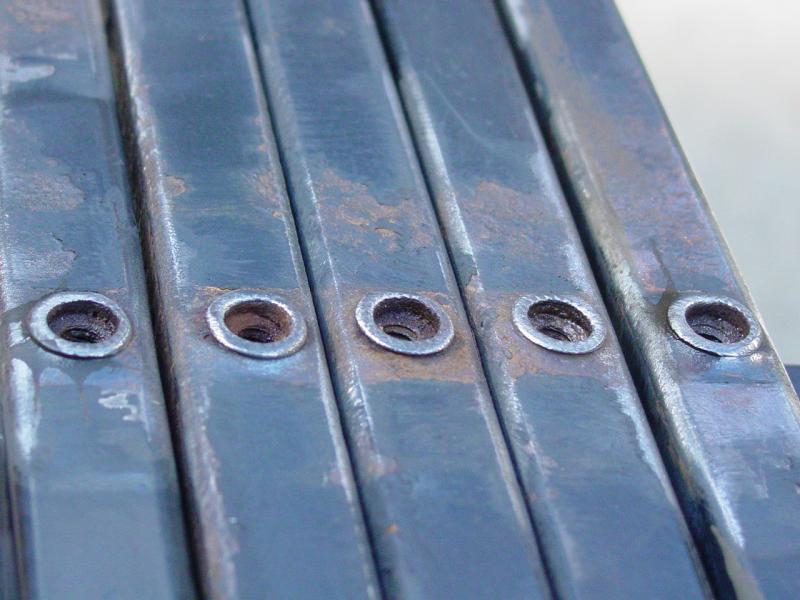
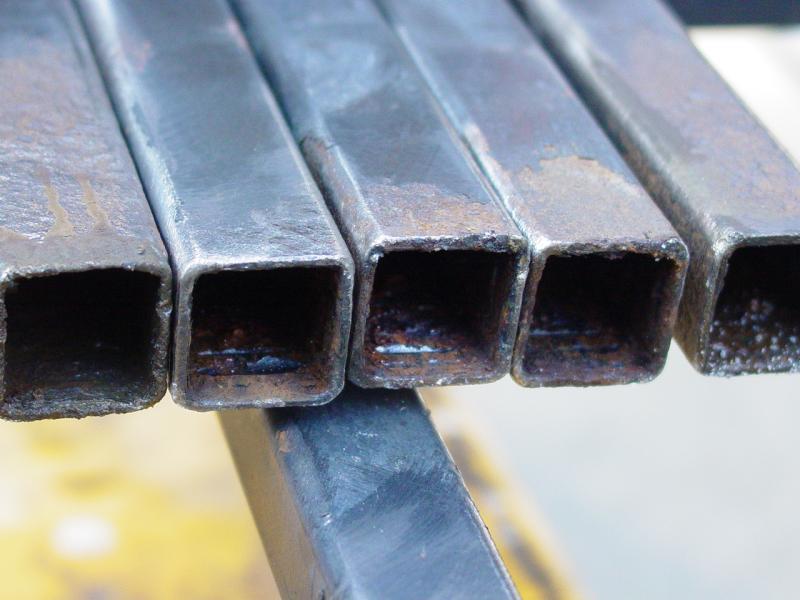
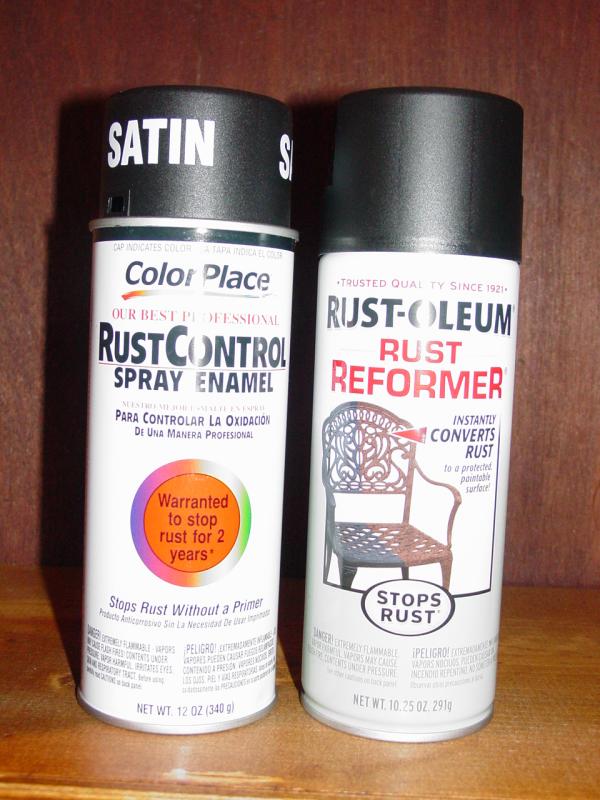
Repaint!
![]()
![]()
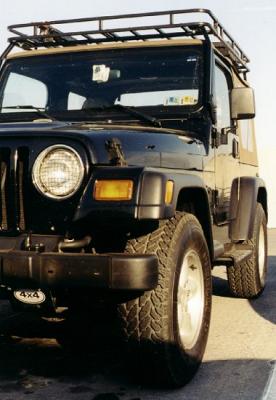
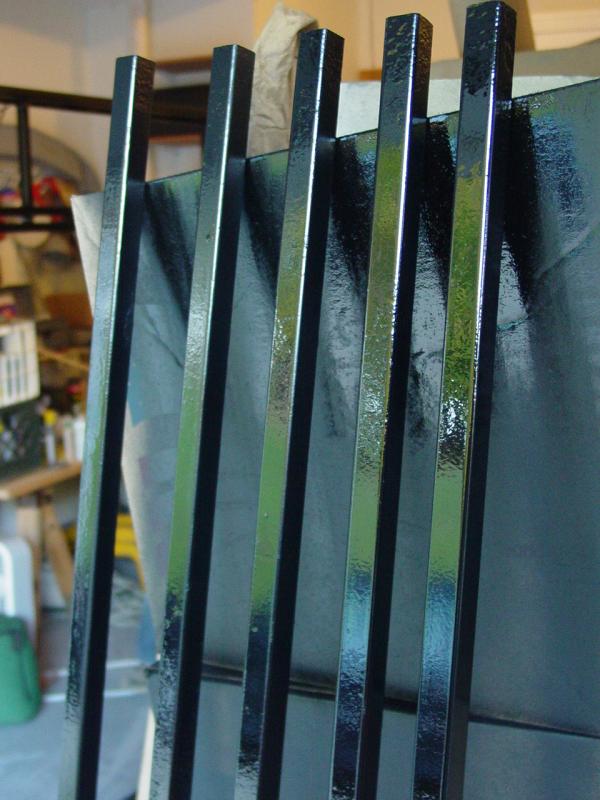
TJ (Above)
YJ (Above)
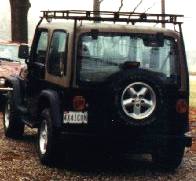
As anyone who owns a Wrangler will tell you, there isn't much room inside to store anything. And if you want to bring family or friends along, you run out of space pretty fast. I wanted to bring my two kids and wife with me on my rides, and also wanted to be able to use the Jeep for running errands to the home store, trash dump, and even to travel with it. After listening to my wife teasingly warn me about not buying too much food in case I have trouble getting it all home from the store, I decided it was time to look into a roof rack. I wanted something that was extremely rugged, offered flexible storage capabilities, and would not be too high or wide. I looked at several different brands and settled on the Garvin Wilderness Expedition Rack. It's made by the same company that makes OEM factory roof racks for the civilian Hummer®. |
 |
|
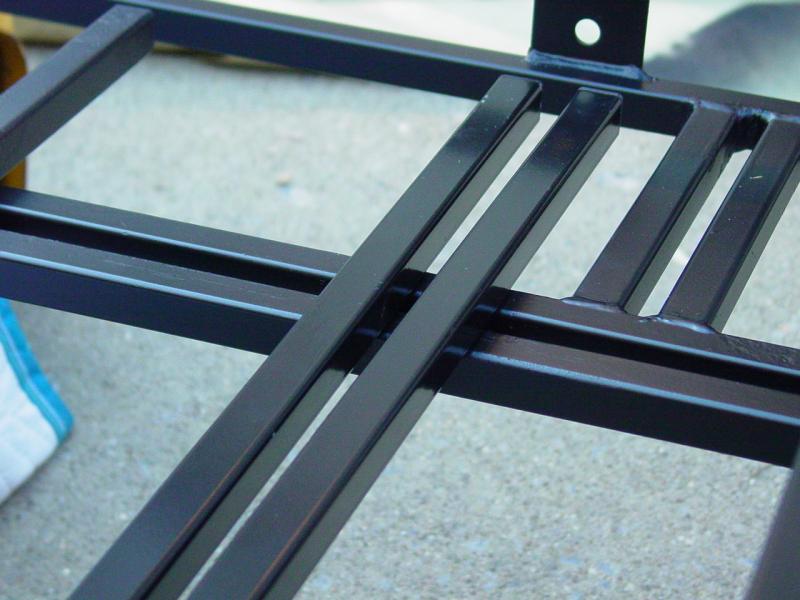
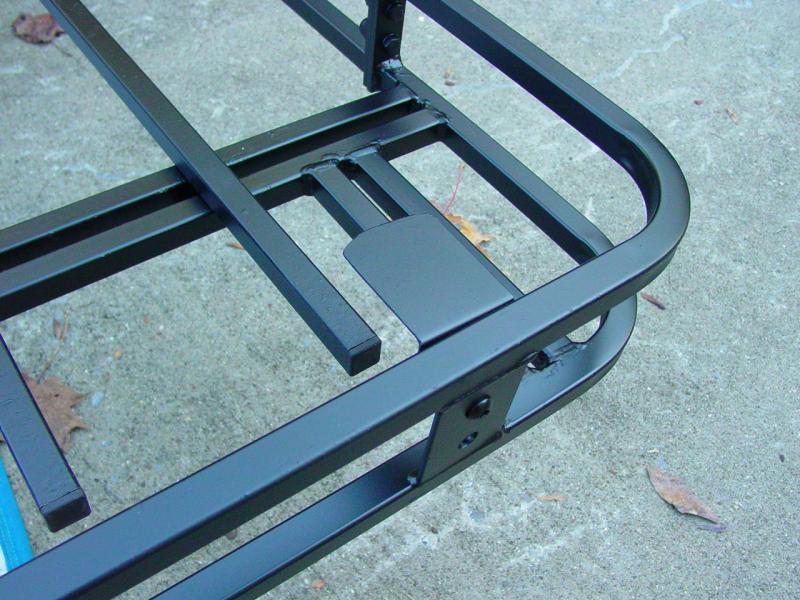
The rack comes in two packages. One package contains the rack frame and hardware; the other package contains the floor and hardware. Assembly is very simple, although the parts are large and unwieldy. The floor parts require some measuring (you have to figure out the spacing for yourself) before they are tightened down. While I was able to assemble and install the rack by myself, I think I would advise getting some help when it is time to put the assembled rack up on the struts on top of the Jeep. Remember, measure twice, drill once. I have one "extra" hole in my body because I got distracted and drilled on a piece of dust I thought was my center punch mark... Fortunately it is behind the bracket. |
Rack |
Cargo Net | Front Mount | Rear Mount | Hard Top | Front View
Permanent Storage | Upgraded Hardware | Install Instructions | Door Modification |
Repaint!
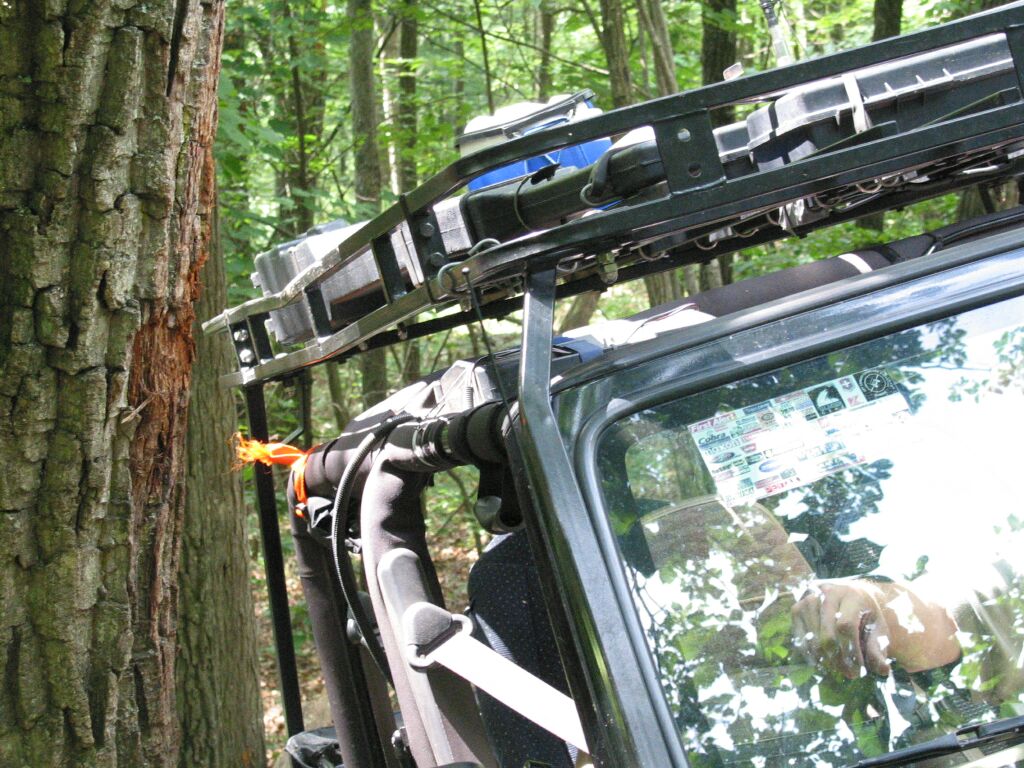
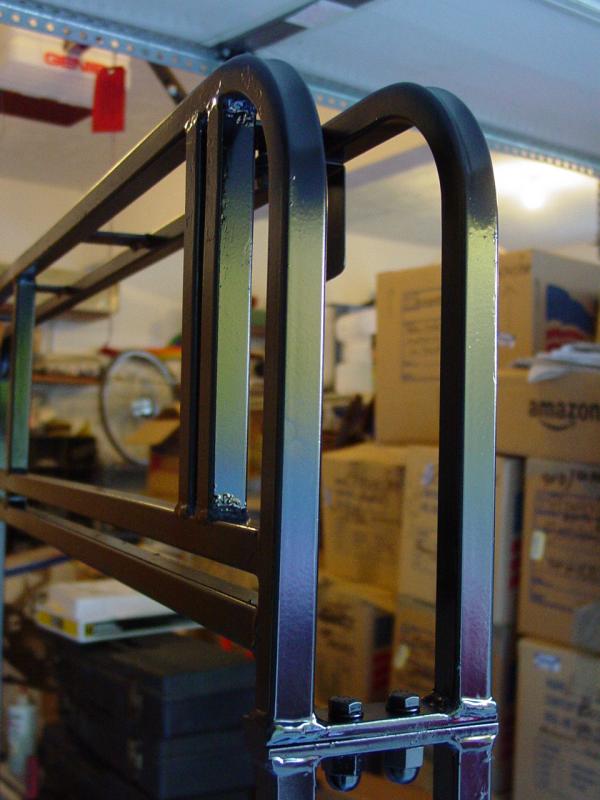
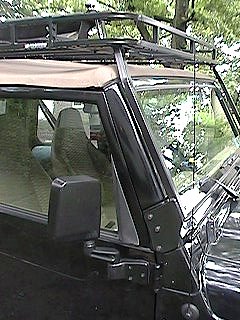
Front Mounts |
|
|
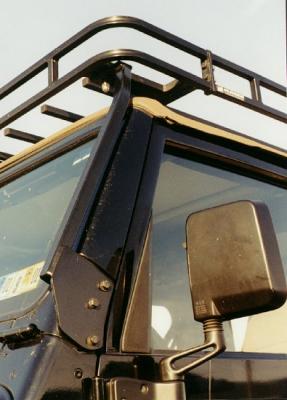 |
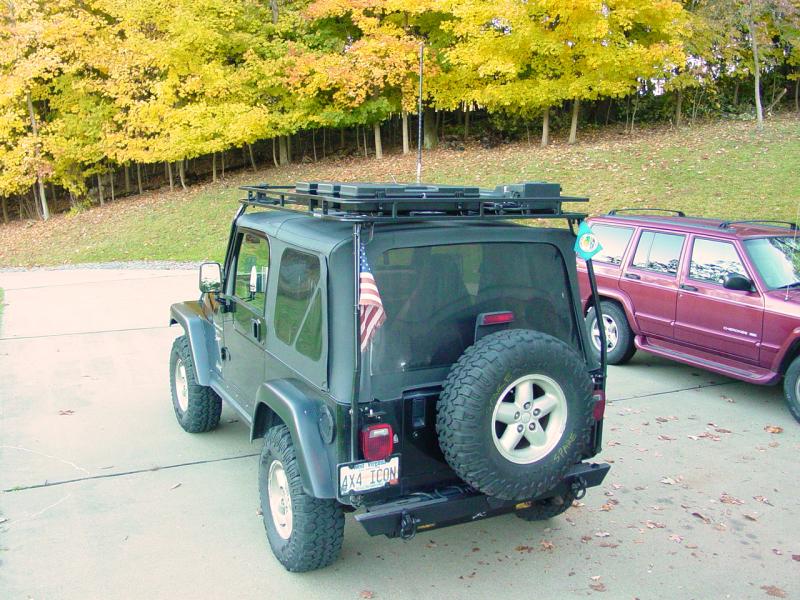
| This rack mounts to the windshield frame in the front | |
Rack |
Cargo Net | Front Mount | Rear Mount | Hard Top | Front View
Permanent Storage | Upgraded Hardware | Install Instructions | Door Modification |
Repaint!
Rear Mounts |
||
 |
 |
|
|
||
Rack |
Cargo Net | Front Mount | Rear Mount | Hard Top | Front View
Permanent Storage | Upgraded Hardware | Install Instructions | Door Modification |
Repaint!
TJ (Above)
YJ (Above)
Hard Top |
|
 |
 |
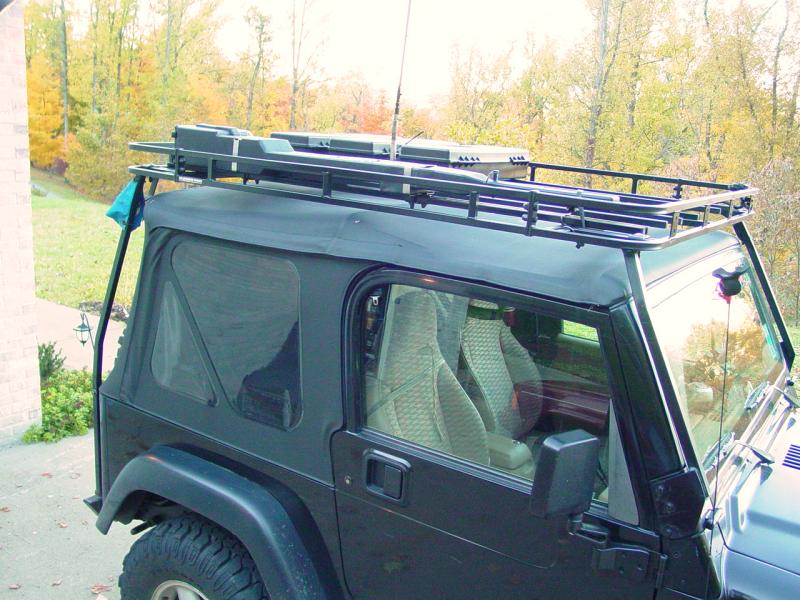
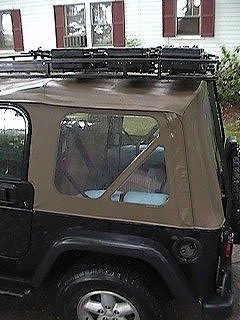
| The hard top fits too, but in order to remove or install it, the rack must be completely removed from the uprights. | |
Rack |
Cargo Net | Front Mount | Rear Mount | Hard Top | Front View
Permanent Storage | Upgraded Hardware | Install Instructions | Door Modification |
Repaint!
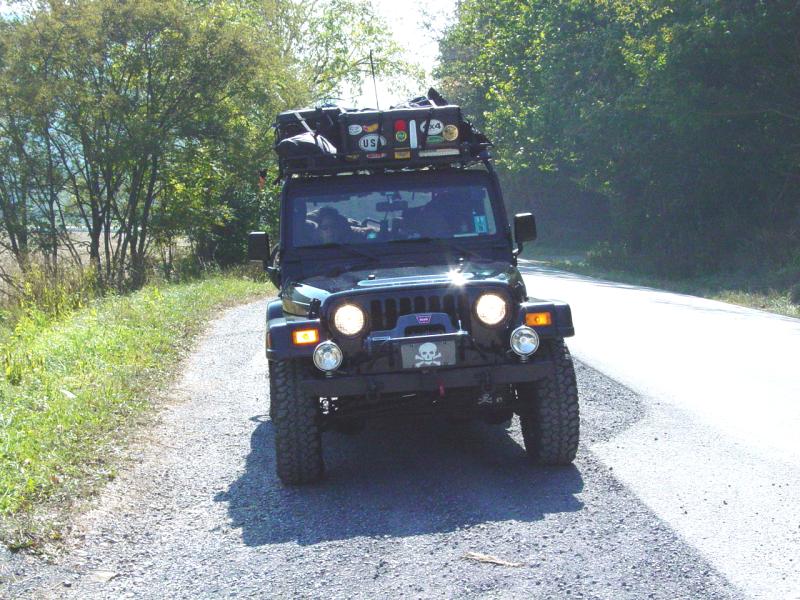
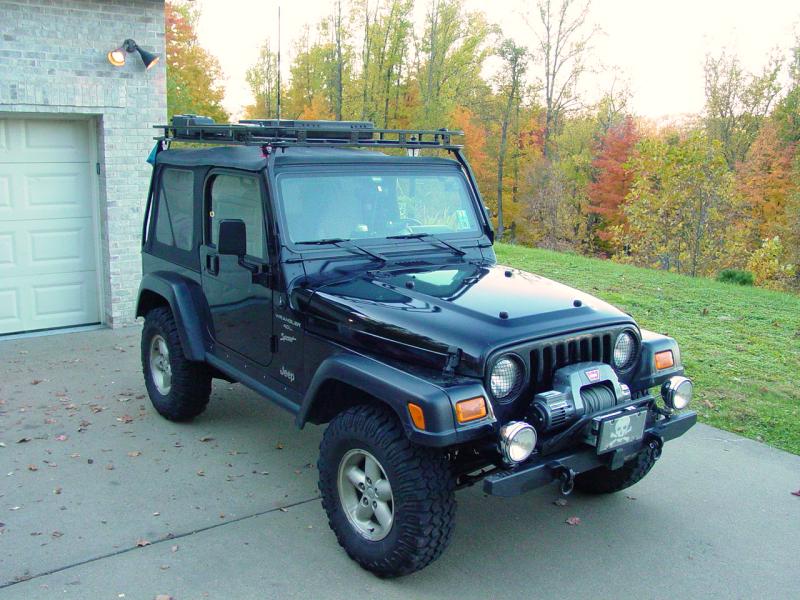
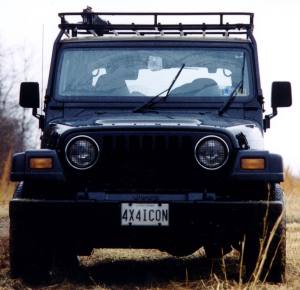
| Front View | |
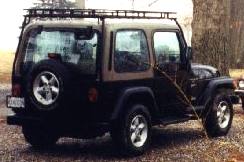
Here is a head-on view of the installed rack with nothing but the jack installed. The rack does not add any width to the vehicle and only adds a few inches to the overall height as compared with hard or soft-top vehicles. |
|
Rack |
Cargo Net | Front Mount | Rear Mount | Hard Top | Front View
Permanent Storage | Upgraded Hardware | Install Instructions | Door Modification |
Repaint!
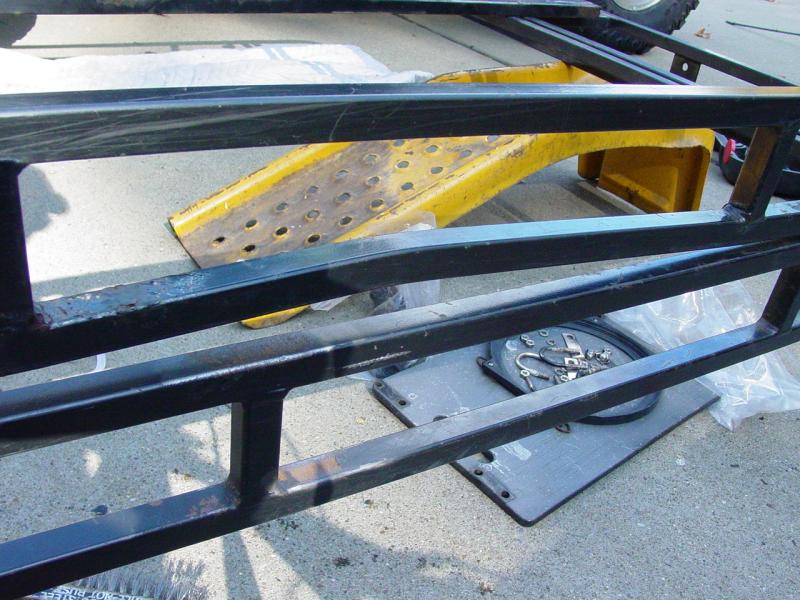
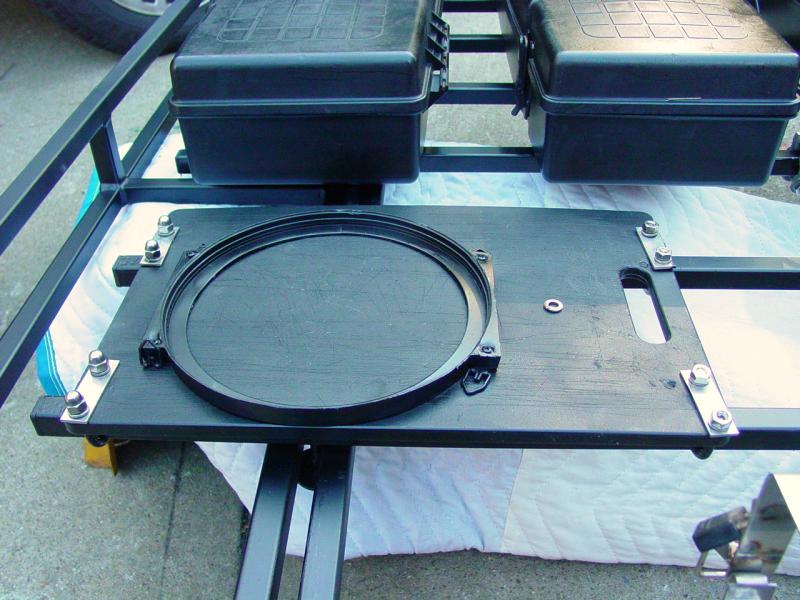
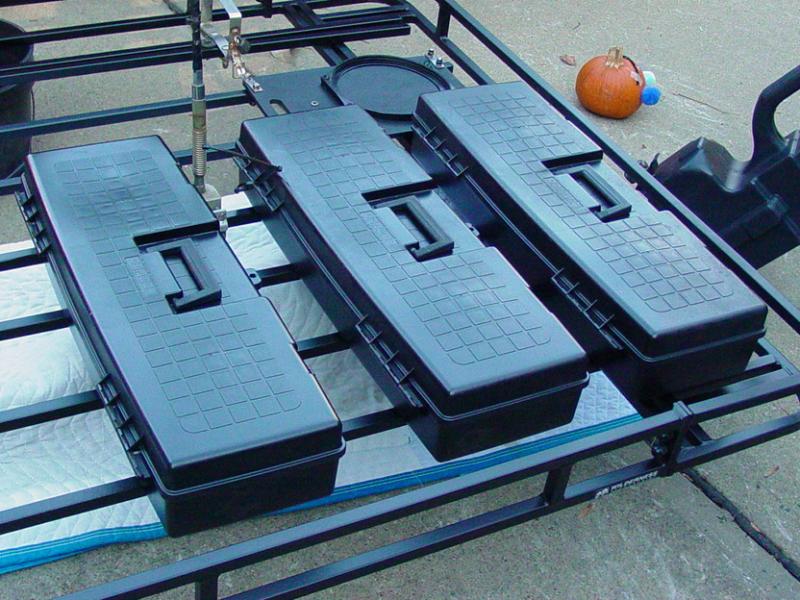
Permanent Storage |
|
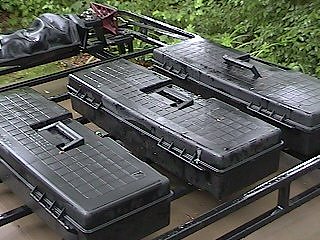 |
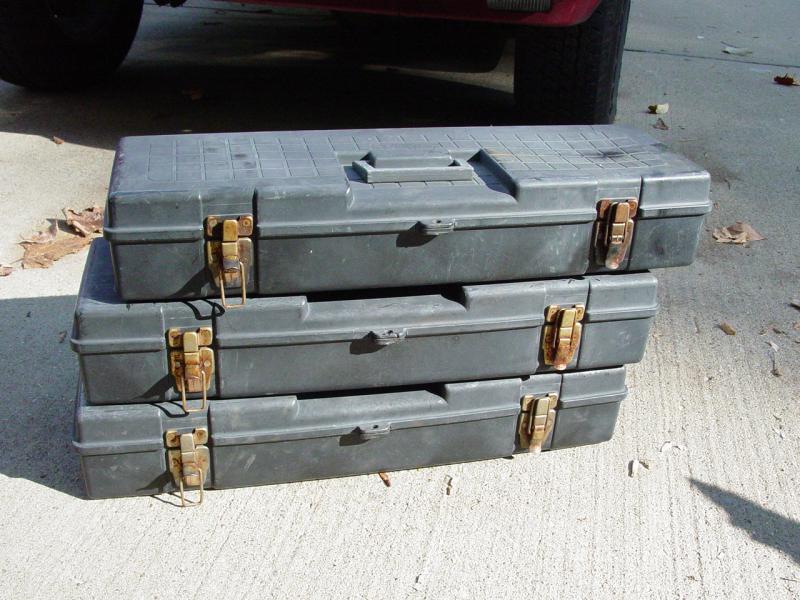
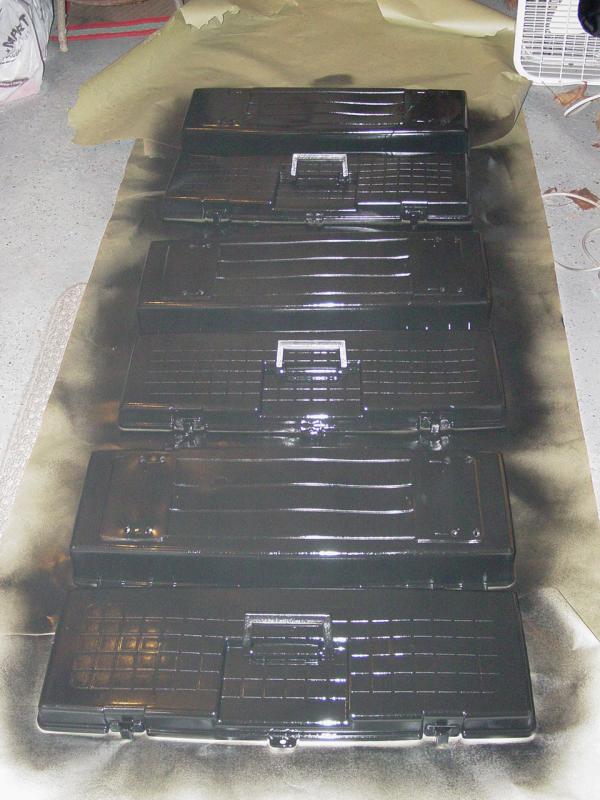
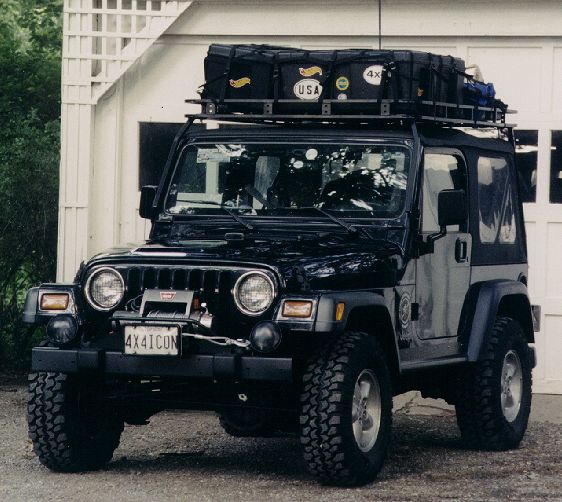
Here is a view showing some tool boxes that I mounted to the rack for regular everyday storage. In event of long trips, I have larger storage containers that I can stow on the rack and hold in place with a cargo net that is also sold by Garvin. |
| Here are two views of the installed rack, again with the storage containers and jack in place. | |
 |
 |
Rack |
Cargo Net | Front Mount | Rear Mount | Hard Top | Front View
Permanent Storage | Upgraded Hardware | Install Instructions | Door Modification |
Repaint!
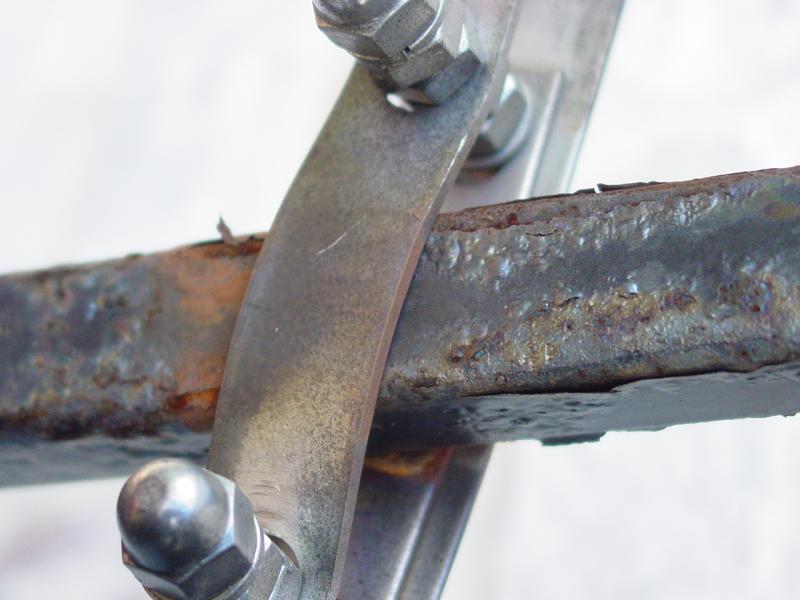
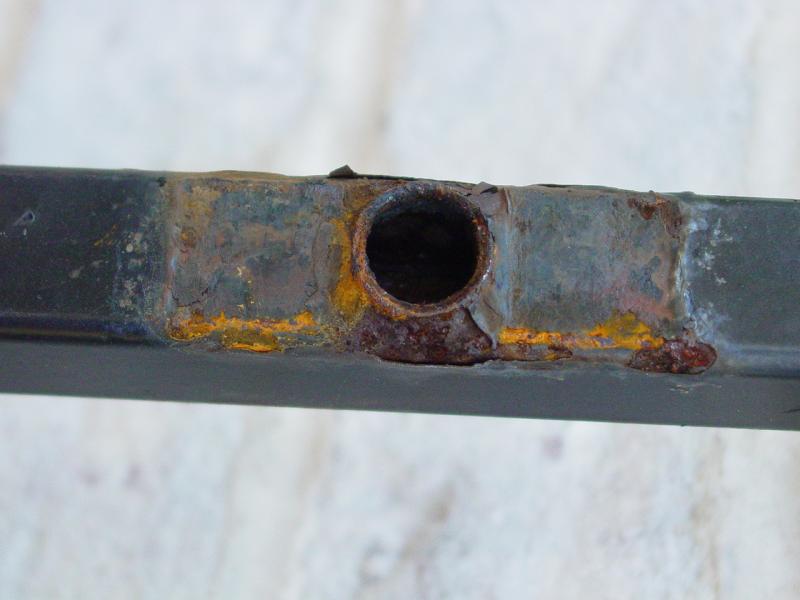
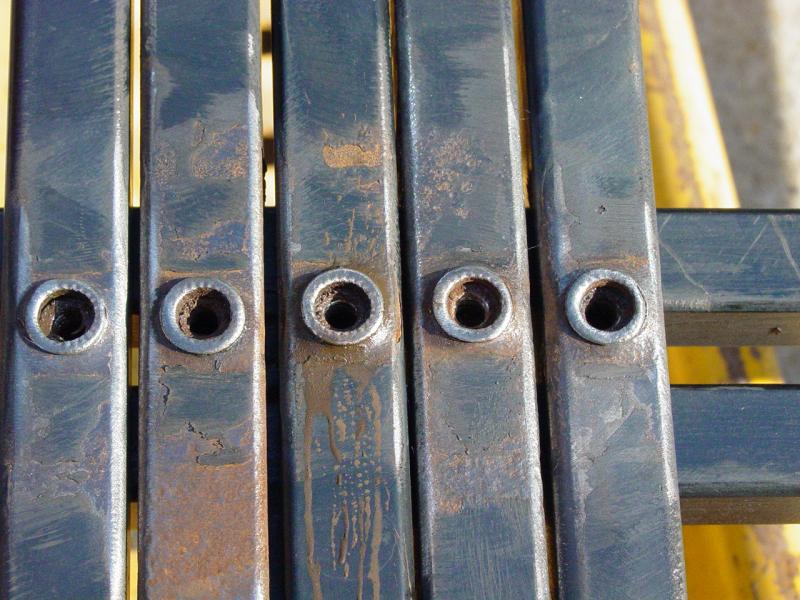
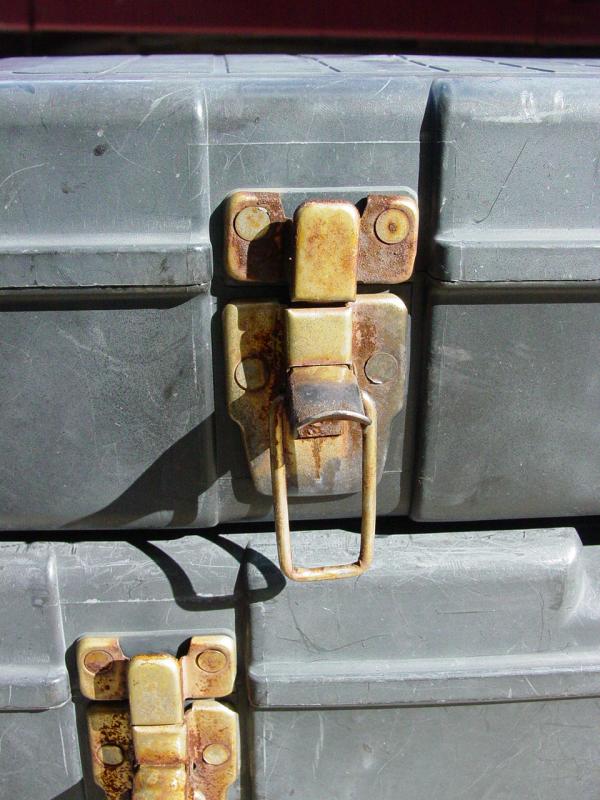
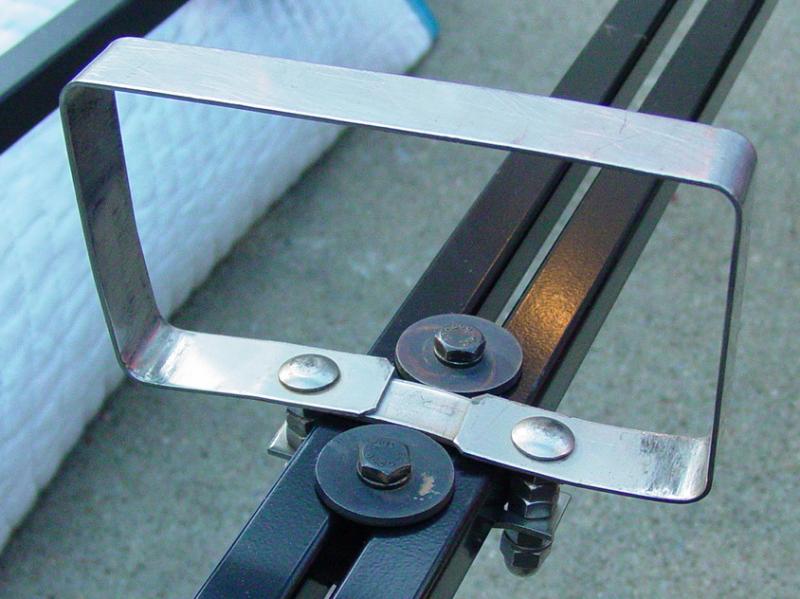
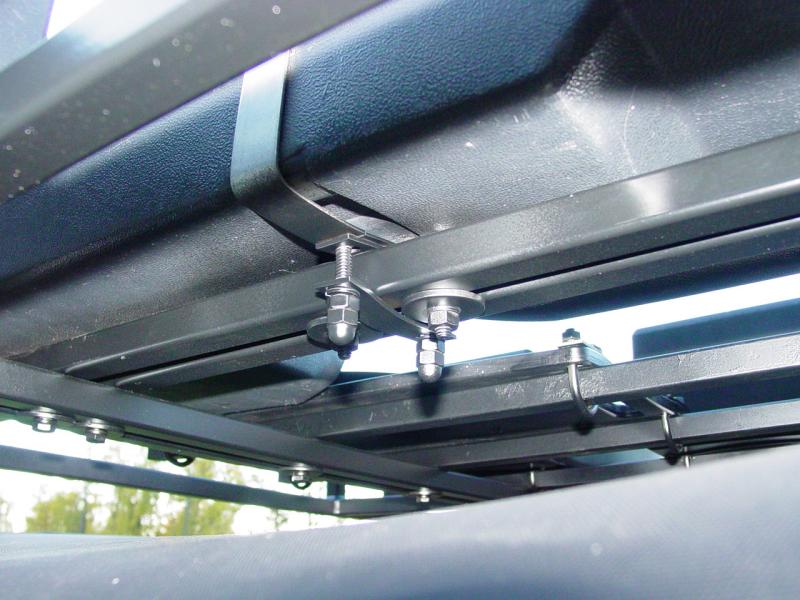
Upgraded Hardware |
 |
|
Rack |
Cargo Net | Front Mount | Rear Mount | Hard Top | Front View
Permanent Storage | Upgraded Hardware | Install Instructions | Door Modification |
Repaint!
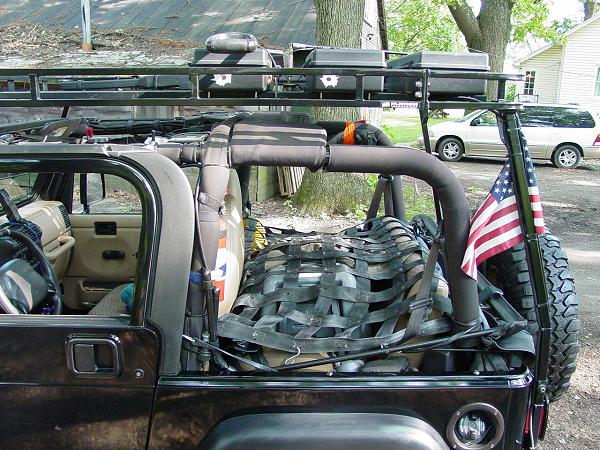
Cargo Net |
|
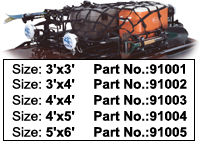
I purchased the largest cargo net available (5' x 6', No 91005) to use whenever I needed to hold a load on the rack. The net is designed and manufactured to rigorous specifications, featuring 1" high strength (800 lb. tensile strength), extremely durable polypropylene webbing. |
 |
 |
|
|
|
| The rack, 5 x 6 cargo net and jack were purchased at 4x4 Connection
|
|
Rack |
Cargo Net | Front Mount | Rear Mount | Hard Top | Front View
Permanent Storage | Upgraded Hardware | Install Instructions | Door Modification |
Repaint!
![]()
TJ (Above)
YJ (Above)
Return to Jeep Specs Page
Shop for Jeep Toys and Books | See the Toy Jeeps | Off-Road Index
Photos, Layout and Design © 2001-2008 Paul M. Provencher All Rights Reserved.
Contents of this Web Site may not be used without written permission
Visitors since 5/21/01
Last Updated 02/09/2008 12:04:43 PM -0500
13796 4/6/06