I decided that I would get the hard top
installed promptly this year. It had already snowed once
and I didn't want to wait for it to snow again before I dug the
hard top out of the back of the garage and got it up on the
Jeep.
If my garage was in some kind of order, it
probably wouldn't be a big deal to install the top. But my
garage is still crushed from the weight of a move almost a year
in the past. That may sound a bit lame but consider:
I got rid of
five cars when I moved, and a garage full of parts.
That left nothing but the tools and some odd bits of things.
But when you have restored six cars like me, your tools are
large, the things you have around (engine stand, hoist, 12-ton
press, floor jacks, etc., etc.) take up some space.
Then there's the matter of household items
that have not yet been unpacked. All our formal dining
stuff is waiting for a cabinet; many other things once on a
set of bookshelves awaits the refinishing of the room that
will be their home. And the kids toys and all our bikes
(and a few spares), plus the lawn tractor and the
gas can racks and the gas
cans and the... and the...
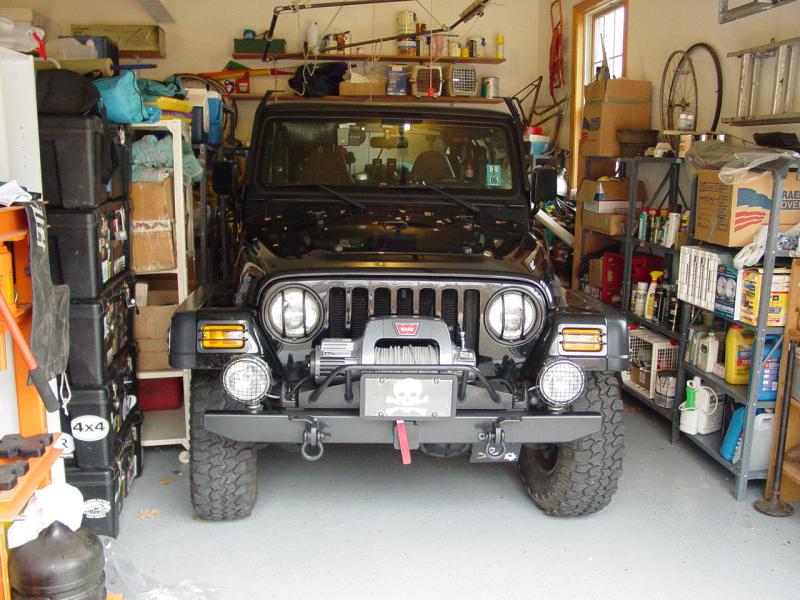
When all that had finally been hauled out of
the stall, a clear path to the back of the garage appeared.
Only once before had the Jeep been in the garage: last
spring when I removed the
hard top!
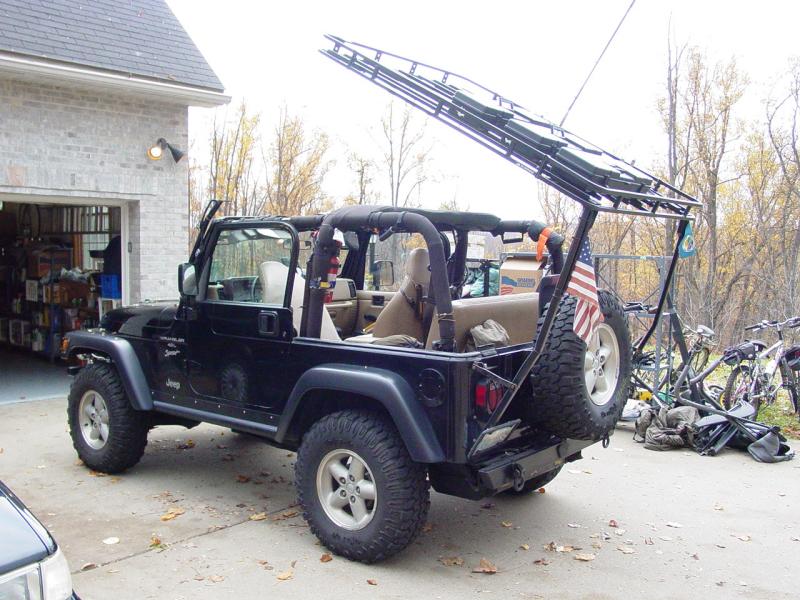
But before I could swap tops, I wanted to take
car of a few other things. So I flipped back the rack and
removed the soft top.


That was mindlessly easy. It only took
the usual 20 minutes plus the time to undo the bows from the
sport bars.


Once the soft top had been set aside, I got
down to business.

I turned the Jeep around and backed it up to
four stacked tires. I flipped the rack back and balanced
it on the tires, removed it from the supports and leaned it up
against the house with a moving blanket between it and the house
to prevent damage to either. I pulled the Jeep a few feet
forward and parked it.
Next I removed the rear support bars and took
a wire brush to the bottom of each one. I did the same to
the thick support bracket mounted to the bottom of the tub at
each corner, and to the two brackets on the upper part of the
tub. With the loose scale and surface rust knocked off I
sprayed the rust converter/primer and the satin finish rust
preventative paint onto the supports. While I was doing
this I painted the back of the number plate and touched up some
spots in the rear bumper and the d-shackles. Why not hit
every spot that needed it?
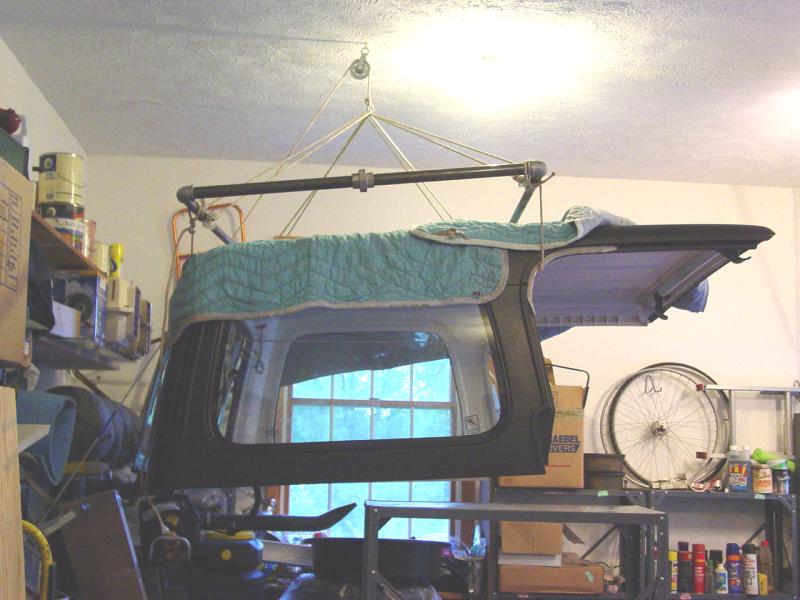
While all this was drying, I backed the Jeep
into the garage and lowered the top onto the tub using
the hoist I made.
It was nice to finally have this thing work
the way I had designed it. It was so easy to put the top
onto the Jeep it was anticlimactic after all the work to clear
the path and all the work to remove the rack, refinish some more
parts, and get the Jeep eased back in there.


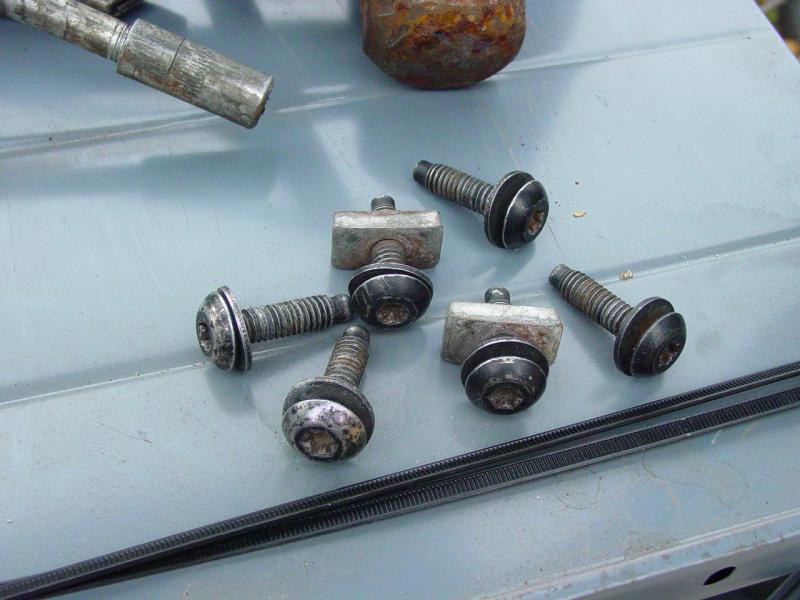
Then I had a little anxiety over finding the
six bolts and two nuts that retain the hard top to the tub.
I knew I had placed them in a place where I could find them, but
sometimes that ends up being problematic. This time I was
rewarded with finding the nuts and bolts in the top drawer of
the tool chest just like I thought they were.
I got the top lined up and then bolted it
down.


Then I dusted off some of my truck bed paint
that I use to touch up the top and hit the rough spots.
This paint is so good at blending and covering that when it
dries you can't tell where a touch up has been done. I
used this opportunity to show Ted how to do some painting with
pieces of cardboard to keep the overspray from getting on
windows and things.
With the top reinstalled I reassembled the
rack support parts and then lined up the Jeep to put the rack
back in place. I had Ted help me hold the rack while I got
it bolted to the uprights again. He lost control of it
when it overbalanced and it went smashing into the side of the
(brick) house. Fortunately the moving pad keep the house
and the rack from getting marked up and most important, Ted was
just fine though a bit worried I would chew his ear off. I
didn't. We just got it straightened out and finished
putting it together.
While I had it in pieces I adjusted the
antenna bracket because it had been a little crooked when I
installed it after the repaint last week. With those
details done and the antenna leads reconnected, I flipped the
rack back up and bolted it down. Done! Started at
10:00am; finished at 2:00PM, with some leaf blowing, kid
watching, garage cleaning, and restoration work mixed in.
I don't multi-task well...