While Jeff at Adrenaline Offroad had my Jeep in for the work on the rear axle and housing, he pointed
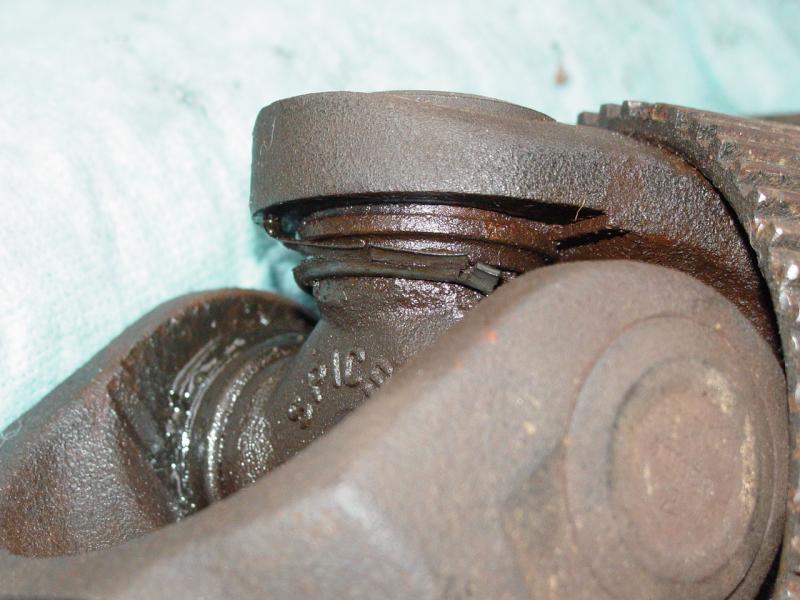
out to me that one of the front axle u-joints was shot. What called his attention to
it was the rust around the place where it goes into the axle yokes. A quick shake
with a hand holding the yokes showed that there was enough play to move the joint easily.
If I had gone wheeling on it one more time, it probably would have failed, taking
the yoke and both pieces of the axle with it...
Ironically enough, I was already engaged in getting the
u-joints replaced. I had decided that 120,000 miles on the factory u-joints was far
enough and whether they needed it or not, they were coming out before they failed on the
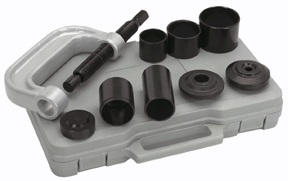
trail. I had already ordered the popular "Harbor Freight" ball/u-joint tool. It was somewhere in the
mail at the time that Jeff made his discovery.
PDF Manual
I decided that I would chance driving the Jeep for the
week while I waited for the tool to come in, and studied up on how to perform the work.
The tool arrived on a Thursday night so I claimed the weekend for the repair.
But first I had to dig out from a winter of garage chaos.
I ended up spending all day Saturday and Saturday night getting the garage in
order, and ended up with a pile of trash that occupied the space of one compact car.
By trash I don't mean household trash, I mean stuff that packrats like me
accumulate thinking "someday I might need this..." - like four computer cases
(circa 286/AT), several floppy disc containers (5 1/4...), and so on. There were
several large shipping cartons that I had saved thinking I might need them in case I had
to ship the items back - like I would ever be shipping back my soft-top, or my Superior
axle shafts (though I have one I would love to ship back, it is not Superior's fault...)
Finally Sunday came. I used Saturday to do my
cleaning - nice and sunny, and gradually warm enough to feel comfortable outside in long
johns, and regular outerwear. Sunday started gray and gloomy, and much colder.
Just my luck!
I went out and got the side of the Jeep with the bad
u-joint on a jack stand. I figured if it took me all day, I could at least get one
side done and do the other side the following weekend, without ending up without
transportation, and of course, doing the one that needed doing first.
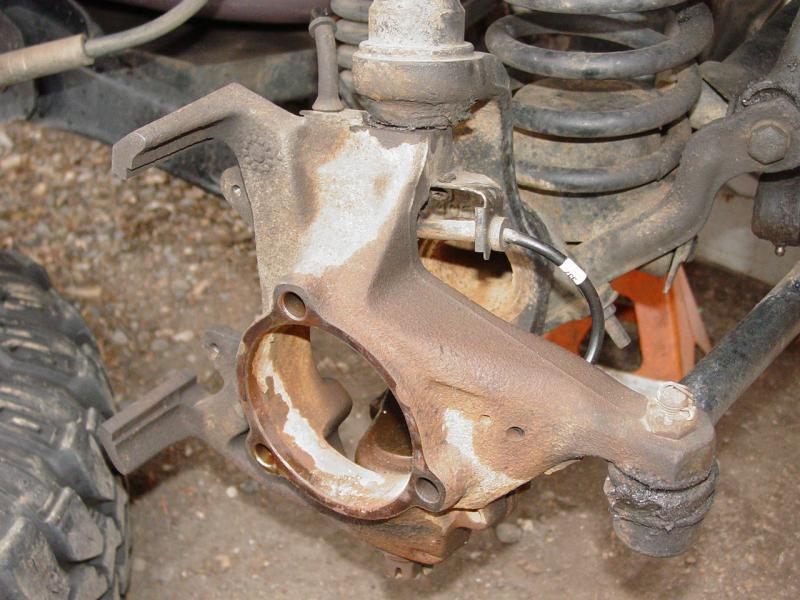
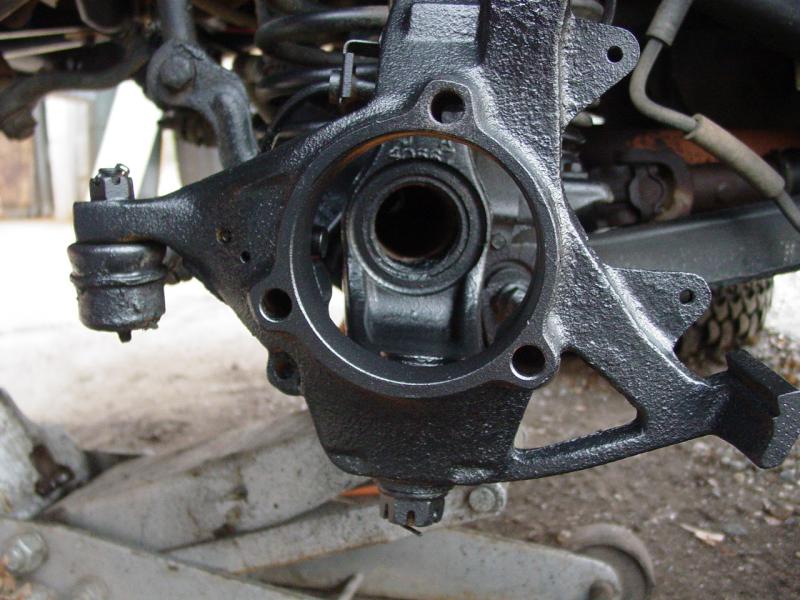
After removing the wheel, brake caliper and disc, I
removed the three bolts holding the hub on. I had to use my breaker bar but this
combined with some PB Blaster, it was pretty easy. That was the end of my easy
day... I tried to remove the hub nut with my newly-acquired 36mm socket and found
that it was going to take more than my 24" heavy duty ratchet. I didn't have a
piece of pipe large enough to fit over the handle, and had been foiled in my attempt to
buy an impact wrench the night before, so I decided to leave the hub assembled to the
axle. It isn't necessary to remove it, though it would have made life a little bit
easier.
I used my borrowed slide hammer to break the grip the
housing had on the hub, and freed the axle of the vehicle.
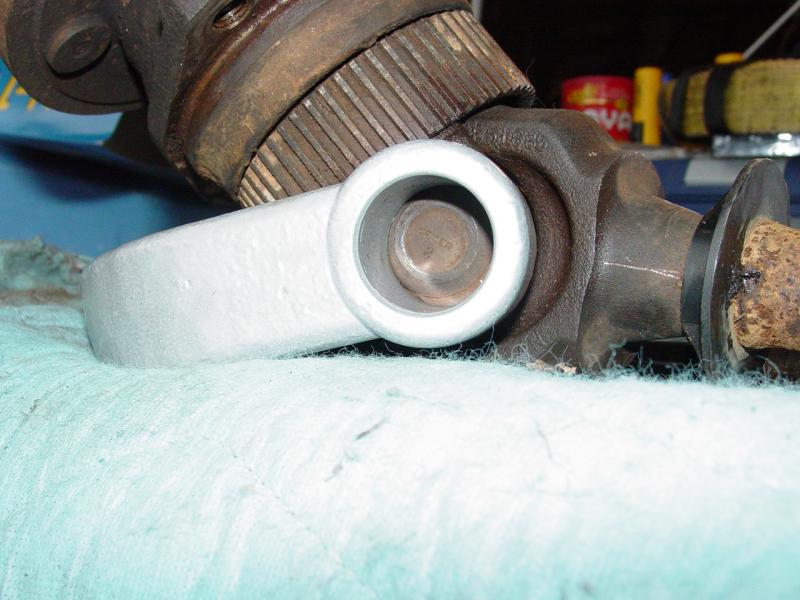
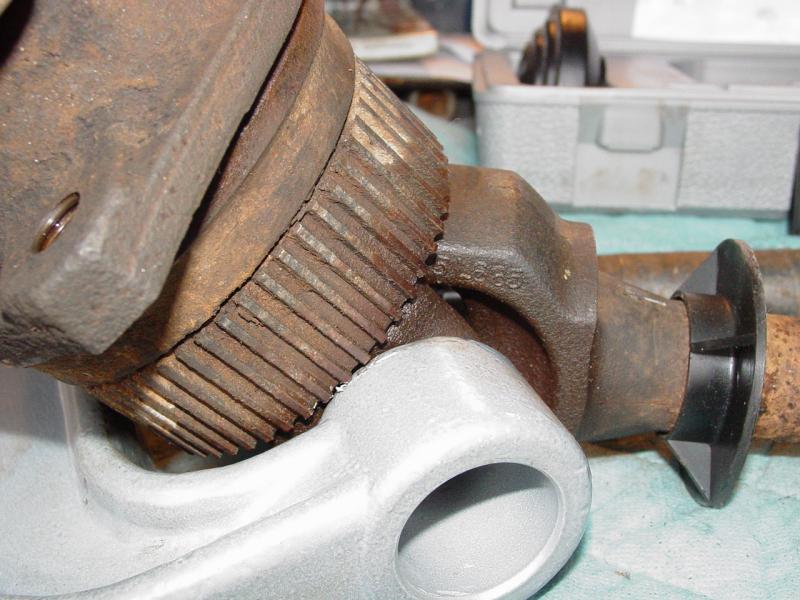
I removed one retainer clip from the u-joint, tried to
get the others, and was unable to get them easily. I decided to try pressing the
u-joint to one side (towards the side with the now-removed retainer clip) and see if that
made it easier to remove the clip on the other side.
And that's when I hit a dead end. The u-joint tool
has one side that is open to receive the u-joint as it is pressed out of the yoke.
The problem is that the end is so large that it does not line up with the u-joint end due
to the ABS tone ring, which is so wide that it prevents the tool from seating as it
should!
I decided there was not much point in trying to wrestle
with it. Even if I could get the u-joints out, the tool would not work for
installing the new ones and I could end up damaging parts. That's something you don't
want to do on Sunday, when you must to have it back together and driven to
work on Monday. Come to think of it, I'm not sure how much longer I want to wheel my
daily driver. But maybe I am just gun shy from all the repair work I have done in
the last several weeks. But I digress.
So I tidied up, cleaned off the housing ends and
repainted all the parts that were exposed.


I replaced the tether on one of my swaybar quick-disconnect
clevis pins, the pin itself (quite bent), realigned the clevis pin holes in the lower
disconnect pins, and laid out my tools for later when I resumed work on the
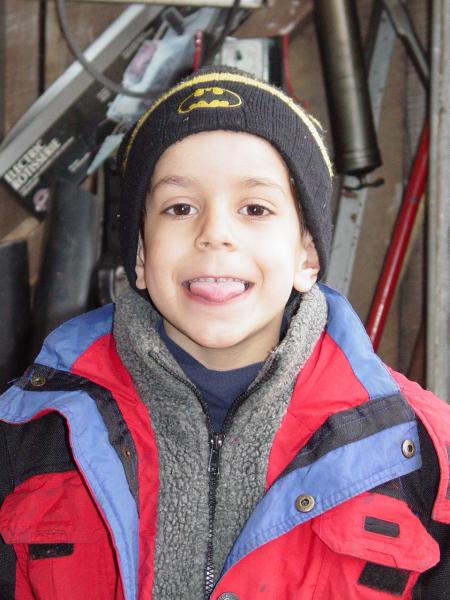
u-joints. My younger son kept me company, as usual asking questions non-stop, and as
usual, me answering every one as well as I could. I grabbed a couple pictures of
him. One with his tongue in his mouth, and one where he prefers it for
pictures: sticking out. As my friend Bill likes to say: "Knuckle
head!"

Feeling a bit self-conscious, I called Jeff at Adrenaline and left a message
telling him that I had pulled the axle shafts but that my tool was inadequate (no wise
comments please...). He wrote back, we made arrangements to bring the axles by his
shop and swap in the new u-joints. I went to my Jeep meeting driving my wife's Volvo and signed up
for the jackstand brigade.
After the meeting, I drove over to Jeff's and we tackled
the u-joints. He tried hammering them out while holding the yoke in a vise.
That didn't work. We tried hammering them out with a drift and a cup. That
didn't work. So Jeff took out his ball/u-joint tool. It looked just
like the Harbor Freight one. With one important difference - it was the original
tool and was Made in USA. Looking at it, I could see that the casting was much
better, the finishing was very good. But the most important thing was that the
receiving end of the tool was smaller where it counted - and it would clear the ABS rings
without interfering with the u-joint as it came out of the yoke.
However, the u-joints still didn't want to come out.
So Jeff got a large, mean air wrench and put some torque on the remover tool.
The u-joint finally surrendered and pressed out. Both sides of both axles
were the same - very tight and difficult to remove. I am not sure if I would have
been able to do them even if my tool had been right.
We reassembled the joints using a hammer, holding the
axle in a vise, and pretty soon, both axles were put back together and the joints were
like new - maybe better since we used the new upgraded u-joints, said to be stronger.
I drove home and contemplated putting the axles back in
the housing. I wasn't really too excited about doing it in the dark, in the cold,
but I needed to have the Jeep back on the road in the morning. When I got home I
found that it was perhaps the warmest it had been all day. I had set myself up for
success before leaving by having all the tools laid out, all the bolts cleaned and
prepared to reinstall.
And except for forgetting the brake backing plates and
assembling the axles without them, it went very smoothly. I put grease on the axle
ends, all the way to where the grease seal rides, and carefully slipped the axles into the
tubes. I was surprised how easy it was, and also a little baffled why the rear isn't
as nicely designed... I put the disc and caliper brake parts back on, put the road
wheels back on, and took it for a test drive. I was surprised how much smoother the
front end felt. I guess that shaft was probably wobbling a little bit and causing
some vibration.
Another job out of the way... Maybe one of these
days I will get done fixing stuff and go wheeling...