Note:
These instructions are useful but I have since integrated my XM
receiver into my aftermarket head unit and removed this unit
from the car - this is for historical reference.
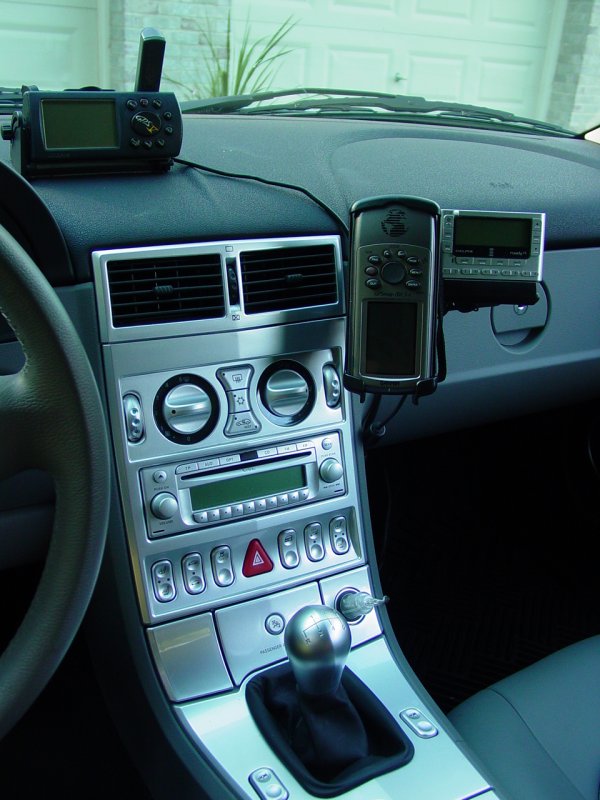
I had learned
with the Jeep the value of
hard-mounting
ancillary devices. My phone,
XM Radio,
and GPS in
the Crossfire were all loose and annoying. The
vent-mounted XM-Radio was a temporary solution. The GPS
Map 76CSx was being stored in a cheap cup holder. And the
phone was being hung off that. Not a fitting solution to a
car that deserved something better. Not to mention that
none of the devices were easy to handle, and often loose and
insecure.
So I hit the
road and found to my disappointment that places like Best Buy,
Circuit City, and Radio Shack still haven't developed a very
good selection of mounting hardware for these devices.
With the great proliferation of iPods, cell phones and even
GPSr's, I had expected to find lots of choices. The
closest I got to a bracket in any of these places was the
security brace for the in-store display at Best Buy. How
ironic that something that I could use was not even for sale!
But I had
already found what I needed online. I was trying my best
to patronize local shops. Defeated, I returned home and
cranked up my web browser for one last time, and ordered the
following:
-
Panavise
INDASH Mount 75104-804 (for the Crossfire)
-
Panavise 5"
Aluminum Extension Bracket 767-AL05
-
RAM Mount
for Garmin GPSMap 76CSx RAM-HOL-GA14U
-
Bracketron
Ultra-Slim Swivel PHS-203
These came with
plenty of hardware.
The day the
packages from two separate vendors arrived was one of those days
when the planets aligned perfectly. I had already
confirmed using the FedEx tracking numbers that the two packages
would arrive the same day. Maria had said the FedEx
delivery is usually in the late afternoon. All I needed to
install the parts were a screw driver and a plyers.
Soon the FedEx
truck arrived, one package short. But all was not lost -
the driver told me another FedEx truck that did home deliveries
would be along, and sure enough, within minutes the other truck
had arrived with package number two. I had already
assembled package number 1.
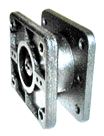
InDash Mount
This piece
forms the basis for the rest of the assembly. It is
custom-made for the Crossfire.
InDash Mount
751-04-804 for Crossfire 2004-2005, Crossfire Roadster 2005

Step 01
Open glove
box door. With Phillips screwdriver remove the (6) screws
that hold the glove box in place. (4) along top of the glove
box, and (2) along the left side of the glove box.
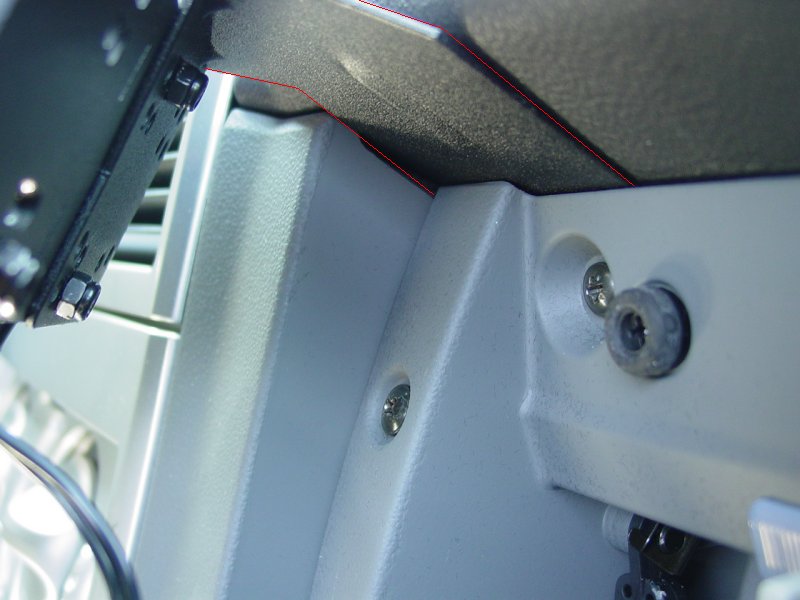
Step 02
Pull out on
the glove box just enough to slide the InDash by PanaVise
Mount into place with the hole aligned with the upper most
screw at the left side of the glove box.
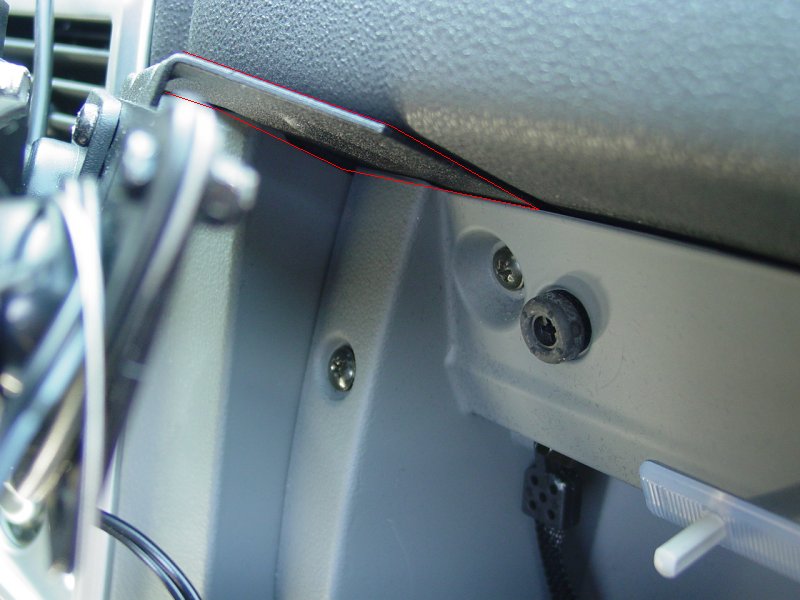
Step 03
Reinstall
the glove box and screws.
That was easy.
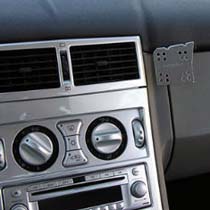
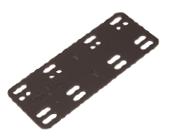
Extension
Bracket
As
designed, the bracket is wide enough for one device and has
holes for standard AMP fittings. In order to put two
devices on it, I ordered an extension bracket that gives
room enough for two devices and bolts to the bracket in the
standard holes.
The extension
bracket allows you to shift your device 1-1/2 AMPS pattern (3”)
up, down, right or left. Makes it possible to mount 2 devices
side by side Includes cover plate with studs and nuts for a
quick, clean install.
5” Adjustable
Mounting Bracket, Aluminum, black PV-767-AL05
Even easier...
Swivel Mounts
After
installing the bracket behind the lip of the glove box, and
figuring out where to mount the extension bracket, I
installed swivel mounts to set off the devices from the
bracketry. I placed the extension bracket so that it
was flush with the left of the bracket mounted to the lip of
the glove box and then bolted the swivel mounts through the
extension bracket and to the main bracket. I put the
second swivel mount on the right-most end of the extension
bracket so that the two devices would have enough room
between them.
I oriented the
swivels so that both devices were angled toward the driver's
seat.
The Ultra Slim
Swivel is a compact low profile design to provide adjustability
to devices such as XM and Sirius Satellite Radio Receivers, GPS
monitors or Mobile Phones. The Ultra Slim Swivel allows you to
angle your device for better viewing. The swivel is designed to
tilt approx 15° in all directions and swivels 360° for maximum
adjustability.
The Ultra Slim
Swivel comes with complete full color instructions and examples
of various mounting options. The Swivel is pre-assembled and
pre-torqued for ease of installation and use.
Manufactured by Bracketron
XM Radio
Mount
Next I
assembled the XM Radio mount to the right swivel mount using ny-lock
nuts This places the bulk of weight from the two units
(primarily the GPS) directly over the main bracket so that
vibration is kept to a minimum and so the passenger space is
not intruded upon.
GPS Mount
Then I ran into
a minor detail. The holes on the RAM mount didn't align
with the holes on the bracket mount. I took a drill and
put four new holes in the mount and bolted it to the Ultra-Slim
swivel and then to the bracket. Like cutting butter with a
hot knife...
RAM-HOL-GA14U
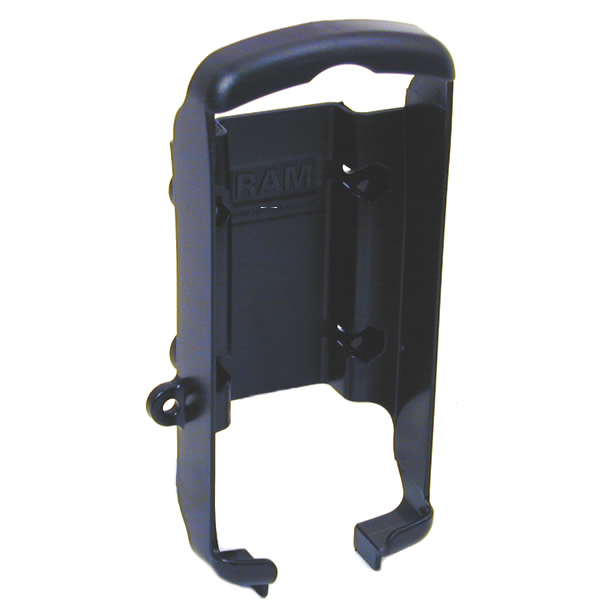

The RAM High
Strength Plastic Cradle is designed to hold the following GPS
units,
• Garmin GPSMAP 76C
• Garmin GPSMAP 76CS
• Garmin GPSMAP 76Cx
• Garmin GPSMAP 76CSx
• Garmin GPSMAP 96
• Garmin GPSMAP 96C
All cables can stay connected to the unit while in the RAM
cradle.
PLACING YOUR GPS INTO THE CRADLE:
Place the top of the GPS into the cradle, and then push the base
into the expandable 'arms' at the bottom of the cradle. The
'arms' will snap into place when the GPS is completely in the
cradle.
INCLUDED WITH THE
CRADLE:
The cradle
includes a set of two nuts and bolts to connect the cradle
to any of the RAM compatible mounts.
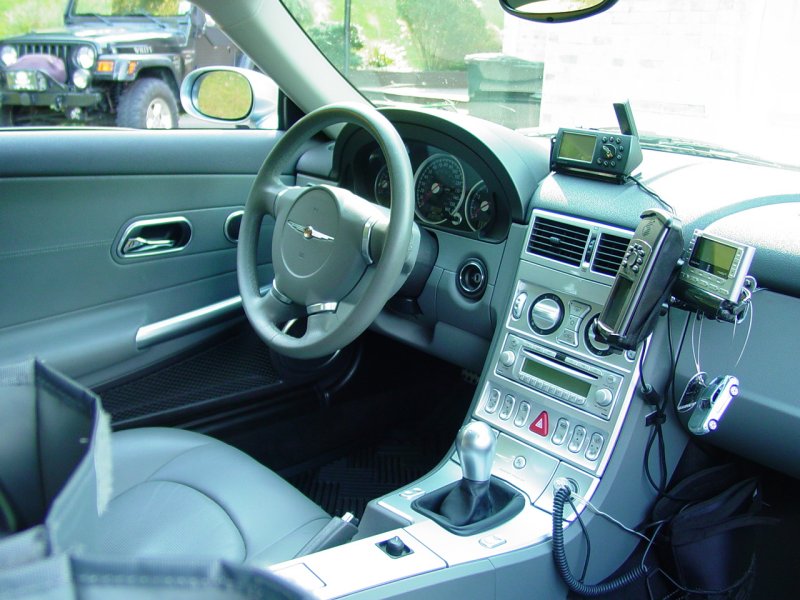
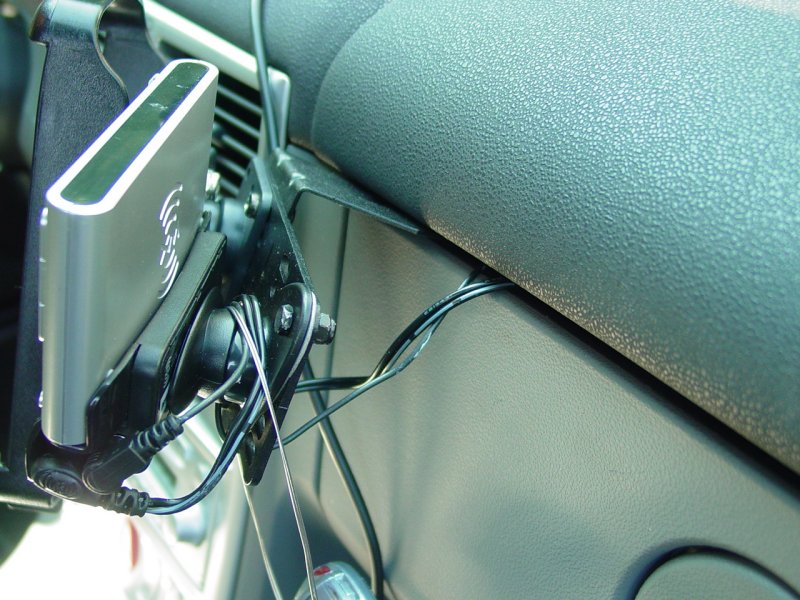
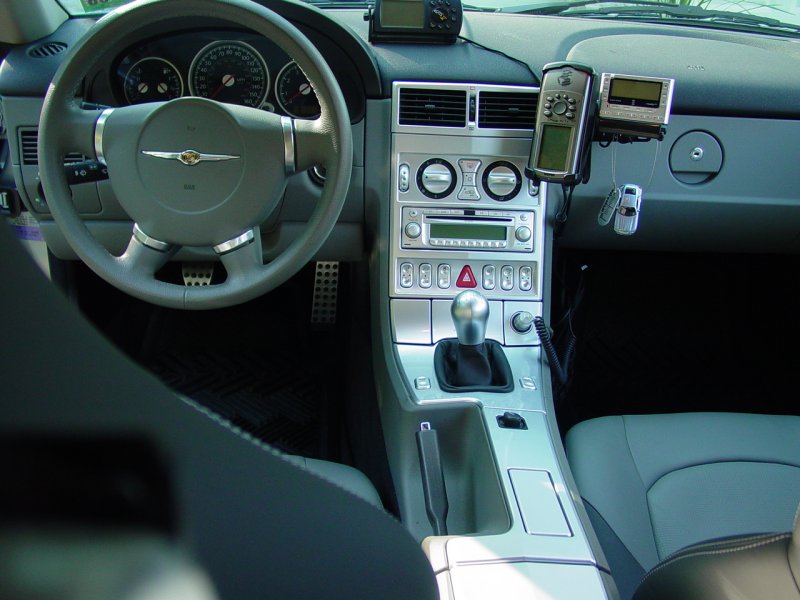
Final
Details
The only thing
left was to re-attach the power leads and antenna leads and
everything was installed. The wires duck into the glove
box and come out behind the dash and down to a collecting
point next to the transmission tunnel on the passenger side.
The total time for the install
was about 15 minutes. It took longer for me to order them!