Note: This installation describes how I installed a harman/kardon
Drive + Play unit in my car.
After a period of time I
opted to remove and install it in my Jeep, and more fully
integrate my iPod with my stereo by installing a
Pioneer CD-IB100II iPod Adapter. This eliminated the
need for a separate control knob and display since both
functions became part of the Pioneer
DEH-P980BT head unit.
This write-up is provided to supply the details of the Drive +
Play install. This was a very good solution and in some
ways still superior to the more integrated Pioneer solution in
that one can always see what's playing when the iPod is in use,
and the control knob is very friendly.
I installed a
bracket and connection for my iPod into the Jeep. That was
relatively easy since the head unit has provisions for plugging
things into it. Also, the interior of the Jeep has evolved
into a gritty work area for off-roading and has no pretense of
elegance, other than the possible "form follows function" value.
I liked having
the iPod in the Jeep but faced a serious challenge with the
Crossfire. The head unit has no provision for adding
auxiliary components other than a hands-free speaker connection
and mute lead. Additionally, the interior is so small and
tight that there aren't many places to put extra components
without spoiling the clean environment.
I scoured the
internet and found some really exotic solutions but all had
serious installation challenges, high price tags, and at the end
of it all, some sort of compromise. I decided to look at
options that gave me something extra in the looks department,
with the benefit of a wired input, and as little clutter as
possible.
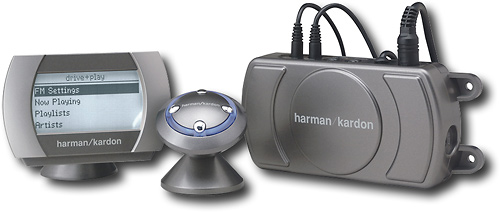
I found the
harman/kardon Drive+Play 1. Because the new version has
been released with some improvements, this first-generation
device is becoming available with serious mark-downs. I
found the unit and the Wired FM modulator for less than half the price of just the unit at my local Best Buy.

Installation
was reasonably simple. I decided to work this one in
phases. In the first phase I decided to use the FM
wireless connection because the antenna connection on my head unit is not
the type compatible with the adapter I bought. Here's what
I still needed for Phase II:
I installed the adapters. I also
decided to use the cigarette lighter power source because in the
short time I had for the install I could not find a place to
wire the two power leads (one to an "always hot" connection and
one to a "switched" connection). I will tackle this in phase III.
For this phase,
I concentrated on locating the control knob, running the wires,
and mounting the display unit on my existing bracket with my XM
radio and GPS. This would be plenty of work to keep me
busy.
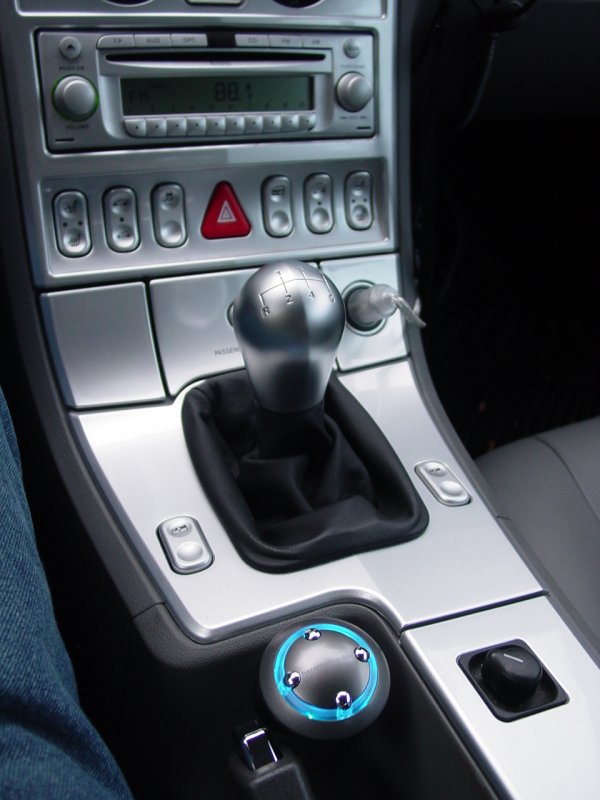
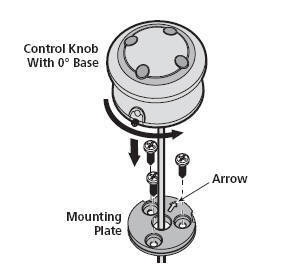
I decided to
drill a hole on the console wall down facing the emergency brake
handle. This provided me a path to conceal the control
knob lead and to mount the control knob out of the way of my
shifting arm and clear of the emergency brake.
I found that
the plate that surrounds the stick shift snaps off when gently
lifted, starting at the right rear corner. I ran the lead
around the shift lever and out of the edge of the console on the
passenger side.
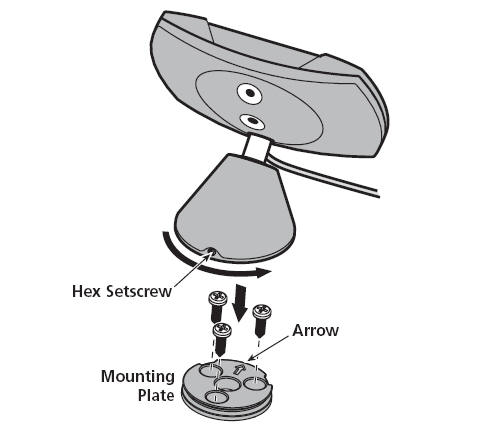
Next I made a
bracket extension for the Panavise Mount that I previously
installed for the GPS and XM Radio. This involved simply
laying out the mounting of the XM radio and Drive+Play display,
cutting out the bracket from some stock, and drilling the holes
for the mounting hardware. With the finished bracket
complete, I cleaned it and painted it satin black to match the
rest of the bracketry, then reassembled the components. I
did not use self-adhesive tape for this install. All
components are screwed or bolted to the mounting surface.
The remote knob and display are both sufficiently heavy and will
receive sufficient use that sticky tape would not cut it.
I fished all
the leads along the upper rear edge of the under-dash area, and
through a vent hole into the right access panel of the dash.
I placed the Drive+Play module there after making all the
connections.
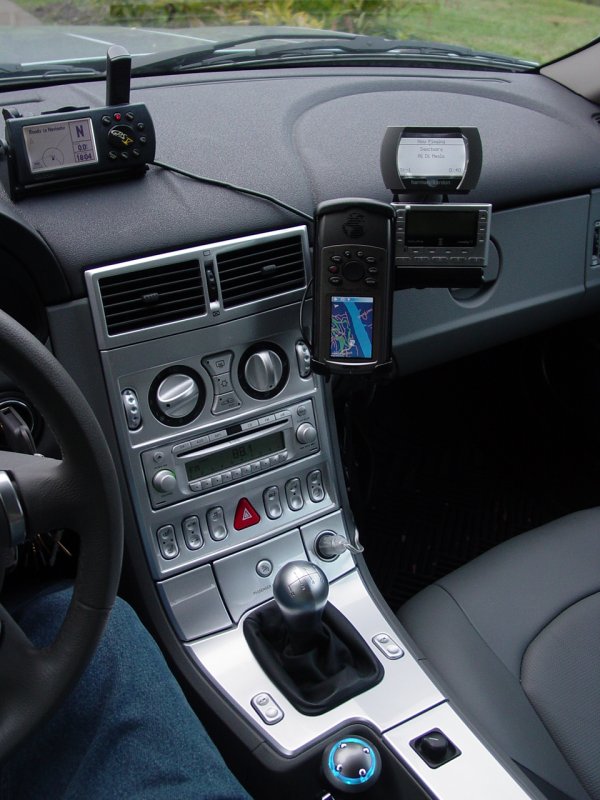
I would have
preferred to mount the display below the XM radio but it would
have interfered with opening the glove box.
The unit
does provide a way to get iPod music playing through my system
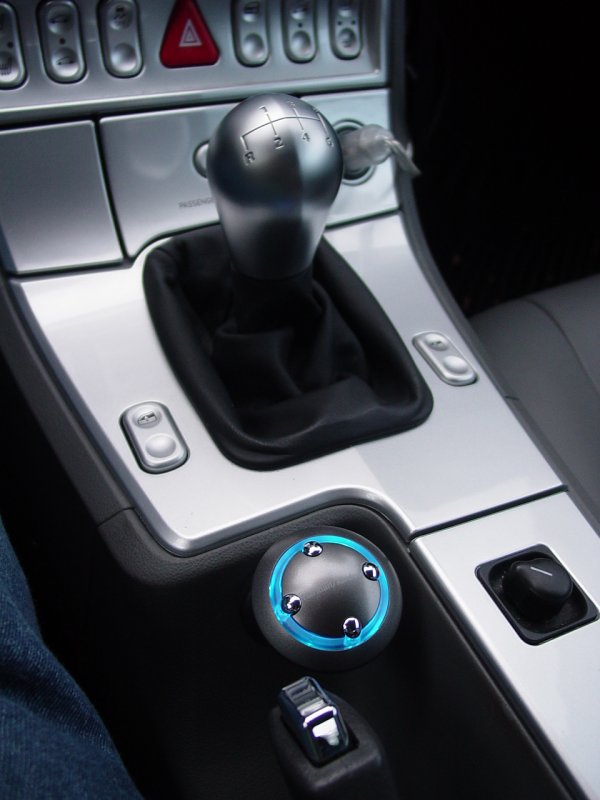
and the controller knob and screen are helpful. The location I chose for the control
knob is very convenient and falls naturally to hand. The
display is a little far to the right but no worse than if I had
mounted the iPod on the bracket in the same location. Speaking of the
iPod, it lives inside the console out of sight, plugged into a
connector that provides the control, power and sound connections
all in one. The unit charges while connected and is safely
stowed.
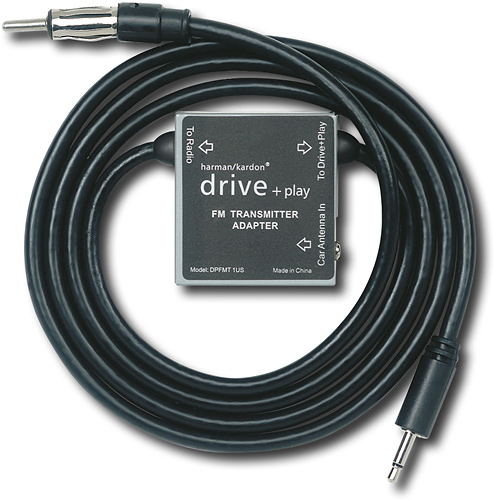
But
the sound quality was not what I had hoped for. So when the
wired FM Transmitter Adapter arrived, I installed that. In
my application, and with over two weeks testing, I did not
detect a significant improvement with the wired FM connection.
(In order to
get the best quality sound, I have since installed
a head unit that takes
auxiliary input. I modified the power supply at the
same time to eliminate the cigarette lighter plug and opt for
wiring directly to a
new fuse panel that I added. The Drive+Play is now wired directly to auxiliary inputs in the head
unit for superior sound quality.)
It is clear
from the operations
manual of the factory Crossfire head unit, that it does not take external
input. Exhaustive
searches of the internet, conversations with Harman/Becker USA,
the Crossfire Forum, Mercedes and Porsche forums, all make it
clear that some radios in this family of radios have CD-changer
capabilities but this particular variant does not.... This
solution to getting sound into your Chrysler non-Navigation
stereo, is about the best there is out there. Once the
Drive+Play is installed you can use the available input it adds,
to route other music sources through your factory radio.
Drive and
Play Owners
Manual | Drive and Play Install Pamphlet