Installing Soft Top

Following Black Satin Paint Touch-ups - Click to Enlarge

4/29/06

4X4 ICON 2000 - 2008 The DVD! - Click here for details!

4X4 ICON 2000 - 2008 The DVD!

 Bestop


Time to install the soft top again in anticipation of the trail ride at Oak Ridge and of course for the summer months.

The garage contents had gotten shuffled over the winter and needed to be removed, sorted and combed through.  I got the boys to shuttle things out to the lawn and soon the garage was accessible.

Garage ClutterGarage ClutterHard working Helpers

Next I removed the doors so that later in the garage they would be out of the way in the narrow confines of the space I have.  To remove the roof rack I have found I can tip it all the way back and support it on stacked tires and lean it up against the side of the garage entrance.  This year I got smart and did it so I could leave it there and still get in the garage.

One-man Roof Rack Removal TechniqueOne-man Roof Rack Removal TechniqueOne-man Roof Rack Removal TechniqueSpotter

I backed the Jeep into the garage and attached the hardtop to the storage frame I made.  I took the six bolts off, unclipped the front of the top from the windshield and hoisted it to the ceiling.

Pulley Location

The pulley and winch worked great.  I taped the back window shut with the painters tape that does not get gummy for a long time.  It should keep the window closed all winter and should be easy to remove later.

Winch Location

Hard Top stowed


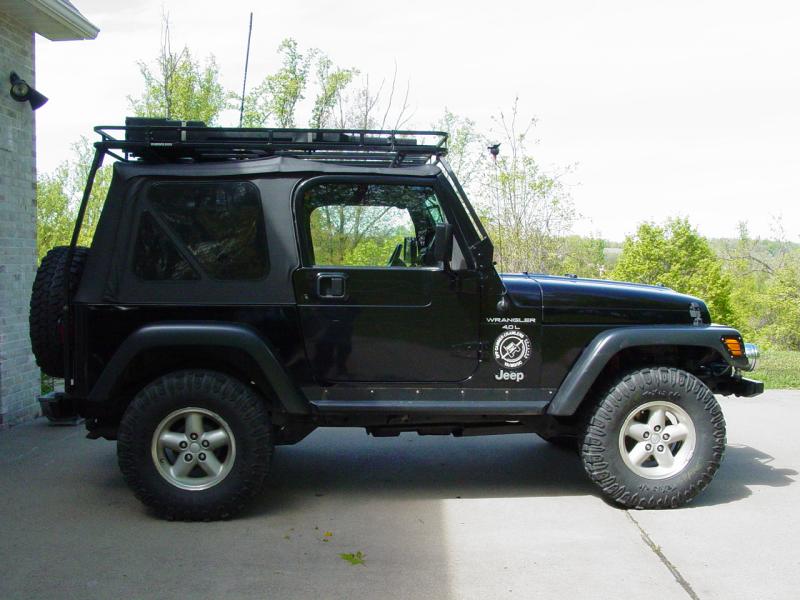
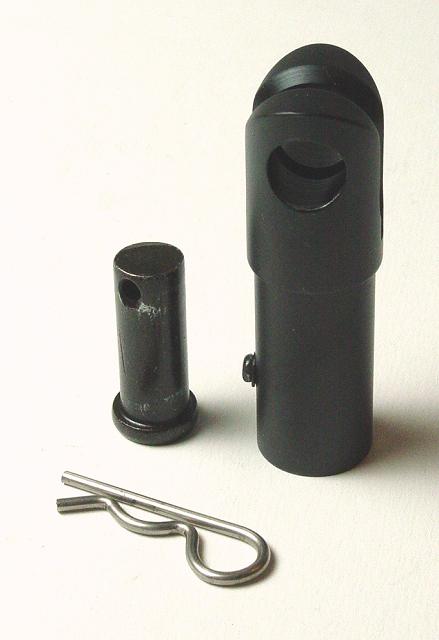
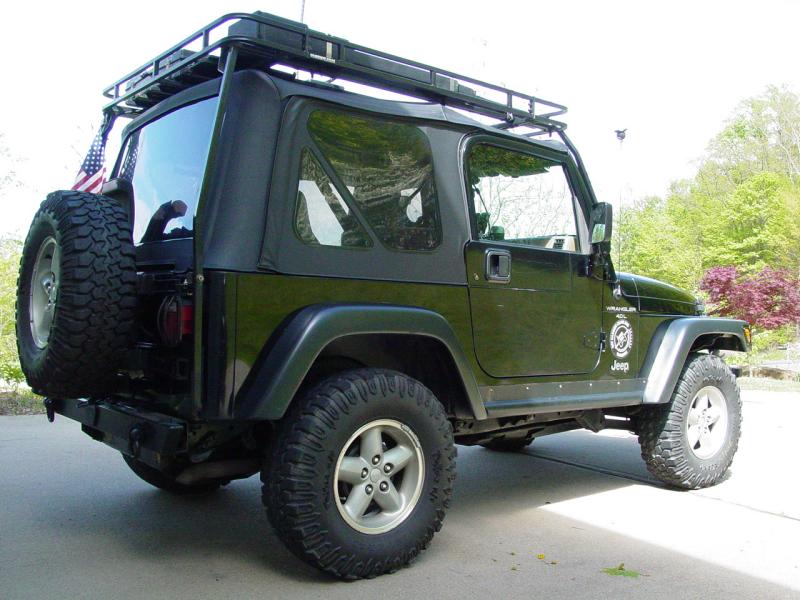
I turned my attention to installing the soft top.  The soft top disconnects spared me the troubles with the factory ones.

Softtop Disconnect Parts


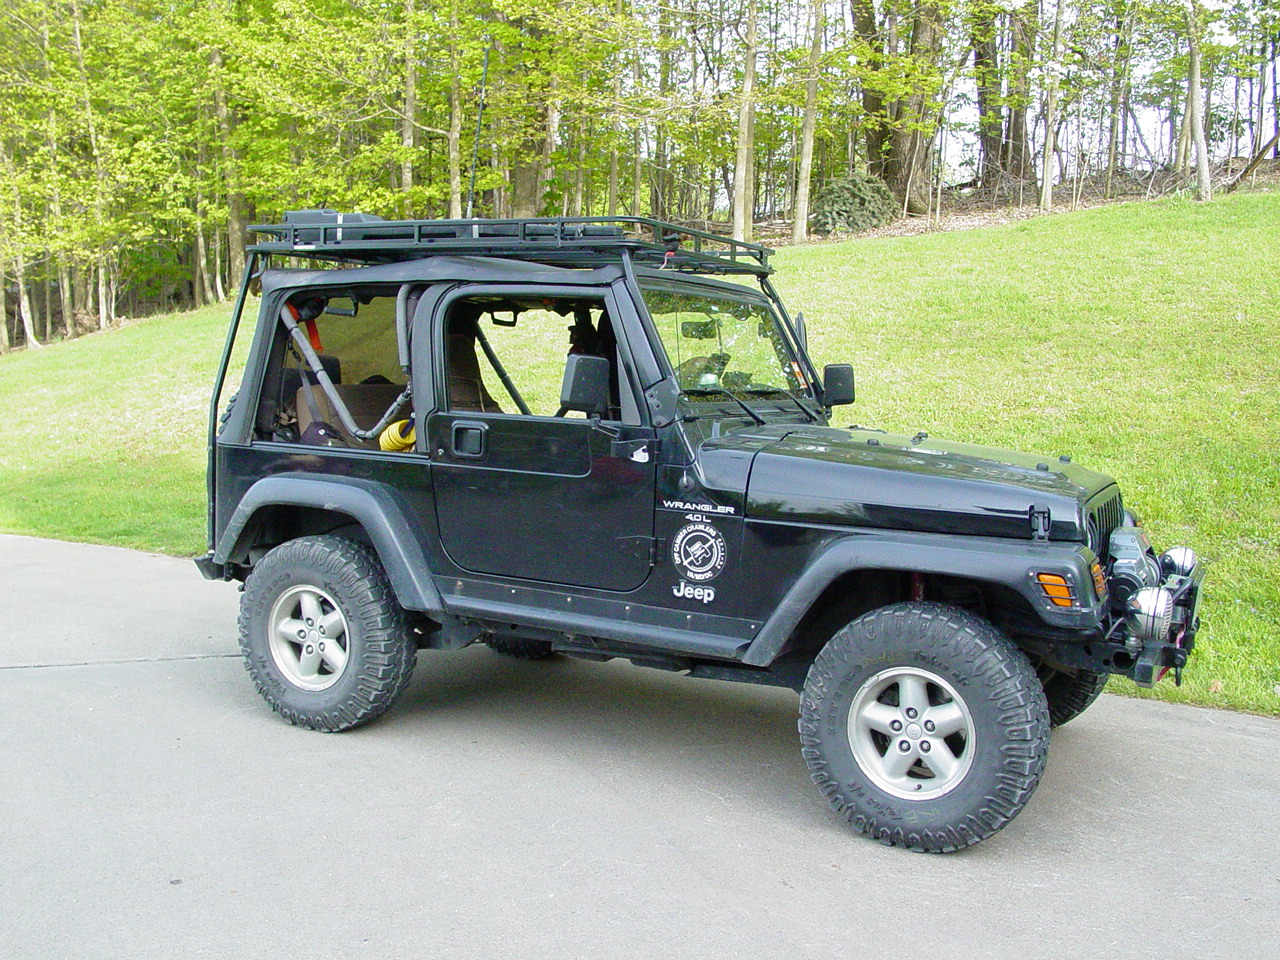
The top went right on.  Mission accomplished.  Or maybe I should say, Part I complete.  There were lots of little spots of rust on various parts.  You can see them if you click this picture below.

Soft Top almost done - Click to Enlarge

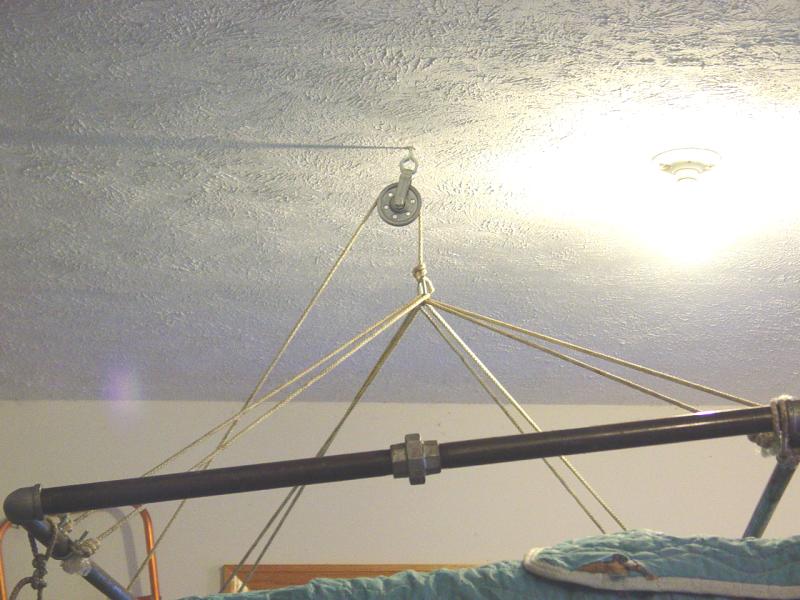
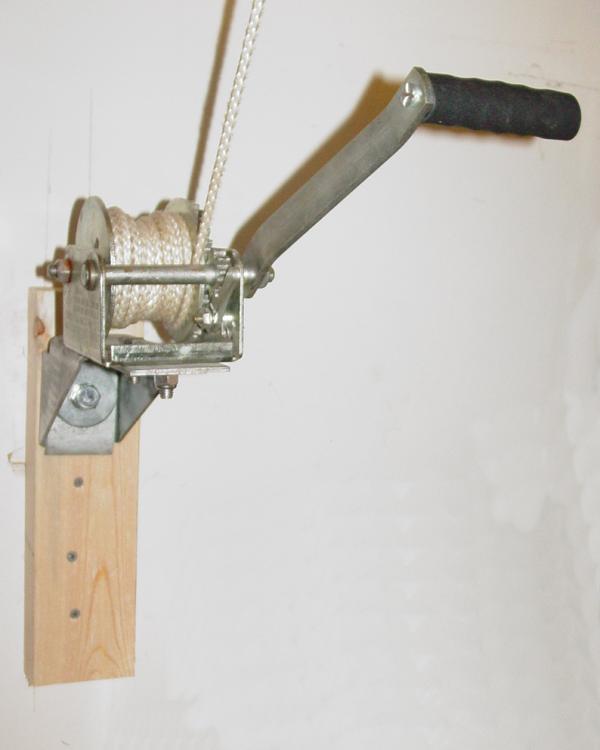
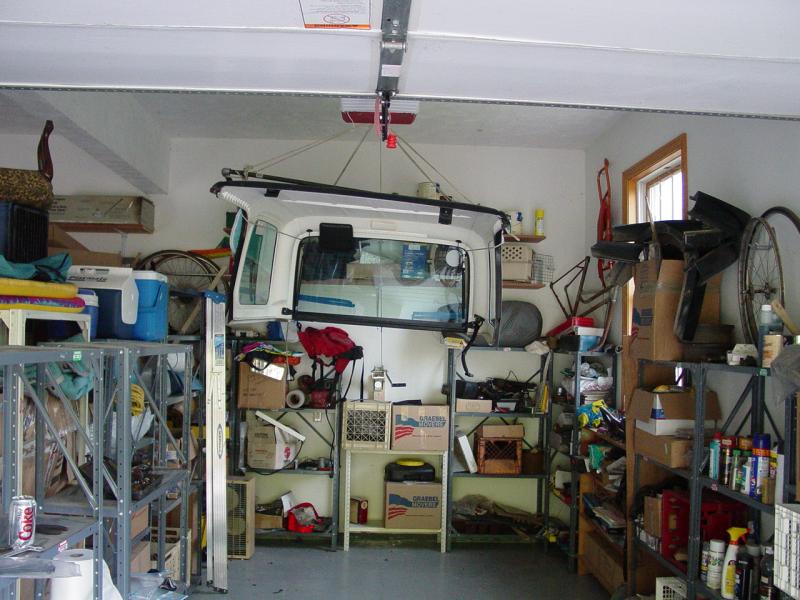
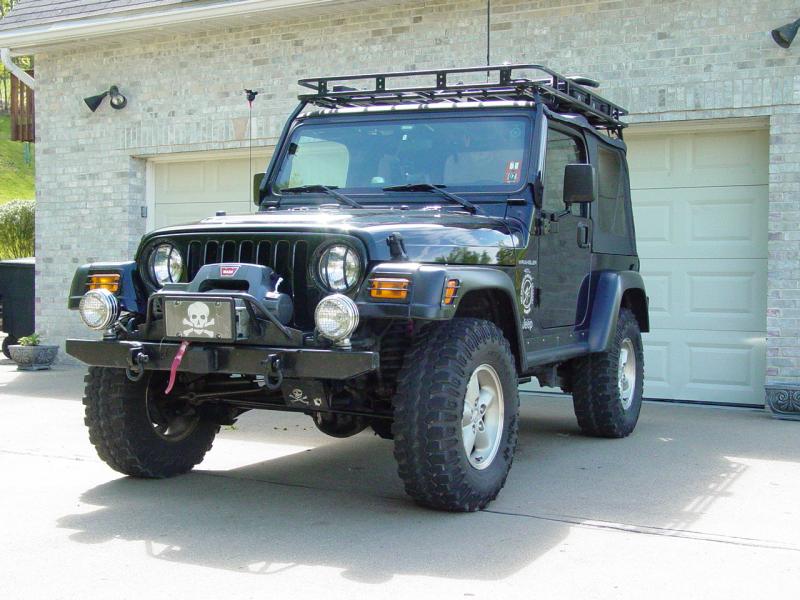
I took a look at the Jeep and saw that the interior needed to be cleaned out from the long winter, so I grabbed the vacuum cleaner and set to work.

That pretty much left me to pick up in the dark.

Finally FinishedFinally FinishedFinally FinishedFinally Finished
Finally Finished
Finally FinishedFinally FinishedFinally FinishedFinally Finished

Finally FinishedFinally Finished

The next morning, I had to admit the Sun Performance light protectors I purchased were rusty AGAIN, so I spent hours reconditioning them again.  I also repainted:

  • rear view mirror mounts and arms
  • gas tank cover
  • roof rack upright mounting plates
  • skid plates
  • various frame and suspension parts

I suppose I could put a positive spin on the light protectors and say they motivated me to touch up all the other rough spots...  It looked a lot better after this work and a good sponge bath...

Following Black Satin Paint Touch-ups

Following Black Satin Paint Touch-upsFollowing Black Satin Paint Touch-upsFollowing Black Satin Paint Touch-upsFollowing Black Satin Paint Touch-ups


I ran out of time but I want to get the Sun Performance Heavy Duty Rocker Protection restored.  After four years it is starting to show it's age around where the mounting nuts pass through.

Return to Jeep Specs

Shop for Jeep Toys and Books | See the Toy Jeeps | Off-Road Index 


Click or the [ BACK ] button on your browser to return to the previous page.

Photos (except as noted), Layout and Design © 2006 Paul M. Provencher All Rights Reserved.
Contents of this Web Site may not be used without written permission

Hit Counter Visitors since 4/29/06

Home