The wiring layout is pretty simple:
Connect the pre-amp outputs from the head unit to the
subwoofer.
Run a power lead to the battery with the inline 20a fuse.
Ground the subwoofer to the body.
Run the remote power relay lead from the head unit to the
subwoofer.
The drawings might make it look more complicated than it
really is, but I provide them for my own future reference...
Wiring
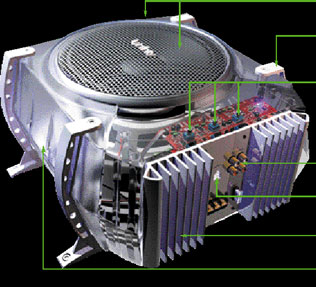
The only thing that
disappointed me about the Infinity Basslink package was the lack of power leads and the
assumption that people would be using speaker-level output to connect to the subwoofer.
I guess that must be the most common configuration. As such, there was a
whole bunch of wire and connectors that I could not use. And I would have to make up
(or purchase) my own power leads. Here is what I ended up using to make the
connections:
loom covering (3/8")
for power leads
loom covering (1/4")
for signal leads
wire-ties
electrical tape
(1) 18-foot RJ-11 lead
(provided in Infinity Basslink kit)
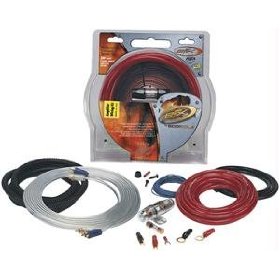
This time I took the easy
way out and purchased a ready-made Scosche Amp Wiring Kit. It came
with two RCA leads, a power lead, remote power on lead, and ground lead,
plus connectors, wire ties, and everything necessary.

In actual practice, the wiring was fairly
time consuming. The wires needed to be routed from the front of the vehicle to the
back, through all manner of obstacles. My goal was to make it as clean as possible.
I also wanted to choose a path that avoided passing things that generate electrical
interference (noise), like fan motors, my air compressor, the fuel pump, stuff like that.
First I put connectors on the power and
ground leads. On the plus (+) lead, I installed a fuse holder and 20-amp fuse.
Once the connectors were on,
I ran the wire through the firewall, through
the same large hole that I have run everything else, coming through in the passenger
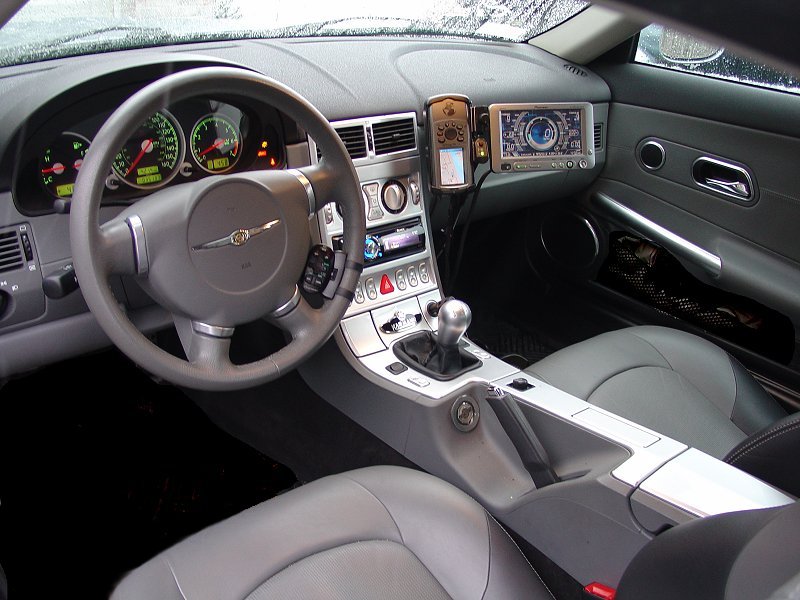
compartment. I popped the head unit and added the remote power on
connector, and the left and right subwoofer leads. These I fished
down through the dash and under the console and out the back of the
console past the seat.
From there I routed the
all the wires underneath
the passenger side edge of the console past the seat. There I threaded the lead under the console and out
the other side. I put loom covering on the wires and ran them over
the bulkhead and down to the subwoofer.
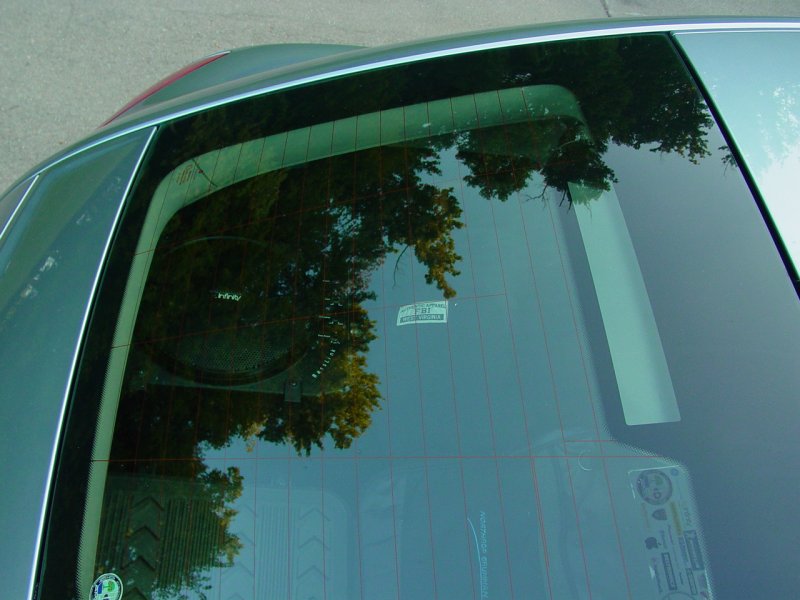
I attached the supplied
ground wire inside the tail light compartment to a screw holding the
tail light. I added a couple feet of wire to the ground wire
because it was pretty short by the time I fished it down inside the
carpeting that covers the rear compartment.
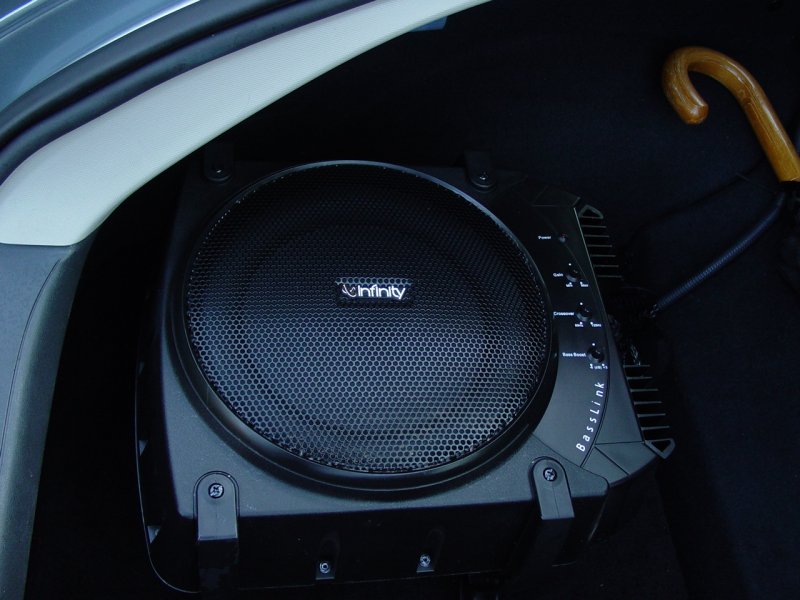
I hooked everything up
- Left and right RCA connectors, 12-volt plus and ground, and remote
turn on lead.
Next I turned on the
head unit and activated the subwoofer channel. Tha-Thump!
Tha-Thump-Thump-Thump!
I re-ran the auto TA-EQ
set-up with the microphone that comes with the head unit to get the best
timing and EQ settings for the new configuration. Next I need to
install the remote level control.
With everything
working, it was time to decide how to secure the unit to the car.
I decided I didn't want to drill holes in the floor of the cargo area.
And anyway the floor was pretty thin and flimsy. Not only would
holes damage it, but the stability of the floor would not lend itself to
the best sound quality possible from the Basslink. It would
vibrate too much and cancel the sound coming from the unit.
I decided to use a
piece of heavy plywood I had to duplicate the floor panel. Under
this I decided to put a 4-inch deep storage drawer. I
fabricated this out of 1" x 4" pine and the 3/4"-thick plywood.
Then I covered the
floor with carpet to match the car.
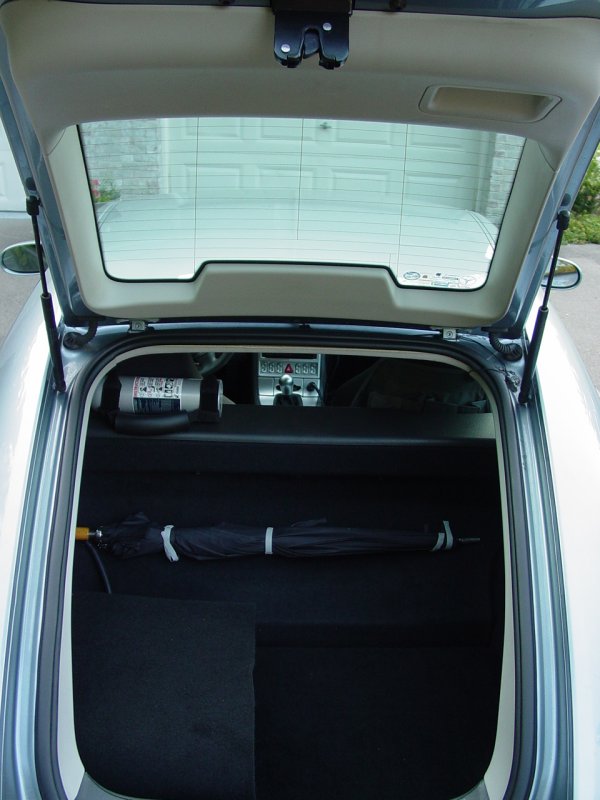
I left room for the
floor panel to open and clear the roof of the car, and put a prop in the
storage drawer to allow me to prop open the cover.

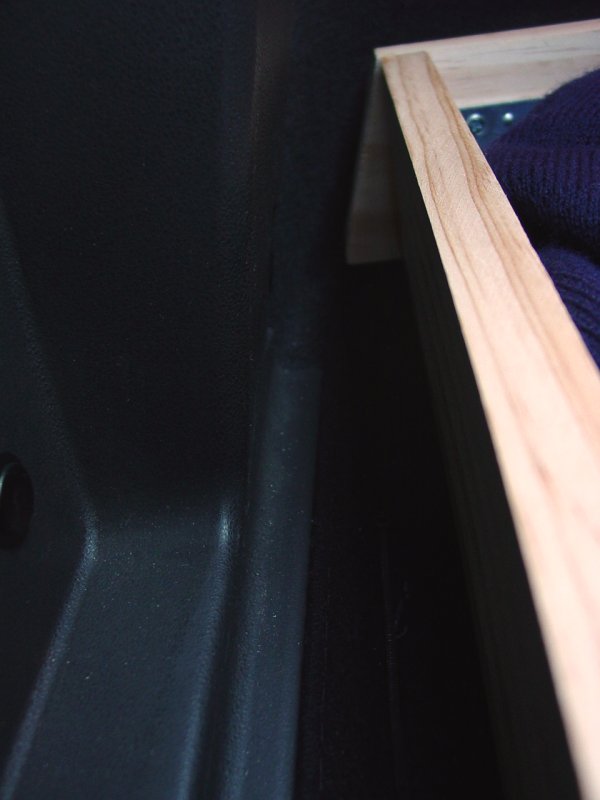
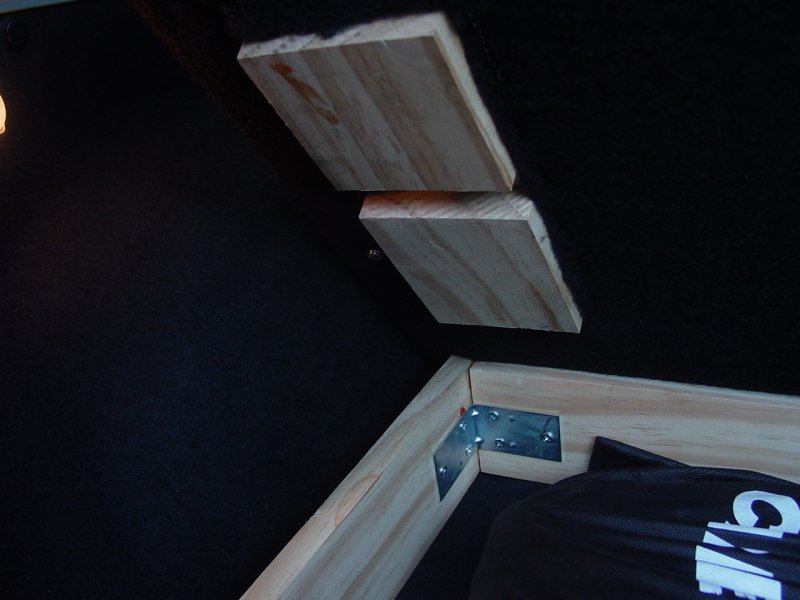
I put some wood on the
inside of the floor to interlock it to the drawer so that it would not
vibrate or shift around during spirited driving. The two shown
here fit into the corner of the two compartments on the left with the
separator passing through the gap in between them, and the far edges up
against the left sides. These are on both sides of the cover and
keep it from moving.
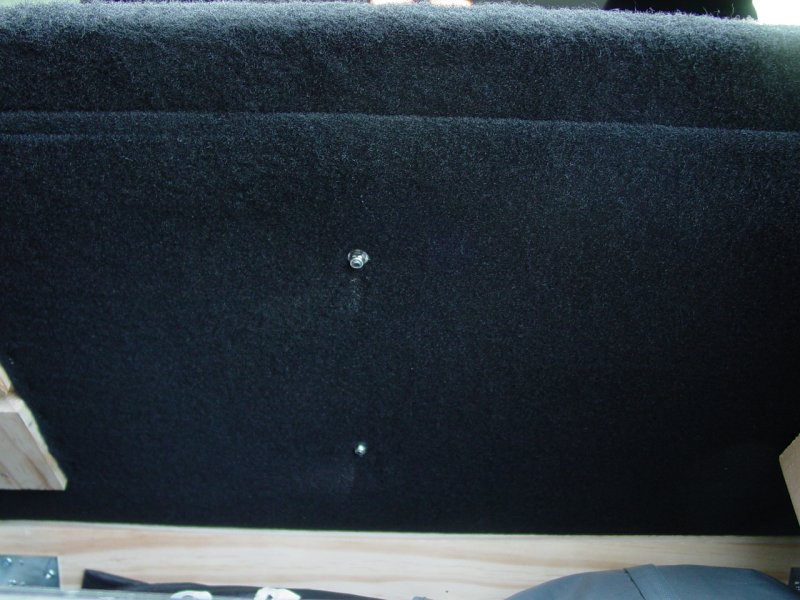
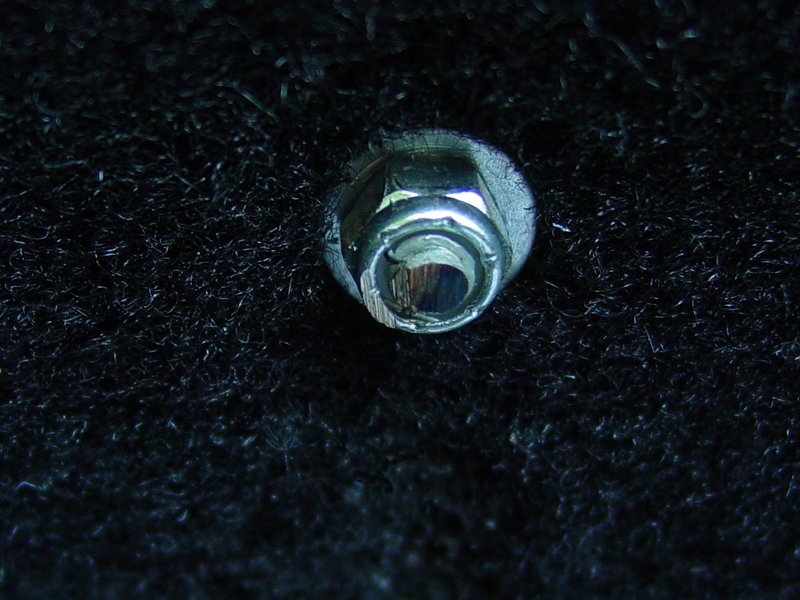
I drilled holes for the
mounting brackets of the Infinity Basslink and installed some bolts with
locking nuts and neoprene washers to prevent them from vibrating loose
and to insulate them.
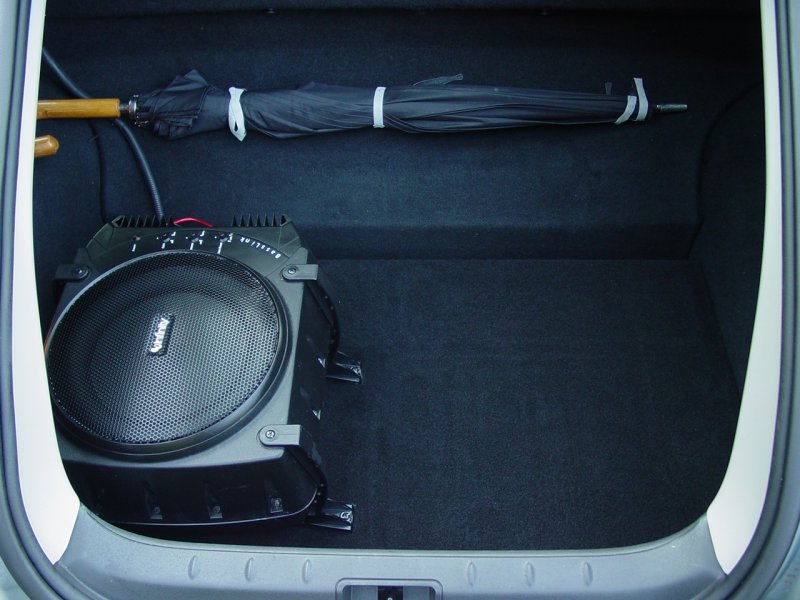
I had a piece of carpet
left which I decided to leave in the car since it's large enough to
cover the subwoofer with as a means of concealing it when I have to park
in places where I'd rather not draw any more attention than necessary.
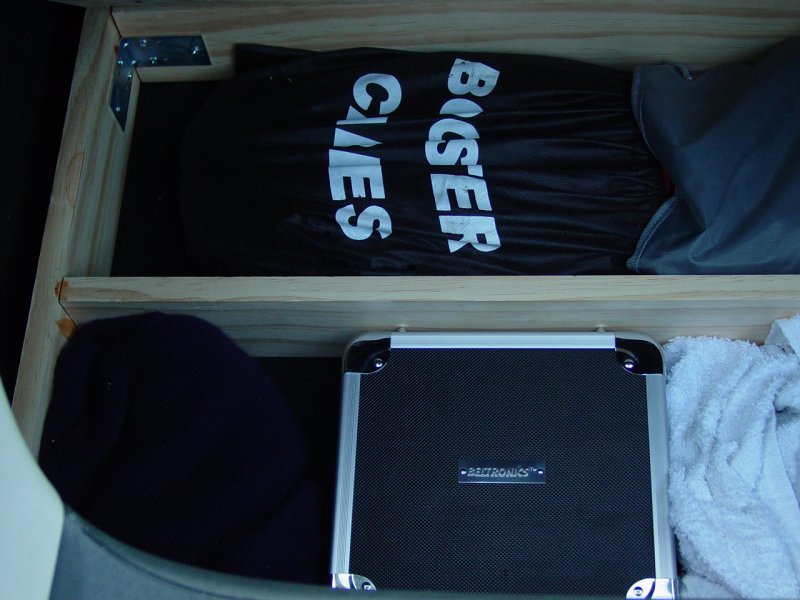
With all this done, I
put my road gear in the storage drawer (jumper cables, cleaning
supplies, radar detector carry case, etc) and put my windbreaker, tote
back and larger emergency kit back in their usual places.
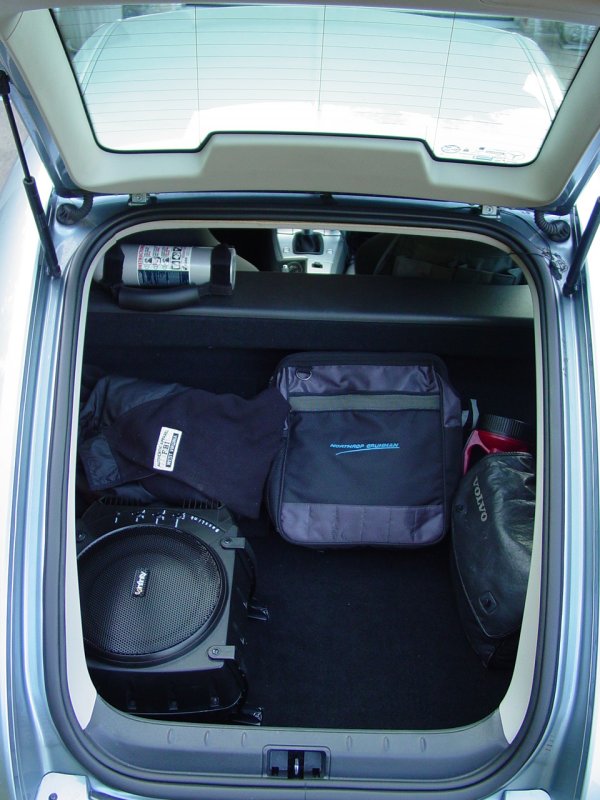
Even though I lost 15"
x 15" to the subwoofer and the floor is 4" more shallow than before, the
storage is more organized, and the improvement in the stereo sound is
well worth the trade-off!


 © Harman International
Industries, Incorporated
© Harman International
Industries, Incorporated