Tunes...
Updates 4/17/04 - Subwoofer | 6/8/07 - Service and Auxillary Input Adapter for IPOD or Satellite Radio | 10/12/07 - iPod |
||
Shopping
Installation
Future
|


Tunes...
Updates 4/17/04 - Subwoofer | 6/8/07 - Service and Auxillary Input Adapter for IPOD or Satellite Radio | 10/12/07 - iPod |
||
Shopping
Installation
Future
|
Update 4/17/04
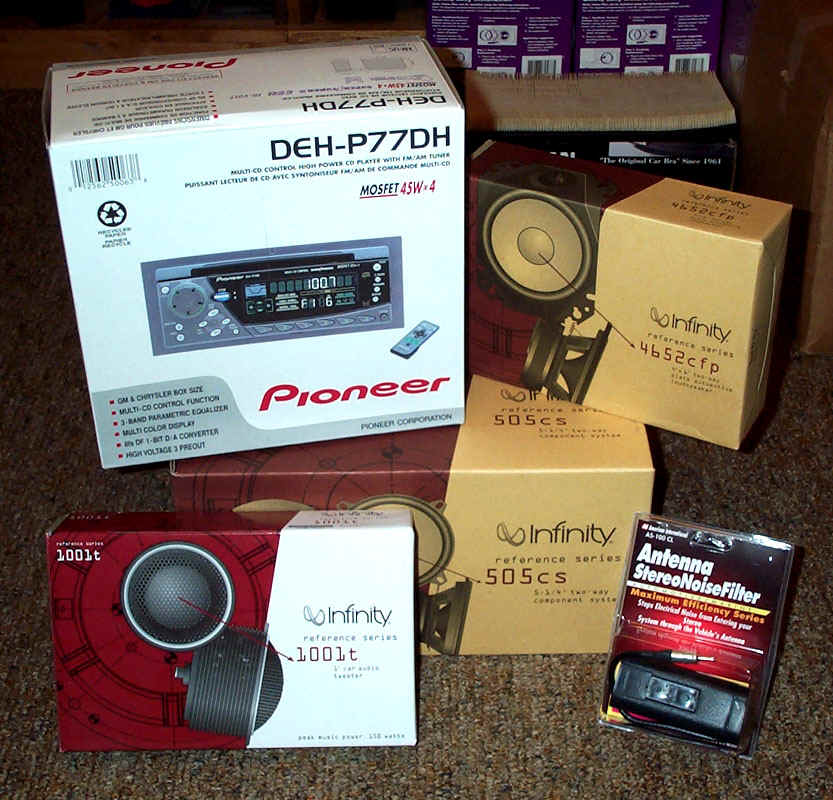
DEH-P77DH | Infinity 505cs | Infinity 4652cfp | Infinity 1001t | Auxiliary Input and Satellite Radio |
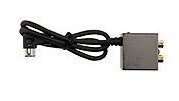
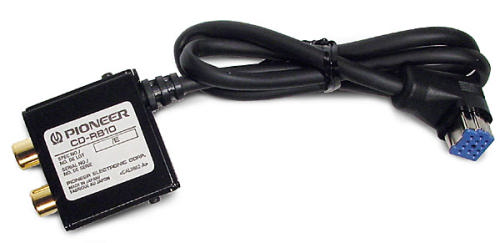
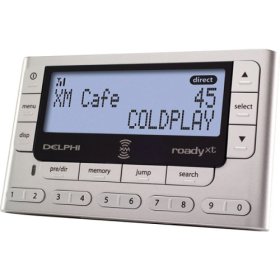
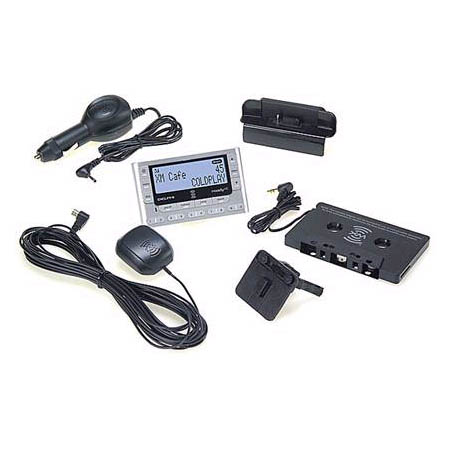
Update 6/8/07 Service and
installation of RB10 Input Adapter
and Satellite Radio
DEH-P77DH | Infinity 505cs | Infinity 4652cfp | Infinity 1001t | Auxiliary Input and Satellite Radio |
| Device Specifications DEH-P77DH | Infinity 505cs | Infinity 4652cfp | Infinity 1001t | Auxiliary Input and Satellite Radio |
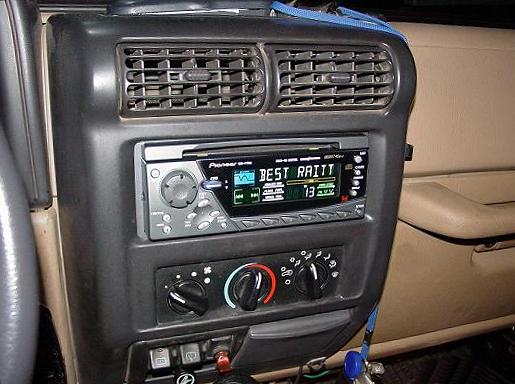
| Pioneer DEH-P77DH (User
Manual | Install Manual - Adobe
Acrobat PDF)
|
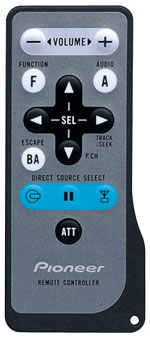
MOSFET Amplifier: This receiver is equipped with a 45 watts x 4 (peak) MOSFET amplifier for low distortion, high power output. The amplifier is strong enough to power small subwoofers to moderate volume levels in compact cars and pickups. For higher volume levels from subwoofers, an optional amplifier may be connected to the provided sets of preamp outputs. Display/Button Illumination: The LED backlit multi-color display illuminates the frequency and CD track/time in white and the mode indicators and the select buttons guide in green. There is a bright blue EQ curve display in the left hand portion of the display that shows the frequency response characteristic of each curve (except the "CUSTOM" curve). The EEQ button illuminates in blue, and all other buttons are backlit with green illumination. Easy-EQ (EEQ): This feature gives you a 3-Band Parametric EQ with Selectable Q Factor. You may select a low (40, 80, 100 or 160Hz), mid (200, 500, 1k or 2kHz) and high frequency (3k, 8k, 10k or 12kHz) to boost or cut. The Q factor (slope of the boost or cut) may be selected from one of the following four options: 2N (narrow/steep), 1N, 1W and 2W (wide/least steep). Selecting a narrow (steep) Q factor results in frequencies around the center frequency to be affected less by the boost or cut than they are with a wide Q factor. This feature is useful for taming frequency response problems caused by the dimensions, materials and speaker locations of a vehicle. A different "CUSTOM" curve can be set into memory for each source; the built-in CD player and optional CD changer are considered a single source, so they would share the same "CUSTOM" EQ curve. Preset EQ Curves: This model has "POWERFUL", "NATURAL", "VOCAL", "CUSTOM", "EQ FLAT" and "SUPER BASS" preset EQ curves. The "CUSTOM" curve is one that you create and is stored in memory. There's an EQ curve display in the left hand portion of the display that shows the frequency response characteristic of each curve (except the "CUSTOM" curve; the displayed curve does not change with the settings you make to the custom curve). F.I.E. (Front Image Enhancer) with Selectable Cutoff Frequency: Enhances the front image by cutting mid and high range frequencies to the rear speakers (and the preouts), limiting their output to low range frequencies. You may select a cutoff frequency of 100, 160 or 250Hz. Adjustable Loudness: You can select "Low", "Mid" or "High" for different levels of loudness compensation. Subwoofer/Non-fading Preamplified Outputs: In addition to the front and rear preamp outputs, there is one set of outputs that may be set for "subwoofer" or "non fading" output. When set to "non fading", the signal is full range and the output level is user selectable from 0 to 15. When set to "subwoofer", the outputs are non fading, and they may be set for normal or reverse phase, 50Hz, 80Hz or 125Hz low-pass output, and you can set the level from -6 to +6. Source Level Adjustment (SLA): This function prevents radical leaps in volume when switching between sources. To use this function, you compare the volume level of the sources (AM, CD/CD changer, AUX) to the FM level, then you adjust the sources level to match that heard when listening to FM. Since the reference level is based on the FM volume, SLA is not possible on FM. Cellular Mute: Mutes audio when a cellular call is received, then restores the level once the call is over. To use this feature, you must have a cellular phone with a muting output that can be connected to the muting input wire of this unit. Tuner: This receiver is equipped with Pioneer's proprietary Supertuner III, which provides excellent AM and FM performance. Rotary Volume Control: A rotary volume control allows for easy volume level adjustment. Normally, the knob protrudes just slightly from the front of the face plate. To make the knob easier to turn, it may be made to stick out further from the face; to make the knob pop out, you simply press and release the knob. When the knob is in the extended position, pressing the knob inward returns the knob to it's normal, low-profile position. Display Dimming: When the illumination wire of this unit is connected to the headlamp circuit of your vehicle, and you turn your lights on, the display will dim to a preset level. The display brightness is not affected by the vehicle's dimmer control. CD Insert Auto Turn-on: When unit is off and a CD is inserted it will automatically turn on and play the CD. Pause: The CD player has a pause feature, which also works for CDs played in optional Pioneer CD changers. Disc Titling: You can store titles for up to 48 discs (when using a compatible Pioneer CD changer this increases to a total maximum of 100 discs). Each title may be up to 10 letters long. CD Compatibility: This unit will play prerecorded CDs and finalized CD-Rs. The unit reviewed by Crutchfield played a CD-RW disc, but Pioneer does not claim compatibility with CD-RW discs. Results with CD-RW discs will vary depending on the quality of the discs; there are audio CD-RW discs that this unit will not play. AUX Title Input: Allows you to input a title for the AUX input function; item 130CDRB10 (or item 130CDRB20), sold separately, is required to use the AUX input feature. CXB4285 Wireless Remote Dimensions: L=3.630", H=0.261", W=1.559" Buttons:
Note: This unit is also compatible with Pioneer's optional steering wheel remote (item 130CDSR77).
DFS
(Detachable Face Security) Alarm Features
When triggered, the alarm can respond in three ways:
There are four methods of disarming the alarm:
There are five alarm wires (white/yellow, brown, white/red, white/orange and blue/brown) hardwired directly to the radio:
At least two relays (item 120E5000) will be needed to operate all alarm functions. One relay will be needed to sound a siren, honk the horn, or flash the parking lights. A second relay will be needed for the alarm's starter kill function. |
DEH-P77DH | Infinity 505cs | Infinity 4652cfp | Infinity 1001t | Auxiliary Input and Satellite Radio
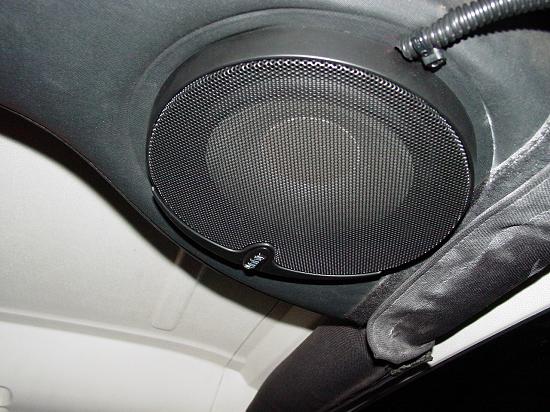
| Infinity Reference 505cs speakers (Owners Manual - Adobe Acrobat PDF)
|
||||||||||||||||||||||
|
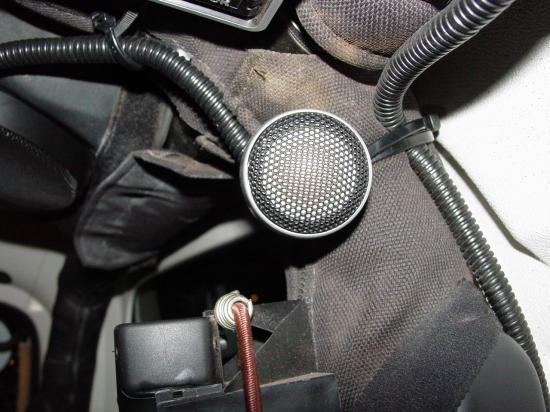
DEH-P77DH | Infinity 505cs | Infinity 4652cfp | Infinity 1001t | Auxiliary Input and Satellite Radio
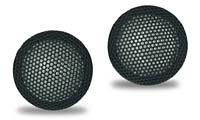
| Infinity Reference 1001t Tweeters The tweeters that originally came with the 505cs kit were replaced with these. I used the two-way crossover that came with the 505cs to install these tweeters. |
||||||||||||||||||||
|
DEH-P77DH | Infinity 505cs | Infinity 4652cfp | Infinity 1001t | Auxiliary Input and Satellite Radio
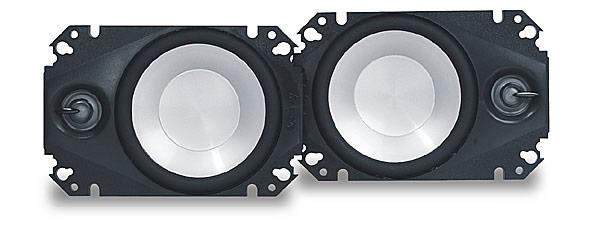
| Infinity Reference 4652cfp speakers. (Owners Manual - Adobe Acrobat PDF) Installation of these speakers required the use of adapter plates (included) to reconfigure the dash mount opening to accept these speakers.
|
||||||||||||||||||||||||||
|
DEH-P77DH | Infinity 505cs | Infinity 4652cfp | Infinity 1001t | Auxiliary Input and Satellite Radio
Return to Jeep Specs Page
Shop for Jeep Toys and Books | See the Toy Jeeps | Off-Road Index
Photos, Layout and Design © 2004, 2007 Paul M. Provencher All Rights Reserved.
Contents of this Web Site may not be used without written permission
Visitors since 1/2/04