Note: This write-up is provided
for historical reference. It was not a very good solution. I
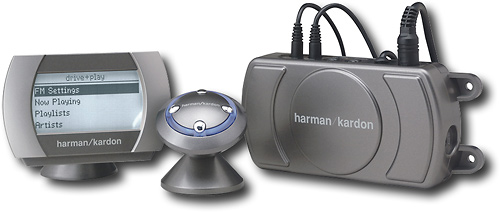
ended up installing a Drive + Play remote unit about a year later.
That write up describes a better way to install an
iPod in a Jeep.
Things are really getting out of control
in the portable, hand-held electronics market. It's ripe for
satire in my life. Consider, when I hit the road, my worst-case
scenario is the following. I can have in my possession:
I don't mind admitting that it's
ridiculous. The redundancy is overwhelming. But such is, for
my budget, the current state-of-the-art. I am not going to replace
the stereos to integrate the XM, GPS and cell phone Hands-free units
(like it is in the
Commander); I am not going to
purchase
Garmin Rhinos to integrate walkie-talkie with GPS; and the iPod....(rolling
eyes)
So I resolve to make the best of a good
situation. I remind the reader of my early goal to make most items
I install easily removable. So with the XM Radio and now the iPod,
I wanted to preserve my ability to instantly remove these devices and
take them along with me like all the other gear in my list. This
reduces the interior of my Jeep to a stripped out wasteland - nothing
interesting for thieves.
In order to achieve this, I had installed
a good head unit that supports auxiliary devices. I purchased the
bus adapter to enable me to add the
XM Radio with direct cables for the
best possible sound. And lately
I revised the
mounting of the XM Radio to clean it up and reduce the clutter
(somewhat).
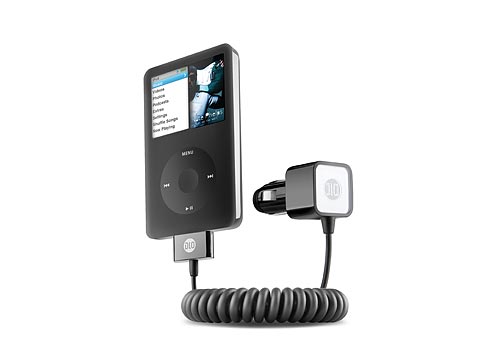
So when Maria for our anniversary gifted
me with an iPod, I was thrilled to have another way to consume music,
and then with the dawning realization that I could not live without
being able to play it through my stereos, embarked on another saga of
brackets, wires, custom components, and yet another doo-dad hanging off
the dash.
Fortunately the Jeep required only that I split
the single Auxiliary input into two stereo pairs, allowing me to plug in
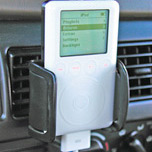
both the XM Radio and the iPod. My first pass at this was very basic - I
installed an expansion bracket on the
Panavise bracket, then bolted the iPod bracket next to the XM Radio.
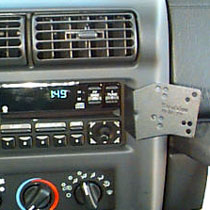
I plugged an output to the head
unit from each component and prepared to call it done. But I
discovered that with the power cord attached to the iPod, and both the
XM-Radio and the iPod connected to the head unit, I was getting RF
interference that only went away if one or the other unit or the power
to the iPod were disconnected. That sounded tedious so I decided
to put in an A-B switch.
That was a great idea but it took me down
a rat hole. I found one online for a very fair price. But as
simple as it should be to make, I opted to make a trip to Radio Shack
with my schematic.
There, I purchased the following parts:

-
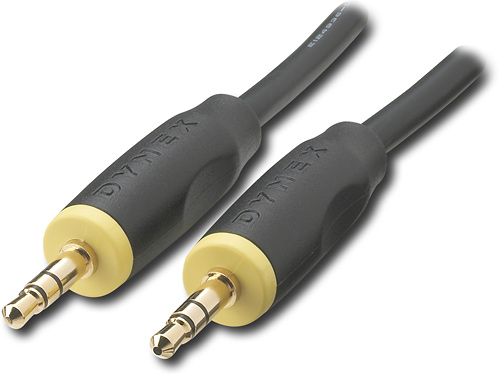
43-223 3-Ft. Stereo 1/8" Plug Audio
Cable - I cut this cable in half. This gave me two 18" stereo
leads with Left, Right, and ground wires, and a 1/8-inch (3.5mm)
mini plug on the end. These are wired into the switch to
enable selecting which lead provides input to the head unit.
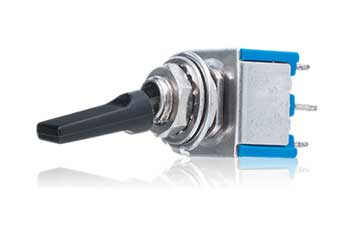
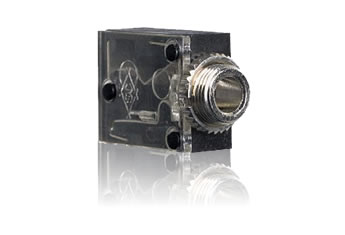
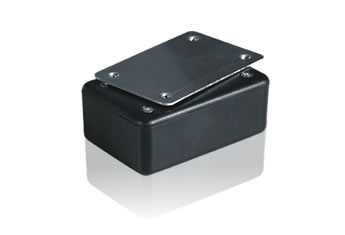
From this I made a small A-B Switch
Then I went to Best Buy and purchased the
following


I already had a host of left-over parts
(primarily nylock nuts and machine screws) from the installation of the Roady XT XM Radio, and had purchased some
other bracket parts when I installed the GPSMap76CSx (swivel head) into the Crossfire.
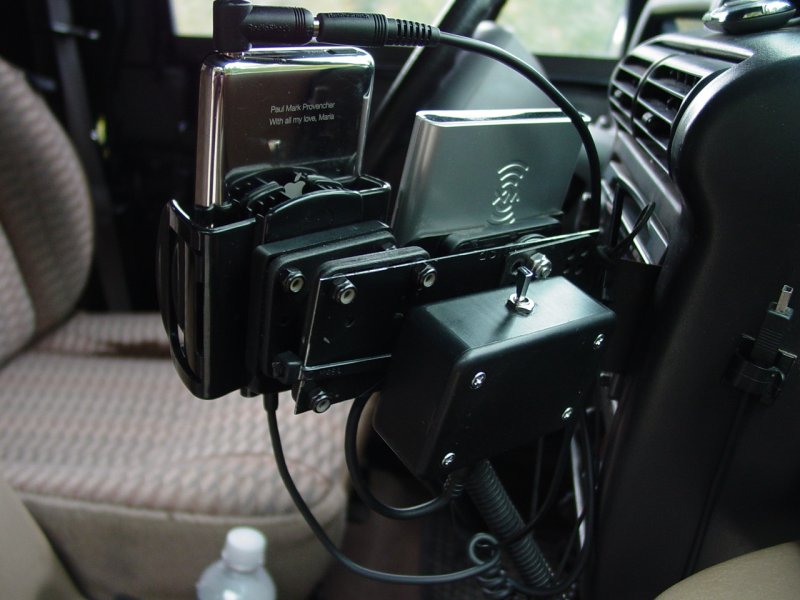
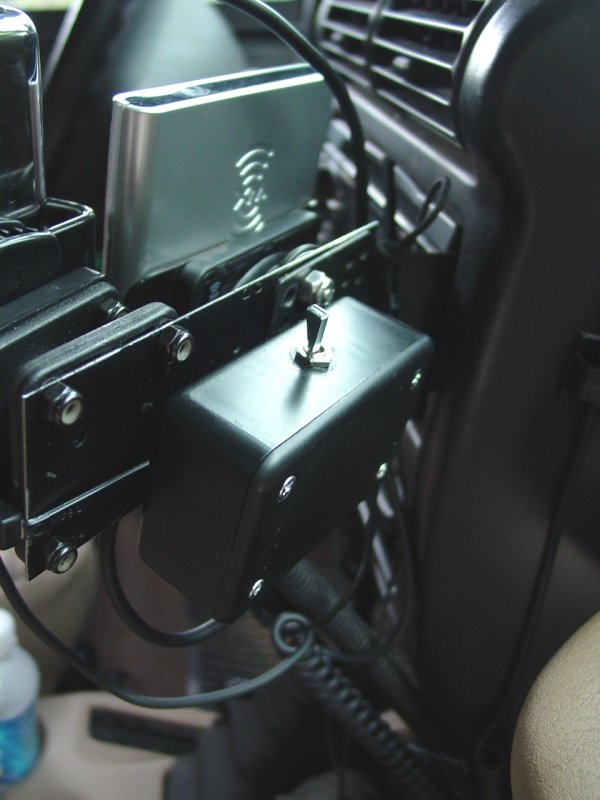
From all this I assembled the bracket and put it with the existing XM
Radio.
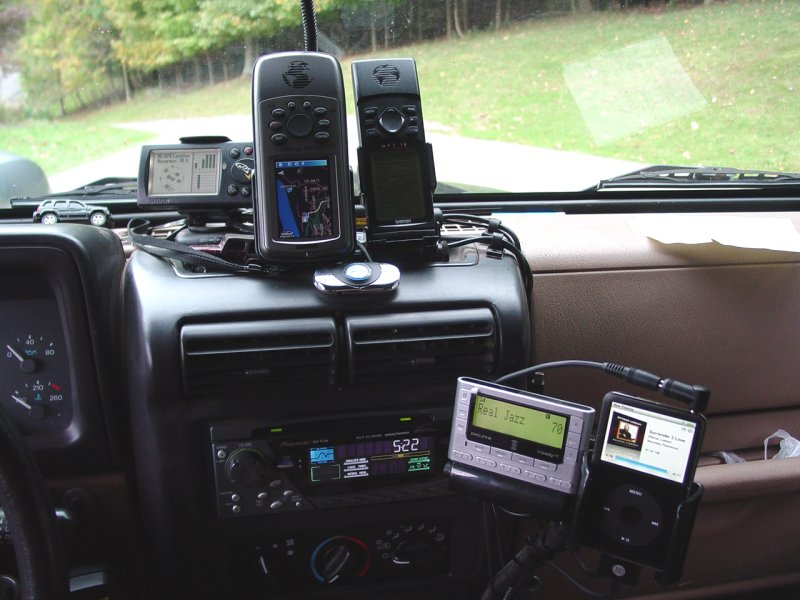
The finished result is a tenable solution
to wiring everything in to vehicle power and direct-wired to the stereo.
I can select the XM Radio and iPod from the head unit and then toggle the
respective units using my little A-B switch. This leaves me with
good entertainment options.
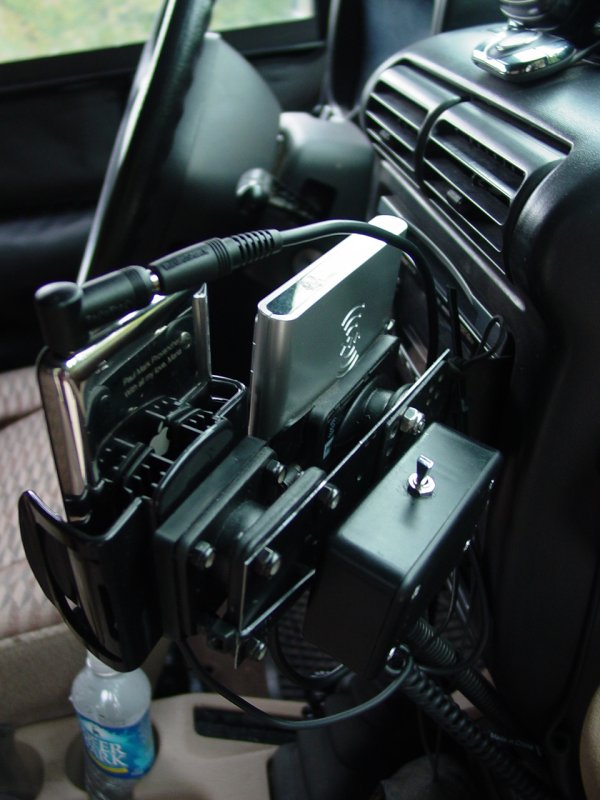
Far from pretty, but
nothing is going to fall on the floor. Plus, I get the best
possible performance from the units. Both iPod and XM Radio are
hard-wired to the head unit.